Crispy-Edge Air Fryer Pepperoni Roll Recipe Worth Sharing
Warm, golden rolls stuffed with pepperoni and melted cheese spark joy for anyone seeking a quick snack.
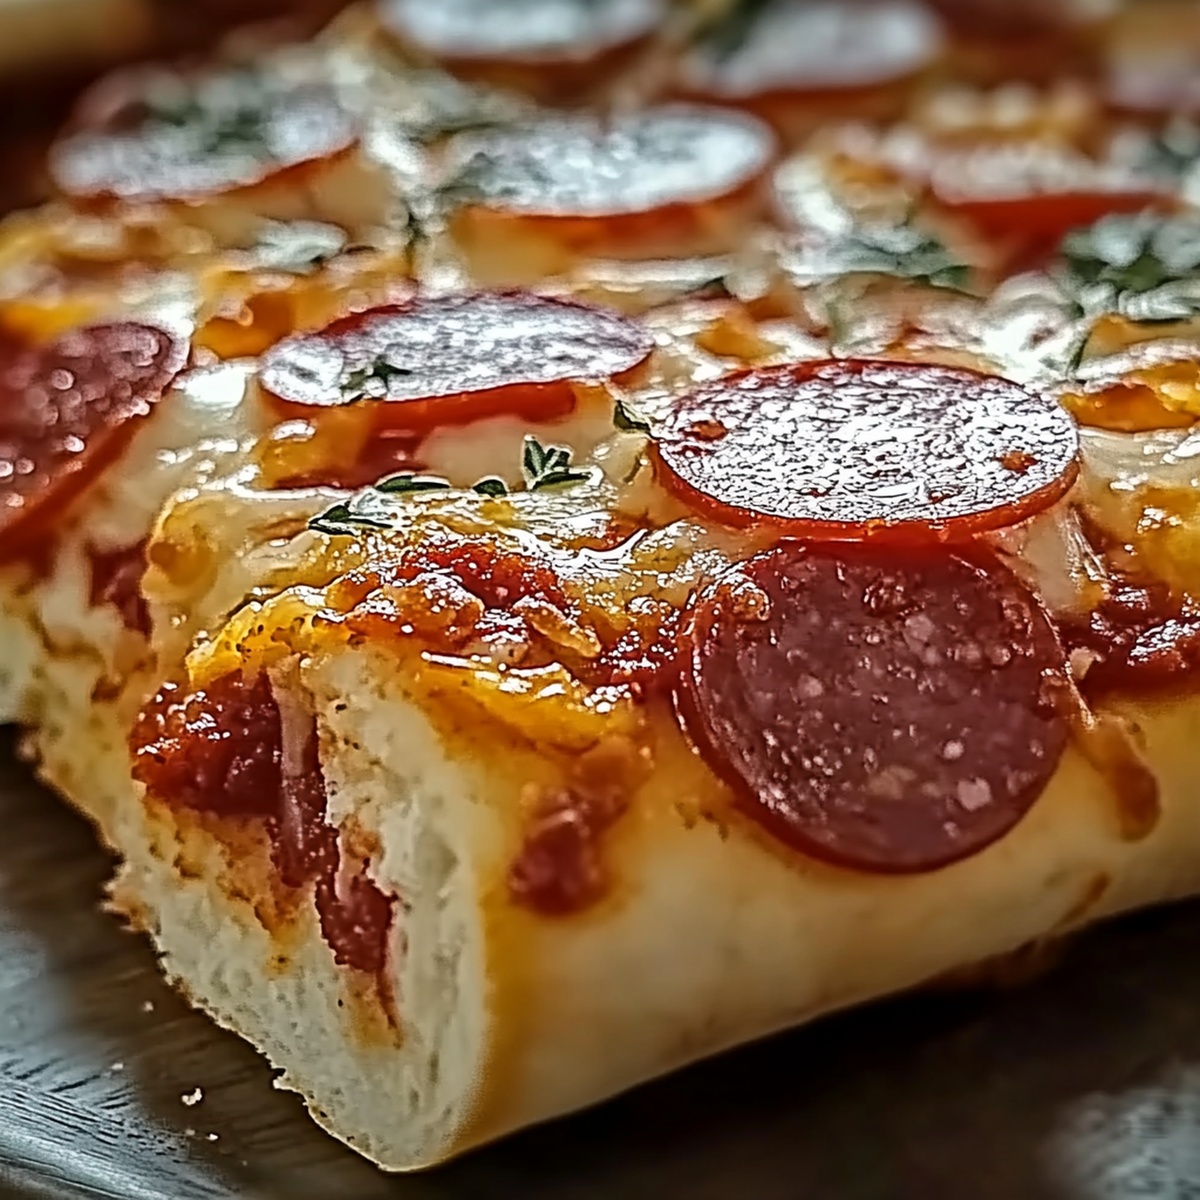
These crispy air fryer pepperoni rolls deliver comfort in every delectable bite.
The air fryer creates a perfectly crunchy exterior that elevates this classic treat.
Soft dough wraps around spicy pepperoni slices, promising a mouthwatering experience.
Simple ingredients come together effortlessly to produce a crowd-pleasing appetizer or lunch option.
Each roll emerges golden brown and irresistibly crisp, with cheese oozing from the edges.
Serve these delightful pepperoni rolls and watch everyone’s faces light up with excitement.
Quick Recipe Overview
Ingredients for Air Fryer Pepperoni Rolls
For Dough Base:For Filling Essentials:For Flavor Enhancers:Tools to Make Pepperoni Rolls
Steps to Air Fry Pepperoni Rolls
Spread out fresh pizza dough on a clean counter, transforming it into a delicious rectangular playground.
Scatter creamy mozzarella and spicy pepperoni slices across the dough’s surface, creating a mouthwatering landscape.
Carefully roll each rectangle into a compact bundle, gently tucking and sealing the edges to lock in all the delicious goodness.
Massage olive oil over each roll and dust with zesty garlic powder and vibrant Italian herbs, awakening their flavor potential.
Nestle the rolls into your air fryer basket, giving each one breathing room, and cook until they turn a gorgeous golden brown with irresistible crispy edges.
Pull out your sizzling pepperoni rolls and let them cool briefly before diving into these crispy, cheesy delights that are guaranteed to make taste buds dance.
Tips to Improve Pepperoni Rolls
Serving Ideas for Pepperoni Rolls
Storing Air Fryer Pepperoni Rolls
Print
Crispy Air Fryer Pepperoni Roll Recipe
- Total Time: 20 minutes
- Yield: 9 1x
Description
West Virginia’s classic air fryer pepperoni roll brings nostalgic comfort straight from Appalachian kitchens. Crispy dough wraps around spicy pepperoni, creating a simple yet satisfying snack you can quickly prepare at home.
Ingredients
- 1 can refrigerated pizza dough
- 20 slices pepperoni
- 1 cup (240 ml) shredded mozzarella cheese
- 1 tbsp (15 ml) olive oil
- ½ tsp garlic powder
- ½ tsp Italian seasoning
- Marinara sauce (optional)
Instructions
- Preparation: Stretch pizza dough into uniform rectangular shapes on a clean surface, focusing on maintaining consistent thickness throughout.
- Layering: Create a luscious foundation by generously spreading mozzarella cheese across the center of each dough section, then meticulously arrange pepperoni slices in an overlapping pattern to cover the cheese completely.
- Sealing: Carefully fold dough edges inward, completely encasing the cheese and pepperoni, pressing firmly to create a tight, secure seal that prevents filling from escaping during cooking.
- Seasoning: Lavishly drizzle olive oil over the exterior of each roll, ensuring total coverage, then liberally dust with a harmonious blend of garlic powder and Italian seasoning to enhance flavor profile and aroma.
- Air Frying: Strategically position rolls in the air fryer basket, maintaining slight spacing to facilitate optimal heat circulation, then cook at the prescribed temperature, rotating midway to guarantee uniform golden-brown coloration and achieve an irresistibly crispy exterior.
- Finishing: Extract rolls once they transform into a rich, golden-brown delicacy with a satisfyingly crunchy texture, representing the perfect fusion of melted cheese, savory pepperoni, and crisp dough.
Notes
- Manage Dough Thickness: Roll the dough evenly to prevent uneven cooking and ensure consistent texture throughout the pepperoni roll.
- Seal Edges Securely: Press dough edges firmly and fold carefully to prevent cheese and pepperoni from leaking during air frying.
- Control Oil Distribution: Lightly drizzle olive oil to achieve a crispy golden exterior without making the roll overly greasy.
- Optimize Air Circulation: Space rolls slightly apart in the air fryer basket to guarantee uniform heat distribution and crisp browning.
- Prep Time: 10 minutes
- Cook Time: 10 minutes
- Category: Snacks, Lunch
- Method: Frying
- Cuisine: Italian
Nutrition
- Serving Size: 9
- Calories: 250
- Sugar: 1 g
- Sodium: 650 mg
- Fat: 15 g
- Saturated Fat: 5 g
- Unsaturated Fat: 10 g
- Trans Fat: 0 g
- Carbohydrates: 24 g
- Fiber: 1 g
- Protein: 9 g
- Cholesterol: 30 mg
John Nicholson
Lead Writer & Recipe Developer
Expertise
Recipe Testing and Development, Kitchen Hacks and Time-Saving Tips, Flavor Pairing and Ingredient Selection, Engaging Food Writing and Storytelling
Education
Johnson & Wales University
John Nicholson honed his skills at Johnson & Wales University, learning how to use fresh, local ingredients and down-to-earth techniques to make cooking simple and satisfying.
His recipes blend Southern comfort flavors with a modern touch, inviting everyone to cook with ease and confidence.
Living in Charleston, John takes cues from the city’s lively food scene, local markets, and seasonal produce. He’s all about making meals stress-free through easy tips, flavor pairings, and fun experiments in the kitchen