
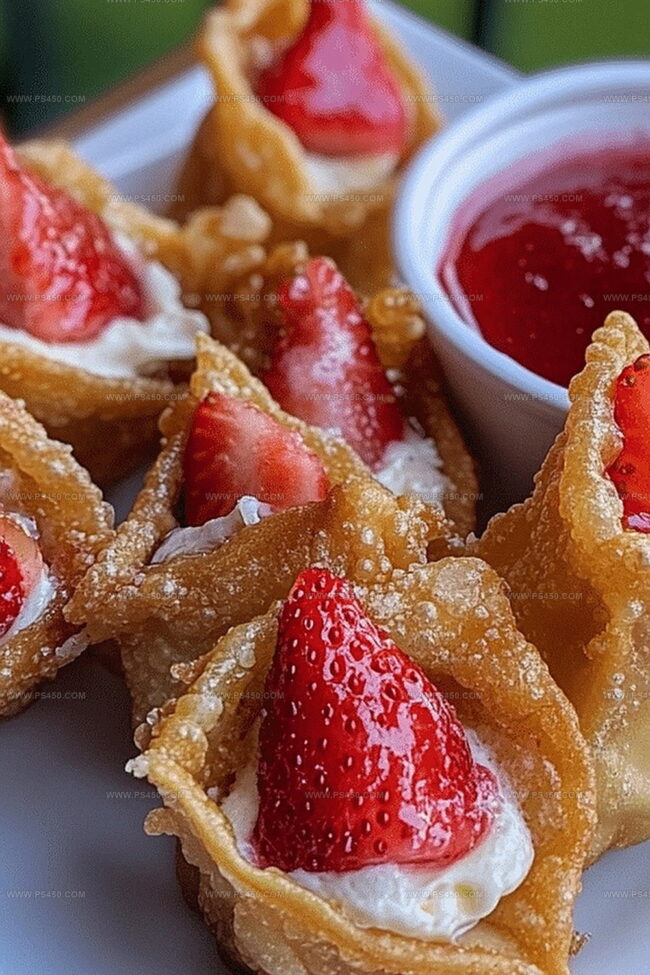
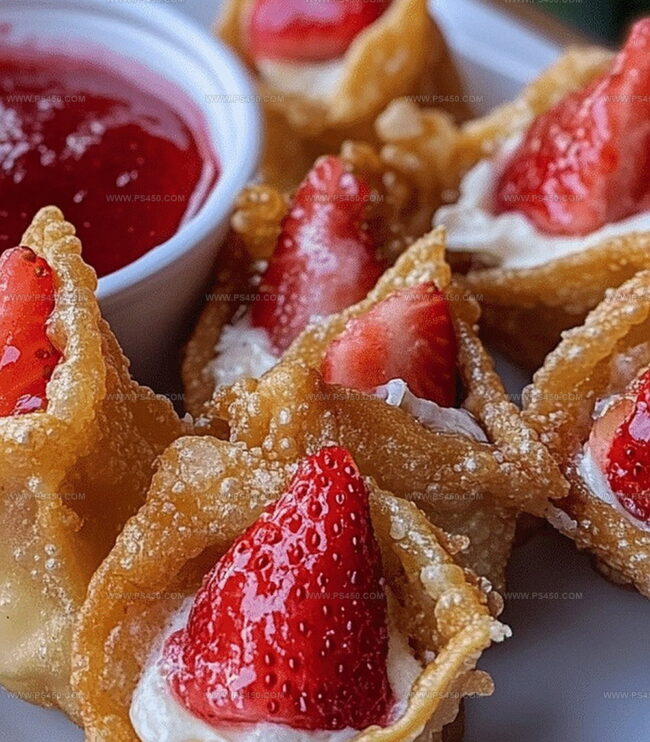
Deep-Fried Strawberry Cheesecake Wonton Bites Recipe
Dessert magic happens when crispy deep-fried strawberry cheesecake wonton bites blend creamy and crunchy textures in one irresistible treat.
Sweet strawberries and rich cream cheese nestle inside delicate wonton wrappers, waiting to be transformed by hot oil.
Each golden-brown morsel promises a delightful contrast between the crackling exterior and silky interior.
The bite-sized delicacy offers a playful twist on classic cheesecake that surprises and delights.
Elegant yet approachable, these wonton bites work perfectly for casual gatherings or sophisticated dessert tables.
Prepare to impress with this unexpected culinary gem that turns simple ingredients into an extraordinary experience.
You won’t be able to stop at just one of these decadent little parcels.
Quick Recipe Overview
What’s Inside Deep-Fried Strawberry Cheesecake Wonton Bites
For Cheesecake Filling:For Wrapping and Sealing:For Frying and Finishing:Tools You’ll Use to Fry Up Strawberry Cheesecake Wontons
How to Fold and Fry Strawberry Cheesecake Wonton Bites
Blend cream cheese until silky smooth. Mix in powdered sugar, vanilla, and sour cream. Gently fold chopped strawberries into the mixture for bursts of fruity goodness.
Lay out wonton wrappers. Dollop a spoonful of cheesecake filling in the center. Brush edges with water and seal into triangle or rectangular shapes, pressing firmly to prevent leaks.
Pour vegetable oil into a deep pan. Warm it to 350F, checking temperature by dropping a wrapper piece that should sizzle instantly when ready.
Slide wontons carefully into hot oil. Fry in small batches until golden brown, turning once to ensure even crispiness. This should take about 2-3 minutes per batch.
Remove wontons with a slotted spoon, letting excess oil drip away. Sprinkle with powdered sugar. Optional: Garnish with fresh strawberry slices for extra pizzazz.
Secrets for Crisp and Wonton Bites
Serving Up Strawberry Cheesecake Wontons with Style
How to Keep Wonton Bites Tasty After Frying
FAQs
No, wonton wrappers are thinner and smaller compared to egg roll wrappers. They are typically made from flour, eggs, and water, creating a delicate texture perfect for these cheesecake bites.
Fresh strawberries work best for this recipe. Frozen strawberries release too much moisture, which can make the filling watery and affect the texture of the cheesecake bites.
Ensure the edges are sealed tightly by pressing them firmly with water. Avoid overfilling the wrappers and handle them gently when placing them in hot oil to prevent tearing.
You can prepare the cheesecake filling and assemble the wontons a day in advance. Keep them refrigerated and covered. Fry them just before serving to maintain their crispy texture.
Print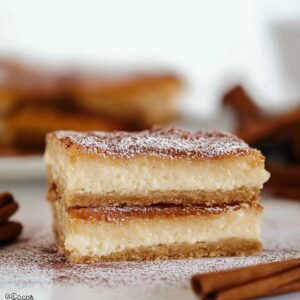
Heavenly Churro Cheesecake Recipe
- Total Time: 2 hours 50 minutes
- Yield: 9 1x
Description
Creamy churro cheesecake brings Mexican dessert magic to classic American baking. Sweet cinnamon layers and graham cracker crust create delightful flavor harmony for dessert enthusiasts.
Ingredients
- 2 packages (8 oz/226 g) cream cheese, softened
- 2 cans (8 oz/226 g) refrigerated crescent roll dough
- 1 cup (200 g) granulated sugar
- ¼ cup (57 g) unsalted butter, melted
- 1 tbsp ground cinnamon
- 1 tsp vanilla extract
Instructions
- Prepare Baking Vessel: Coat a 9×13-inch dish thoroughly with cooking spray to prevent adherence and ensure smooth removal.
- Create Foundation Layer: Unfurl first crescent roll dough, pressing meticulously across the dish’s bottom, sealing all seams to form a uniform base.
- Craft Creamy Filling: Whip cream cheese using an electric mixer until silky, gradually integrating sugar and vanilla extract to achieve a velvety, lump-free consistency.
- Layer and Assemble: Spread cream cheese mixture evenly across dough foundation, ensuring complete coverage to all dish corners.
- Construct Top Layer: Gently position second crescent roll sheet over filling, aligning edges and minimizing visible gaps.
- Enhance Texture: Brush melted butter comprehensively across top dough layer for golden, crisp finish.
- Add Aromatic Topping: Blend remaining sugar with ground cinnamon, then liberally dust over buttered surface to create a fragrant, caramelized coating.
- Bake and Transform: Slide dish into preheated 350°F (175°C) oven, baking until top achieves a crisp, golden-brown appearance, approximately 30-35 minutes.
- Chill and Set: Allow dessert to cool completely at room temperature, then refrigerate for minimum two hours to solidify layers and intensify flavors.
Notes
- Manage Dough Seamlessly: Gently press crescent roll sheets to eliminate air pockets and seal seams completely, preventing uneven baking or separation during cooking.
- Temperature Control Matters: Allow cream cheese to reach room temperature before mixing to ensure silky smooth texture without annoying lumps or streaks.
- Prevent Soggy Bottom: Avoid overloading cream cheese filling by spreading evenly and not exceeding recommended thickness to maintain crisp crust integrity.
- Customize Cinnamon Sugar Coating: Adjust sugar-to-cinnamon ratio based on personal preference, experimenting with ratios for more intense or subtle flavor profile.
- Prep Time: 15 minutes
- Cook Time: 35 minutes
- Category: Desserts, Snacks
- Method: Baking
- Cuisine: Mexican
Nutrition
- Serving Size: 9
- Calories: 292
- Sugar: 22 g
- Sodium: 214 mg
- Fat: 18 g
- Saturated Fat: 11 g
- Unsaturated Fat: 5 g
- Trans Fat: 0 g
- Carbohydrates: 30 g
- Fiber: 0 g
- Protein: 4 g
- Cholesterol: 47 mg
John Nicholson
Lead Writer & Recipe Developer
Expertise
Recipe Testing and Development, Kitchen Hacks and Time-Saving Tips, Flavor Pairing and Ingredient Selection, Engaging Food Writing and Storytelling
Education
Johnson & Wales University
John Nicholson honed his skills at Johnson & Wales University, learning how to use fresh, local ingredients and down-to-earth techniques to make cooking simple and satisfying.
His recipes blend Southern comfort flavors with a modern touch, inviting everyone to cook with ease and confidence.
Living in Charleston, John takes cues from the city’s lively food scene, local markets, and seasonal produce. He’s all about making meals stress-free through easy tips, flavor pairings, and fun experiments in the kitchen