Tasty Hawaiian Grilled Cheese Recipe That Everyone Craves
Melted cheese and tropical flavors collide in this irresistible crispy hawaiian grilled cheese that promises a mouthwatering adventure.
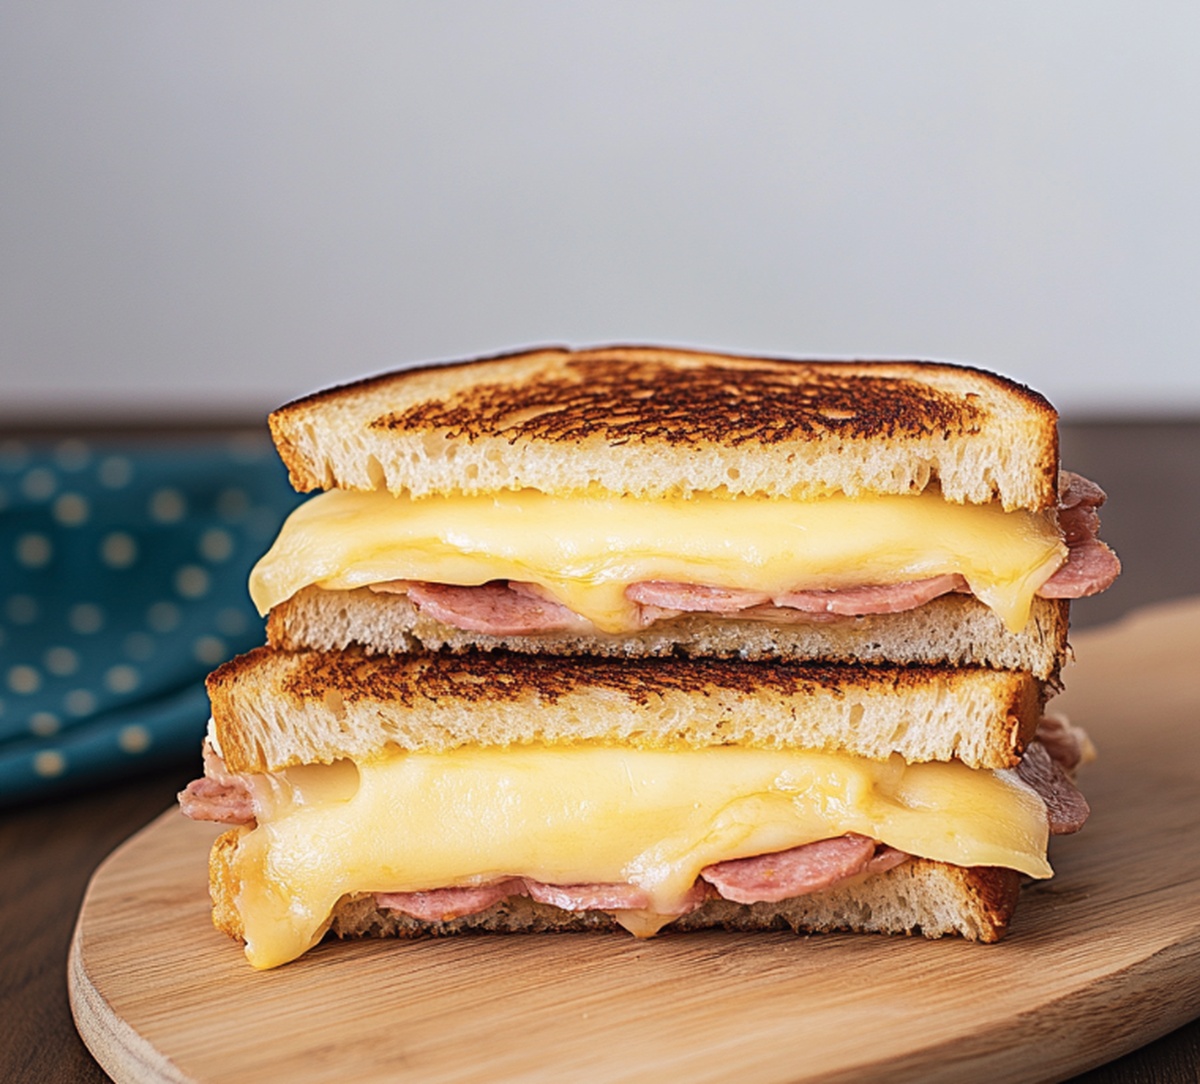
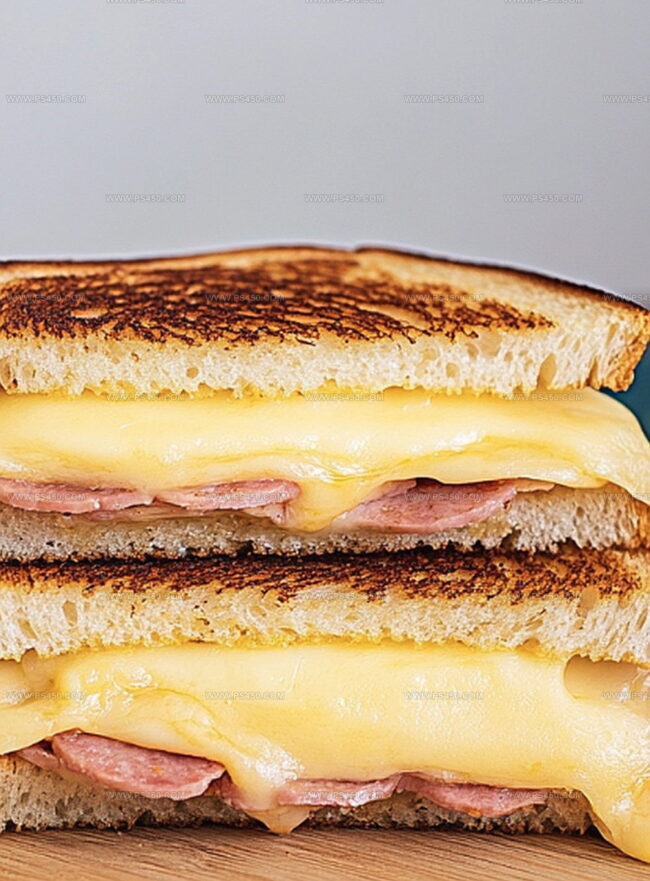
Sweet pineapple and savory ham dance between golden, buttery bread slices.
Crisp edges and gooey centers create a sandwich that breaks all the classic grilled cheese rules.
Each bite delivers a perfect balance of tangy and rich ingredients.
Sharp cheddar and creamy mozzarella melt into a luscious blend that complements the salty ham.
This sandwich transforms a simple comfort food into an island-inspired delight.
Prepare to transport your taste buds to a beachy paradise with every delectable bite.
Quick Recipe Overview
What’s Inside Hawaiian Grilled Cheese
For Bread And Base:For Protein And Filling:For Flavor Enhancers And Moisture:Tools To Make Hawaiian Grilled Cheese
Instructions For Hawaiian Grilled Cheese

Fire up your skillet or griddle on medium heat, creating the perfect zone for transforming simple ingredients into a mouthwatering masterpiece.
Generously coat one side of each bread slice with creamy, soft butter, ensuring a golden, crispy exterior that’ll make taste buds dance.
Layer your sandwich with precision: place bread butter-side down, then stack cheese, ham, succulent pineapple rings, and a splash of tangy BBQ sauce (optional) before crowning with another slice of bread.
Grill your creation for about 3-4 minutes on each side, applying gentle pressure with a spatula, until the bread turns a gorgeous golden brown and cheese melts into gooey deliciousness.
Tips To Elevate Hawaiian Grilled Cheese
Best Ways To Serve Hawaiian Grilled Cheese
Store And Plan For Hawaiian Grilled Cheese
Print
Crispy Hawaiian Grilled Cheese Recipe
- Total Time: 13 minutes
- Yield: 3 1x
Description
Mouthwatering hawaiian grilled cheese sandwiches blend sweet and savory flavors with classic comfort. Pineapple, ham, and melted cheese create a tropical twist on traditional grilled cheese that delights hungry diners looking for something special.
Ingredients
- 4 pineapple rings (fresh or canned, drained)
- 4 slices bread (sourdough or white sandwich bread)
- 4 slices Swiss cheese or mozzarella
- 4 slices deli ham (or Canadian bacon)
- 2 tbsps butter, softened
- 2 tbsps BBQ sauce (optional but tasty)
Instructions
- Preheat: Activate a skillet or griddle at medium heat to create an ideal grilling environment for the Hawaiian-inspired sandwich.
- Butter Preparation: Generously coat bread slices with softened butter, ensuring a potential for crispy, golden exteriors when grilled.
- Foundation Layer: Place the first bread slice butter-side down on the heated surface, then strategically layer cheese, ham, pineapple rings, and optional BBQ sauce to build a flavor-packed foundation.
- Cheese Crown: Top the ingredient stack with an additional cheese slice, then carefully position the second bread slice butter-side up to complete the sandwich structure.
- Grilling Process: Cook the sandwich for 3-4 minutes per side, applying gentle spatula pressure to compress layers and promote even melting, watching for a rich golden-brown color and completely liquefied cheese interior.
- Serving: Remove from heat, allow a brief resting moment, then slice diagonally to reveal the sandwich’s delectable layered composition and create an appealing presentation.
Notes
- Optimize Grilling Temperature: Keep skillet or griddle at medium heat to prevent burning while ensuring cheese melts perfectly and bread achieves golden-brown color.
- Butter Technique: Use softened butter at room temperature for even spreading, creating a consistent crispy exterior without tearing delicate bread.
- Cheese Melting Strategy: Select semi-soft cheese varieties like Swiss or provolone that melt smoothly and complement ham and pineapple’s flavor profile.
- Accommodate Dietary Needs: Replace ham with grilled chicken or plant-based protein for vegetarian version; use gluten-free bread for celiac-friendly alternative.
- Prep Time: 5 minutes
- Cook Time: 8 minutes
- Category: Breakfast, Lunch, Snacks
- Method: Grilling
- Cuisine: Hawaiian
Nutrition
- Serving Size: 3
- Calories: 490
- Sugar: 6 g
- Sodium: 1100 mg
- Fat: 24 g
- Saturated Fat: 12 g
- Unsaturated Fat: 8 g
- Trans Fat: 0 g
- Carbohydrates: 48 g
- Fiber: 2 g
- Protein: 22 g
- Cholesterol: 70 mg
John Nicholson
Lead Writer & Recipe Developer
Expertise
Recipe Testing and Development, Kitchen Hacks and Time-Saving Tips, Flavor Pairing and Ingredient Selection, Engaging Food Writing and Storytelling
Education
Johnson & Wales University
John Nicholson honed his skills at Johnson & Wales University, learning how to use fresh, local ingredients and down-to-earth techniques to make cooking simple and satisfying.
His recipes blend Southern comfort flavors with a modern touch, inviting everyone to cook with ease and confidence.
Living in Charleston, John takes cues from the city’s lively food scene, local markets, and seasonal produce. He’s all about making meals stress-free through easy tips, flavor pairings, and fun experiments in the kitchen