Fruity Pebbles Cheesecake Tacos Recipe: A Colorful Dessert Twist
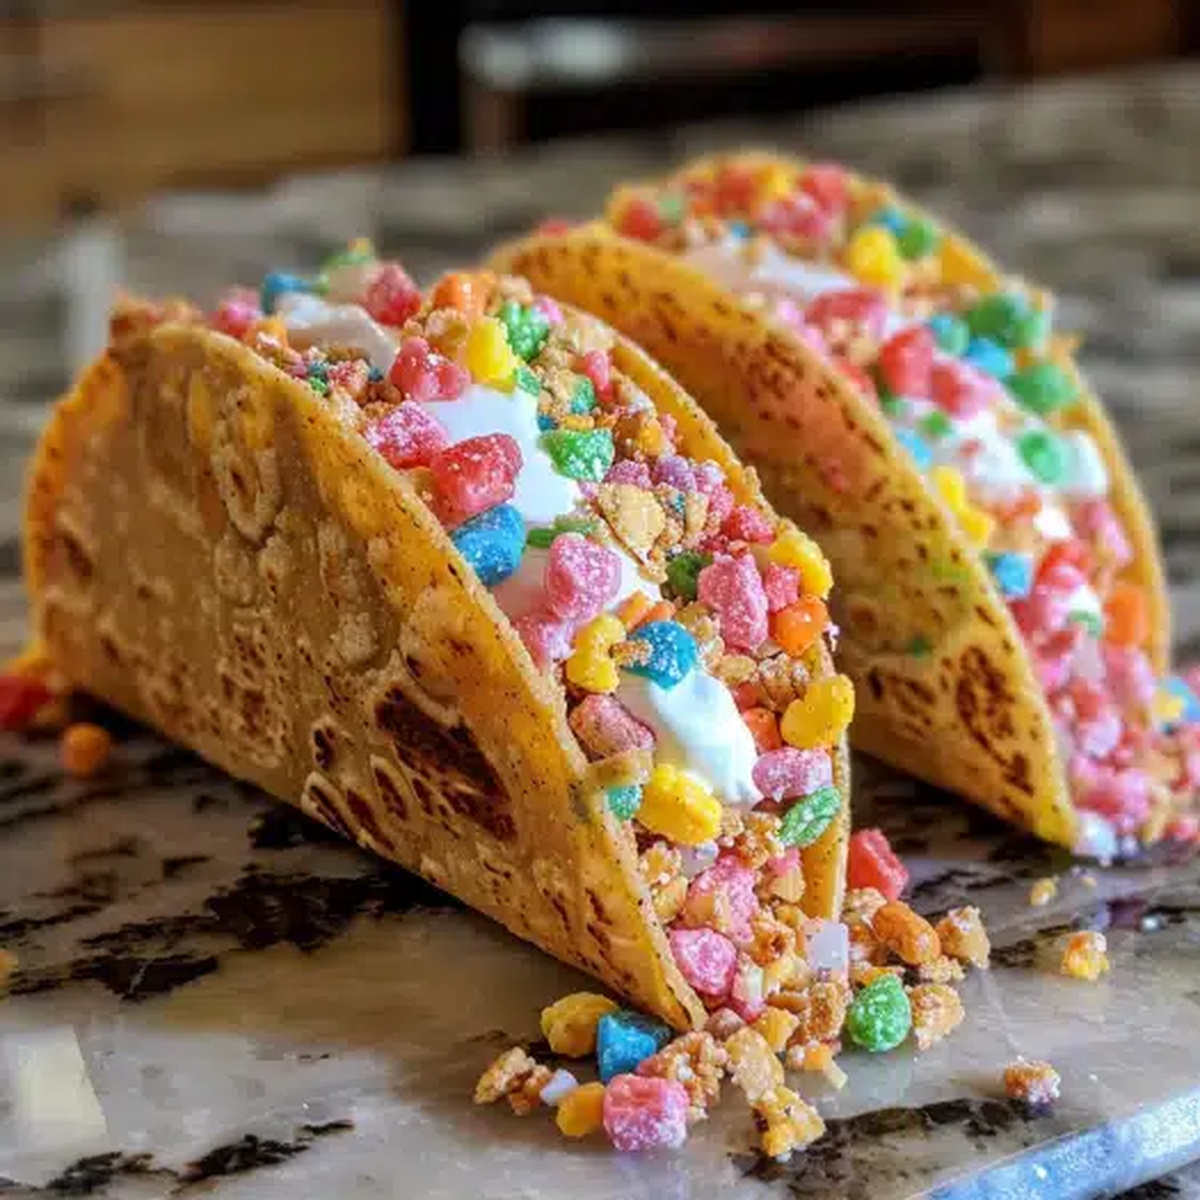
Crispy, golden, and delightfully unexpected, these pebbles cheesecake tacos dance on the edge of culinary creativity.
Sweet meets crunch in a dessert that defies traditional boundaries.
Breakfast cereal takes an exciting twist, becoming the star of a playful and indulgent treat.
Cereal lovers and dessert enthusiasts will fall head over heels for this unique recipe.
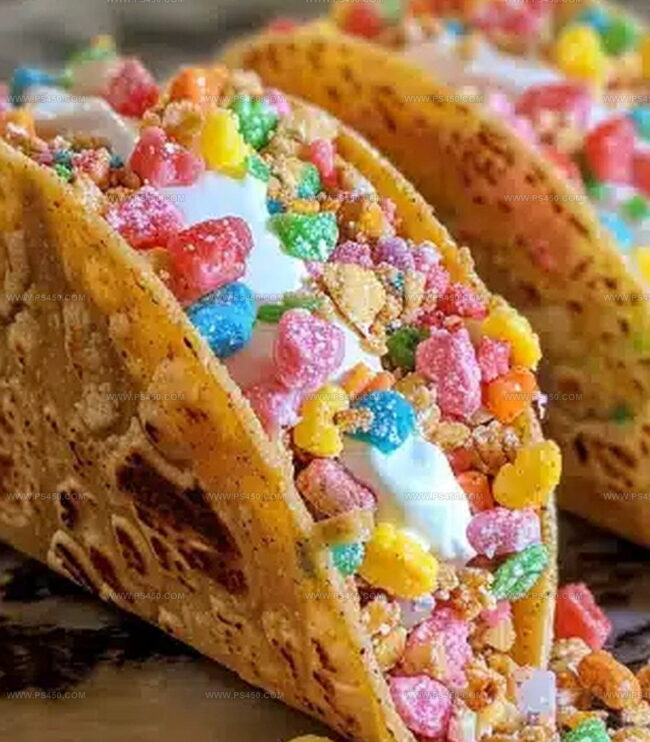
Chocolate pebbles create a delectable shell that cradles creamy cheesecake filling.
Each bite promises a symphony of textures and flavors that will surprise and delight.
Prepare to embark on a whimsical dessert adventure that breaks all the rules.
Quick Recipe Overview

Pebbles Cheesecake Tacos Ingredient Guide
For Taco Shell Creation:For Cheesecake Filling Base:For Whipping and Topping:Tools For Pebbles Cheesecake Tacos
Steps To Make Pebbles Cheesecake Tacos
Melt butter gently in a saucepan, then add marshmallows and stir until silky smooth. Mix in Fruity Pebbles cereal completely. While mixture remains warm, shape each scoop over the back of a greased utensil to form curved shells. Let shells cool and harden on a parchment-lined surface.
Beat cream cheese until ultra-smooth. Mix in powdered sugar and vanilla for extra sweetness. Separately, whip heavy cream until it forms beautiful peaks. Delicately fold whipped cream into cream cheese mixture, creating a light and fluffy filling.
Carefully fill each crispy cereal shell with the luscious cheesecake mixture. Sprinkle additional Pebbles on top for extra crunch and color. Add a dollop of whipped cream or any playful garnishes that spark joy.
For firmer texture, pop your creation in the refrigerator for a quick 15-minute cool-down before serving. Enjoy these whimsical treats immediately for maximum deliciousness.
Tips To Elevate Pebbles Cheesecake Tacos
How To Serve Pebbles Cheesecake Tacos
How To Store Pebbles Cheesecake Tacos
Print
Crispy Pebbles Cheesecake Tacos Recipe
- Total Time: 35 minutes
- Yield: 13 1x
Description
Scrumptious pebbles cheesecake tacos blend creamy dessert textures with playful Mexican-inspired presentation. Sweet graham cracker shells cradle rich cheesecake filling, inviting you to savor each delightful bite.
Ingredients
- 2 cups (480 ml) Fruity Pebbles cereal (or Cocoa Pebbles)
- 8 oz (226 g) cream cheese, softened
- 2 cups mini marshmallows
- 1 cup (240 ml) heavy whipping cream, cold
- 2 tbsps butter
- ½ cup (60 g) powdered sugar
- 1 tsp vanilla extract
- Extra Pebbles cereal
- Whipped cream (optional)
- Sprinkles (optional)
- White chocolate drizzle (optional)
Instructions
- Marshmallow Base Preparation: Melt butter in a medium saucepan over low heat, then gradually incorporate marshmallows, stirring until a smooth, glossy mixture forms.
- Cereal Shell Creation: Fold Fruity Pebbles into the warm marshmallow base, ensuring complete coverage of each cereal piece. While mixture remains pliable, drape approximately two tablespoons onto the back of a greased utensil to form curved taco shell shapes.
- Shell Setting: Position shells on a parchment-lined baking sheet, allowing them to cool and solidify at room temperature.
- Cheesecake Filling Development: Whip cream cheese until smooth, then blend in powdered sugar and vanilla extract until achieving a velvety consistency. In a separate bowl, whip heavy cream to stiff peaks, then gently fold into the cream cheese mixture to maintain its airy texture.
- Assembly and Finishing: Fill each Fruity Pebbles taco shell with the cheesecake mixture using a spoon or piping bag. Garnish with additional Fruity Pebbles, whipped cream, or preferred toppings. Chill briefly to set the filling and enhance flavor melding.
Notes
- Maintain Low Heat: Gently melt marshmallows to prevent burning and ensure smooth, even texture when creating taco shells.
- Work Quickly with Shells: Shape the Fruity Pebbles mixture while warm and pliable to achieve perfect curved taco shell forms.
- Gentle Folding Technique: Use a light, careful folding motion when mixing whipped cream into cream cheese to preserve airy, delicate texture.
- Chill for Best Results: Refrigerate assembled tacos briefly to help filling set and enhance flavor melding and structural integrity.
- Prep Time: 20 minutes
- Cook Time: 15 minutes
- Category: Desserts, Snacks
- Method: Mixing
- Cuisine: American
Nutrition
- Serving Size: 13
- Calories: 270
- Sugar: 20 g
- Sodium: 150 mg
- Fat: 18 g
- Saturated Fat: 11 g
- Unsaturated Fat: 7 g
- Trans Fat: 0 g
- Carbohydrates: 25 g
- Fiber: 1 g
- Protein: 3 g
- Cholesterol: 45 mg
John Nicholson
Lead Writer & Recipe Developer
Expertise
Recipe Testing and Development, Kitchen Hacks and Time-Saving Tips, Flavor Pairing and Ingredient Selection, Engaging Food Writing and Storytelling
Education
Johnson & Wales University
John Nicholson honed his skills at Johnson & Wales University, learning how to use fresh, local ingredients and down-to-earth techniques to make cooking simple and satisfying.
His recipes blend Southern comfort flavors with a modern touch, inviting everyone to cook with ease and confidence.
Living in Charleston, John takes cues from the city’s lively food scene, local markets, and seasonal produce. He’s all about making meals stress-free through easy tips, flavor pairings, and fun experiments in the kitchen