Crunchy Taco Sticks Recipe: Fun Finger Food Everyone Loves
Crunch meets creativity in these mouthwatering taco sticks that blend spicy mexican flavors with irresistible texture.
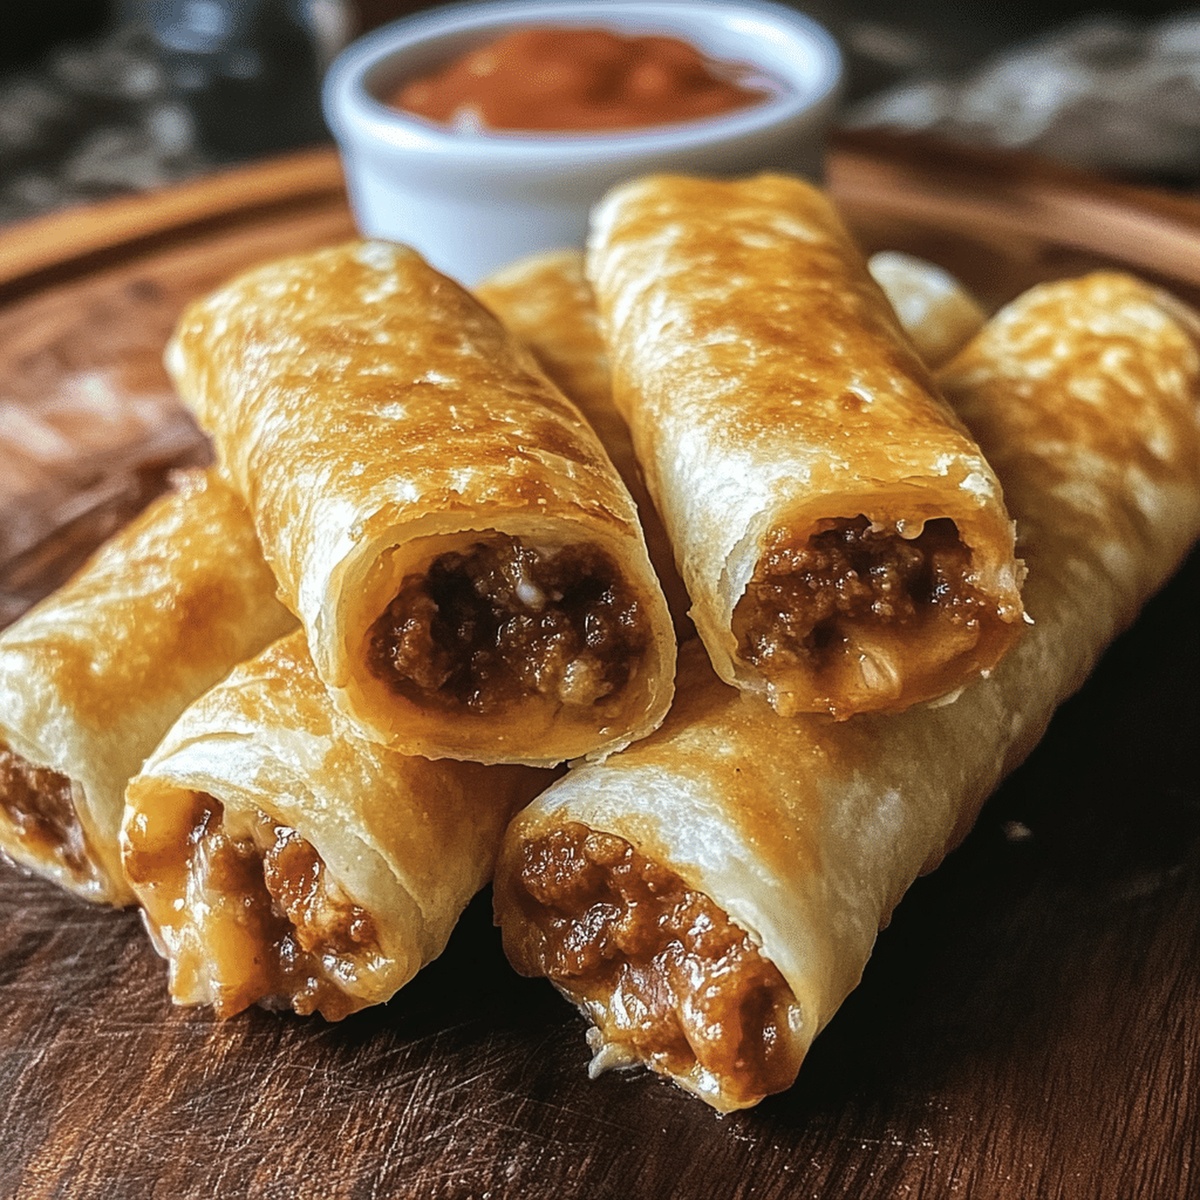
Golden-brown and packed with savory goodness, these crispy taco sticks promise a delightful twist on traditional taco fare.
Each bite delivers a perfect balance of seasoned meat and melted cheese wrapped in a crunchy exterior.
The recipe transforms simple ingredients into a crowd-pleasing appetizer that sparks conversation and delights taste buds.
Families and friends will love gathering around to enjoy these handheld delights that combine the best of comfort food and mexican-inspired cuisine.
Serve these crispy taco sticks and watch as everyone reaches for seconds with pure culinary excitement.
Quick Recipe Overview

Ingredients That Build Cheesy Taco Sticks Recipe
For Dough Base:For Cheese and Filling:For Topping and Finishing:Kitchen Tools to Make Cheesy Taco Sticks with Ease
How to Make Cheesy Taco Sticks from Start to Finish

Crank your oven to a toasty 375F and get ready for some delicious.
Grab a baking sheet and either line it with parchment paper or give it a quick spray of cooking oil to prevent sticking.
Roll out your pizza dough into a large rectangle, making sure it’s smooth and even.
Spread a generous layer of salsa or taco sauce across the dough, leaving a small border around the edges.
Sprinkle ground beef or shredded chicken evenly over the sauce, covering the entire surface.
Scatter a hearty amount of shredded cheese over the meat, ensuring every inch is covered with melty goodness.
Carefully roll the dough into a tight log, starting from the long side, then slice into even rounds about an inch thick.
Place the rounds cut-side up on your prepared baking sheet, spacing them slightly apart.
Pop the tray into the preheated oven and bake for 15-20 minutes until the edges are golden brown and the cheese is bubbling.
Let the taco sticks rest for a few minutes, then serve hot and enjoy the flavor explosion!
Tasty Twists to Try with Cheesy Taco Sticks
How to Plate Cheesy Taco Sticks for Any Crowd
Store Cheesy Taco Sticks So They Stay Fresh
FAQs
You’ll need pizza dough, taco seasoning, shredded cheese, ground beef, and optional toppings like chopped cilantro or green onions. These simple ingredients create a delicious handheld snack that combines the flavors of tacos and cheesy bread.
Absolutely! Ground turkey, chicken, or even plant-based meat alternatives work great. Just make sure to season the meat well with taco seasoning to keep those signature taco flavors.
Yes! Kids love these cheesy taco sticks because they’re easy to eat, have familiar flavors, and look fun. They’re perfect for lunch boxes, after-school snacks, or quick dinner options that both children and adults will enjoy.
To prevent cheese leakage, make sure to seal the edges of the dough tightly and avoid overstuffing. Roll the dough carefully and pinch the seams closed before placing on the baking sheet to keep all that cheesy goodness inside.
Print
Crispy Taco Sticks Recipe
- Total Time: 30 minutes
- Yield: 9 1x
Description
Irresistible Cheesy Taco Sticks combine Mexican-inspired flavors with crispy, melted cheese goodness. Quick appetizers bring zesty comfort perfect for game day or casual gatherings with friends.
Ingredients
- 1 lb (450 g) ground beef
- 1 tube (13.8 oz) refrigerated pizza dough
- 8 mozzarella string cheese sticks
- ¼ cup water
- 1 packet (1 oz) taco seasoning mix (or homemade)
- 2 tbsps butter, melted
- ¼ cup shredded cheddar cheese (optional)
- ½ tsp garlic powder
- ½ tsp dried parsley (optional)
- Salsa
- Guacamole
- Sour cream
Instructions
- Preheat: Warm the oven to 375F (190C), creating an ideal baking environment.
- Prep Surface: Cover a baking sheet with parchment paper or lightly grease to prevent sticking.
- Dough Preparation: Spread crescent roll dough flat, creating a rectangular base for the taco sticks.
- Layer Ingredients: Distribute ground beef mixture evenly across the dough, ensuring complete coverage.
- Cheese Distribution: Generously scatter shredded cheese over the seasoned meat, creating a rich flavor foundation.
- Rolling Technique: Tightly roll the dough into a compact cylinder, carefully sealing the edges to lock in the filling.
- Cutting and Positioning: Slice the rolled dough into uniform segments and arrange on the prepared baking sheet with slight spacing.
- Final Cheese Topping: Sprinkle additional cheese on top of each taco stick for an enhanced crispy exterior.
- Baking Process: Transfer to the preheated oven and bake for 12-15 minutes until achieving a golden-brown coloration.
- Serving: Allow the taco sticks to rest briefly, then serve hot with salsa, sour cream, or preferred dipping sauce.
Notes
- Maintain Even Thickness: Spread ground beef mixture uniformly to ensure consistent cooking and prevent undercooked or dry sections.
- Seal Edges Tightly: Press dough edges firmly to prevent cheese and meat from leaking during baking, preserving the structural integrity of taco sticks.
- Control Cheese Distribution: Sprinkle cheese strategically to avoid burning and create a perfect melted texture across the entire surface.
- Customize Dietary Needs: Substitute ground beef with plant-based crumbles for vegetarian version or use lean turkey for lower-fat alternative.
- Prep Time: 15 minutes
- Cook Time: 15 minutes
- Category: Snacks, Appetizer, Lunch
- Method: Baking
- Cuisine: Mexican
Nutrition
- Serving Size: 9
- Calories: 360
- Sugar: 2 g
- Sodium: 800 mg
- Fat: 20 g
- Saturated Fat: 10 g
- Unsaturated Fat: 8 g
- Trans Fat: 0 g
- Carbohydrates: 28 g
- Fiber: 1 g
- Protein: 18 g
- Cholesterol: 55 mg
John Nicholson
Lead Writer & Recipe Developer
Expertise
Recipe Testing and Development, Kitchen Hacks and Time-Saving Tips, Flavor Pairing and Ingredient Selection, Engaging Food Writing and Storytelling
Education
Johnson & Wales University
John Nicholson honed his skills at Johnson & Wales University, learning how to use fresh, local ingredients and down-to-earth techniques to make cooking simple and satisfying.
His recipes blend Southern comfort flavors with a modern touch, inviting everyone to cook with ease and confidence.
Living in Charleston, John takes cues from the city’s lively food scene, local markets, and seasonal produce. He’s all about making meals stress-free through easy tips, flavor pairings, and fun experiments in the kitchen