
Crunchy Homemade Granola Bars Recipe: Simple Joy in Every Bite
Breakfast just got a delightful upgrade with these homemade crunchy granola bars that pack a serious flavor punch.
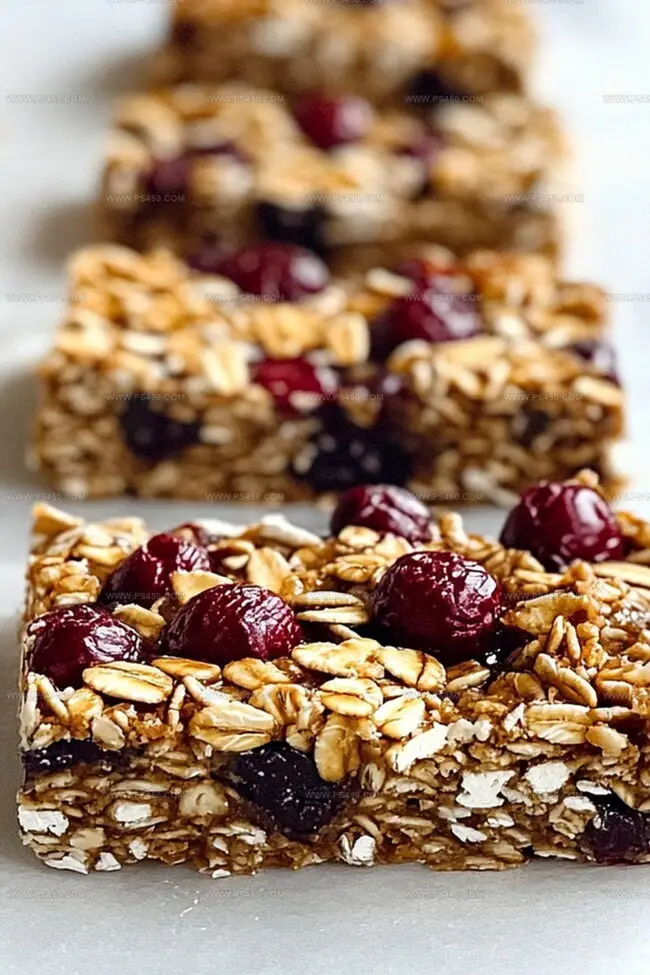
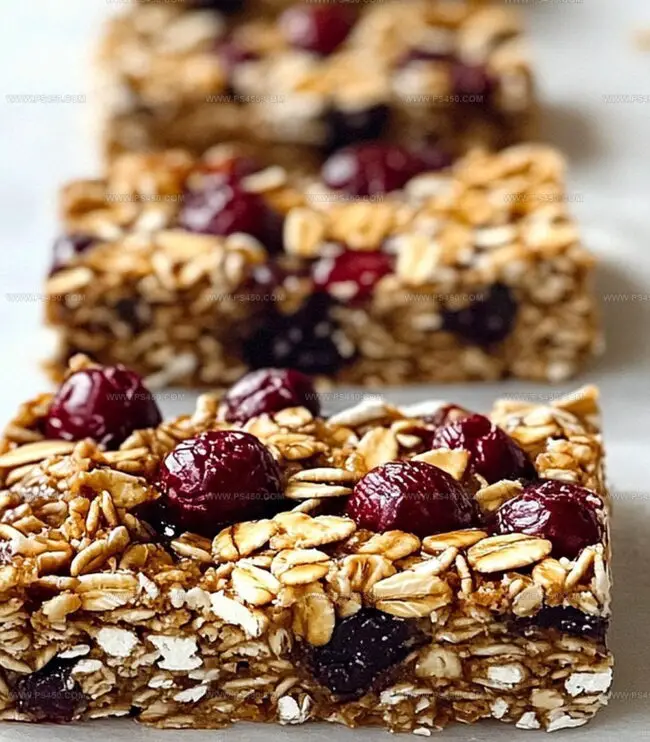
Crisp, golden oats blend perfectly with the nutty richness of almonds and seeds in this irresistible recipe.
Every bite delivers a satisfying crunch that beats store-bought versions hands down.
The simple ingredients come together effortlessly, creating a snack you’ll want to make again and again.
Drizzled with a touch of honey and sprinkled with golden brown edges, these bars offer a wholesome treat perfect for morning rushes or afternoon energy boosts.
Each bar promises a delicious balance of sweetness and texture that will keep you coming back for more.
Whip up a batch and discover your new favorite grab-and-go breakfast companion.
Quick Recipe Overview
Nutritious Ingredients For Homemade Granola Bars
For Base Ingredients:For Binding and Sweetening Ingredients:For Flavor Enhancers:For Optional Mix-Ins:Kitchen Tools For Easy Granola Bars
Steps To Make Granola Bars From Scratch
Line a square baking pan with parchment paper, creating an overhang for easy removal.
Mix oats and crispy rice cereal in a large mixing bowl, creating a crunchy foundation for your homemade snack.
Warm peanut butter, honey, and brown sugar in a saucepan over medium heat, stirring until the mixture becomes smooth and slightly bubbly.
Remove from heat and blend in vanilla extract and a pinch of salt to elevate the taste.
Pour the warm mixture over dry ingredients, stirring thoroughly to ensure complete coating. Allow to cool momentarily, then gently fold in chocolate chips or preferred mix-ins.
Press the mixture firmly into the prepared pan, using a spatula or your hands to create an even, compact layer.
Refrigerate for at least an hour to help the bars firm up, then cut into individual servings.
Keep bars in an airtight container at room temperature for a week, or refrigerate for extended freshness.
Fun Twists For Granola Bars Flavor
Ways To Serve Granola Bars Anytime
Tips To Store Granola Bars For Snacking
Print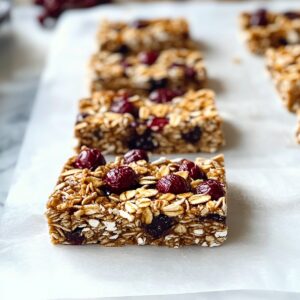
Crunchy Granola Bars Recipe
- Total Time: 1 hour 15 minutes
- Yield: 13 1x
Description
Homemade chocolate chip granola bars deliver a delightful crunch with balanced sweetness and nutty undertones. Packed with wholesome ingredients, these bars offer a satisfying snack perfect for quick energy boosts you can enjoy anytime.
Ingredients
- 2 ½ cups (595 ml) old-fashioned rolled oats
- ½ cup (120 ml) mini chocolate chips
- ½ cup (120 ml) dried fruit or chopped nuts
- 1 cup (240 ml) crispy rice cereal
- ½ cup (120 ml) peanut butter or almond butter
- ½ cup (120 ml) honey or maple syrup
- ¼ cup (60 ml) brown sugar
- 1 tsp vanilla extract
- ¼ tsp salt
Instructions
- Pan Preparation: Line a baking pan with parchment paper, allowing excess to hang over edges for effortless extraction.
- Base Blend: Thoroughly mix rolled oats and crispy rice cereal in a large mixing bowl, creating a textural foundation.
- Syrup Creation: Gently melt peanut butter, honey, and brown sugar in a saucepan over medium heat, stirring continuously until the mixture becomes a smooth, glossy liquid with gentle bubbling.
- Flavor Enhancement: Remove from heat and whisk in vanilla extract and salt, ensuring complete integration of aromatics.
- Ingredient Fusion: Pour warm syrup over dry ingredients, using a spatula to coat every morsel uniformly, creating a cohesive mixture that binds completely.
- Mix-in Incorporation: Fold chocolate chips or alternative ingredients gently into the cooling mixture, distributing them evenly throughout the granola base.
- Compression and Setting: Press the mixture firmly into the prepared pan, creating a compact, uniform layer. Refrigerate for one hour to solidify the bars completely.
- Portioning: Extract the set granola block using parchment paper overhang, then slice into precise rectangles or squares with a sharp knife.
- Storage: Preserve the granola bars in an airtight container, maintaining optimal freshness at room temperature for up to a week or refrigerated for extended preservation.
Notes
- Perfect Pan Preparation: Line the baking pan meticulously with parchment paper, ensuring edges extend slightly for hassle-free bar removal and clean cutting.
- Control Syrup Consistency: Heat peanut butter, honey, and brown sugar slowly, stirring continuously to prevent burning and achieve a smooth, glossy binding liquid.
- Prevent Crumbly Texture: Press the mixture firmly and evenly into the pan, compacting ingredients to ensure bars hold together without falling apart when sliced.
- Smart Storage Strategy: Keep granola bars in an airtight container at room temperature for up to a week, or refrigerate for longer preservation and firmer texture.
- Prep Time: 5 minutes
- Cook Time: 10 minutes
- Category: Snacks, Breakfast
- Method: Mixing
- Cuisine: American
Nutrition
- Serving Size: 13
- Calories: 170
- Sugar: 10 g
- Sodium: 50 mg
- Fat: 7 g
- Saturated Fat: 1 g
- Unsaturated Fat: 5 g
- Trans Fat: 0 g
- Carbohydrates: 24 g
- Fiber: 2 g
- Protein: 4 g
- Cholesterol: 0 mg
John Nicholson
Lead Writer & Recipe Developer
Expertise
Recipe Testing and Development, Kitchen Hacks and Time-Saving Tips, Flavor Pairing and Ingredient Selection, Engaging Food Writing and Storytelling
Education
Johnson & Wales University
John Nicholson honed his skills at Johnson & Wales University, learning how to use fresh, local ingredients and down-to-earth techniques to make cooking simple and satisfying.
His recipes blend Southern comfort flavors with a modern touch, inviting everyone to cook with ease and confidence.
Living in Charleston, John takes cues from the city’s lively food scene, local markets, and seasonal produce. He’s all about making meals stress-free through easy tips, flavor pairings, and fun experiments in the kitchen