Decadent Peanut Butter Passion Bars Recipe to Love
Chocolate and peanut butter create an irresistible dance of flavors in these decadent peanut butter passion bars that promise pure indulgence.
Sweet layers of creamy goodness melt together with rich chocolate undertones.
Each bite delivers a symphony of textures that will make your taste buds sing.
The recipe combines simple ingredients with remarkable results.
No complicated techniques stand between you and this delightful dessert.
Crumbly, smooth, and utterly satisfying, these bars are the perfect treat for any chocolate and peanut butter enthusiast.
Prepare to experience a dessert that turns an ordinary moment into something extraordinary.
Quick Recipe Overview
Ingredients for Peanut Butter Passion Bars
For Crust Base:For Peanut Butter Layer:For Chocolate Topping:Gear Up to Prepare Peanut Butter Passion Bars
Steps to Create Peanut Butter Passion Bars
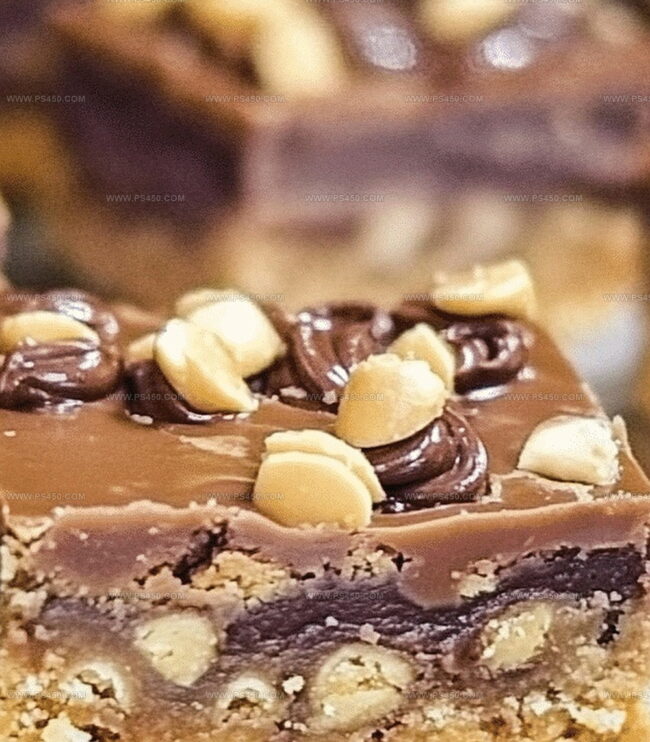
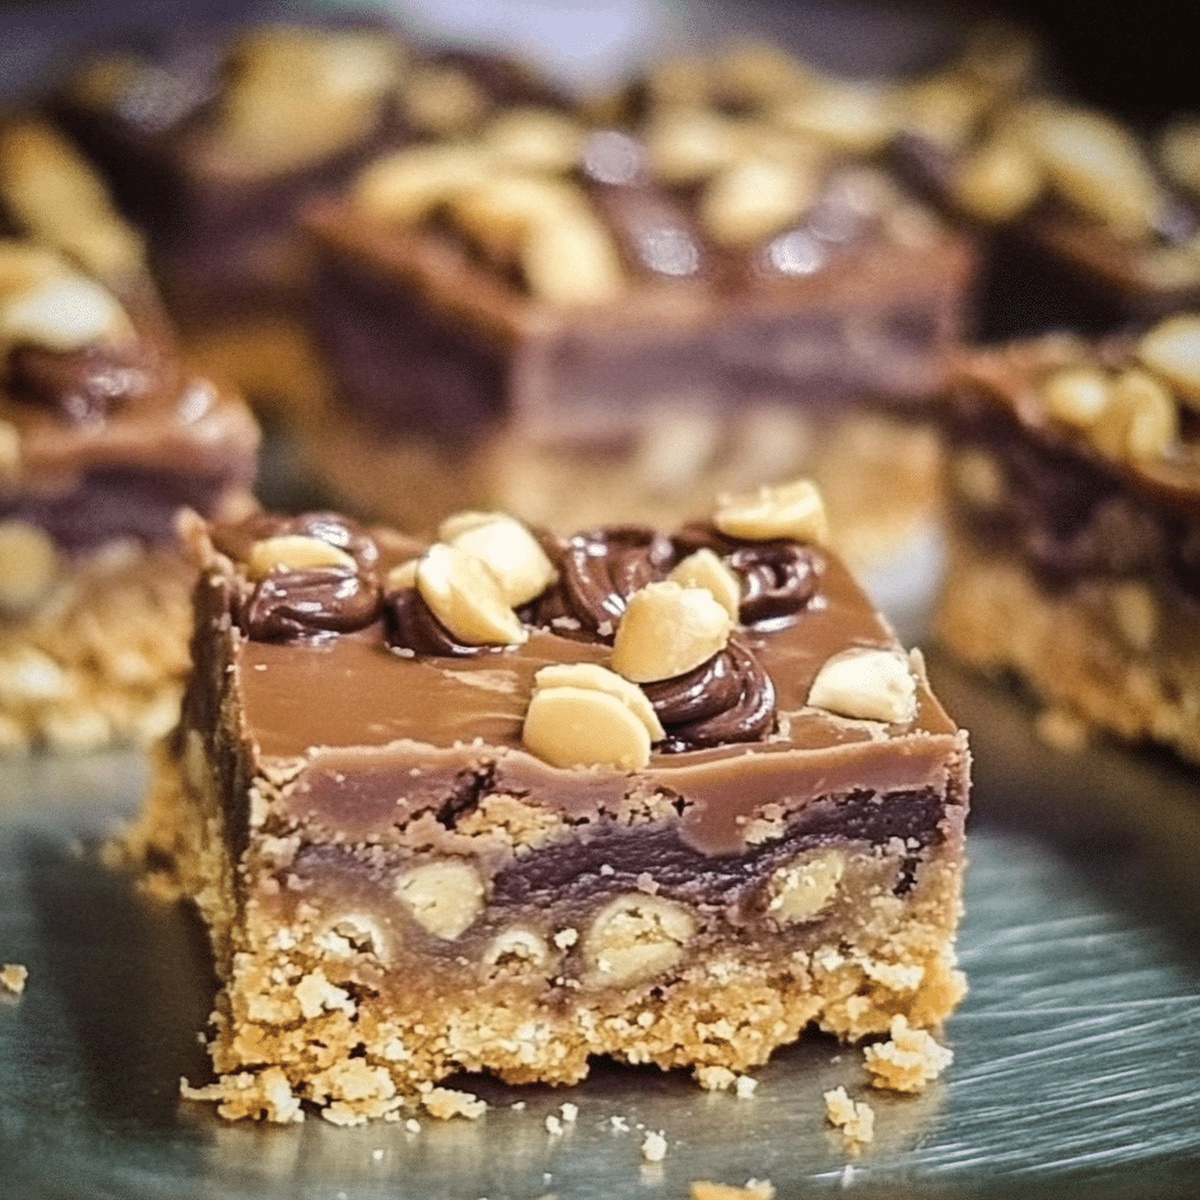
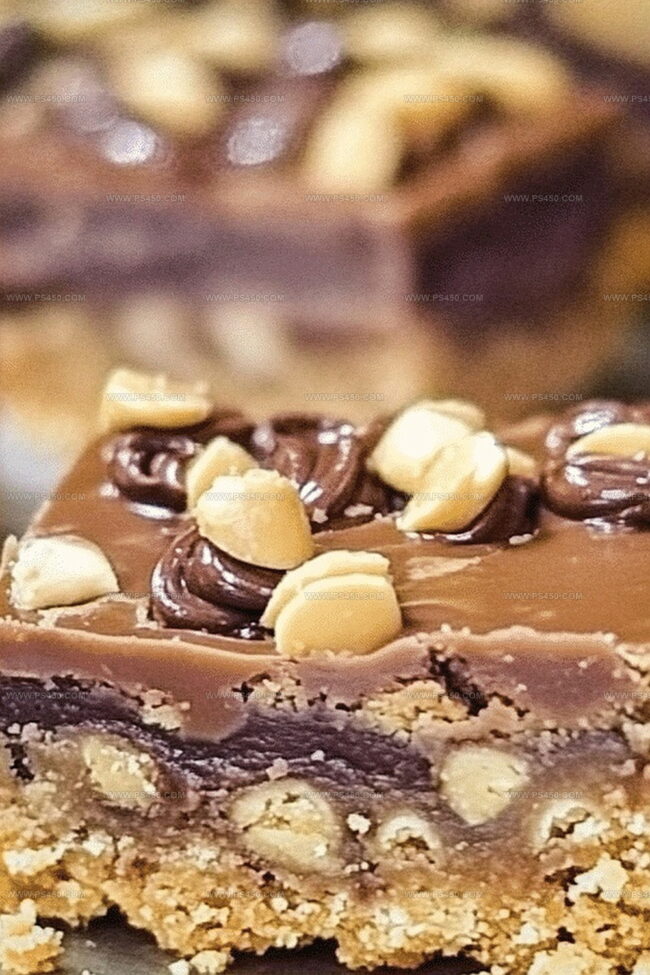
Mix graham cracker crumbs with sugar and melted butter until the texture feels like wet beach sand. Press this mixture firmly into a baking dish, creating a solid foundation. Pop the base into the refrigerator to firm up for a quick 15 minutes.
Whip together creamy peanut butter with powdered sugar, adding a touch of melted butter and vanilla. Spread this luscious mixture smoothly across the chilled crust, creating a rich and decadent layer that promises pure indulgence.
Melt chocolate chips and butter in the microwave, stirring gently until silky and glossy. Pour this liquid chocolate over the peanut butter layer, creating a stunning, smooth chocolate blanket that will make taste buds dance.
Tuck the dessert into the refrigerator for a couple of hours, allowing the layers to set and flavors to meld. Once firm, slice into squares and surrender to the ultimate sweet and salty experience that combines crunch, creaminess, and chocolate bliss.
Tips to Upgrade Peanut Butter Passion Bars
How to Serve Peanut Butter Passion Bars
Keeping Peanut Butter Passion Bars Fresh
FAQs
Yes, you can use natural peanut butter, but make sure it’s well-stirred and has a creamy consistency. Natural peanut butter might make the filling slightly less sweet and a bit more runny, so you may need to adjust the powdered sugar slightly.
Absolutely! Simply replace the graham cracker crumbs with gluten-free graham cracker crumbs or use crushed gluten-free cookies like almond or coconut flour-based cookies as a base.
Use a clean, slightly greased spatula and spread each layer gently. For the chocolate layer, let the peanut butter filling chill completely before adding the melted chocolate to ensure clean, distinct layers.
Yes, dark chocolate works perfectly. It will create a slightly less sweet topping and add a richer chocolate flavor to the bars. Just ensure you use a good quality chocolate that melts smoothly.
Print
Decadent Peanut Butter Passion Bars Recipe
- Total Time: 35 minutes
- Yield: 13 1x
Description
Rich Peanut Butter Passion Bars offer a sublime blend of creamy peanut butter and chocolate layers. Homemade dessert perfection awaits when you combine these irresistible ingredients for a delightful sweet treat.
Ingredients
- 1 package (17.5 oz / 496 g) peanut butter cookie mix
- 1 can (14 oz / 397 g) sweetened condensed milk
- ½ cup (120 ml) creamy peanut butter
- 1 cup (170 g) semi-sweet chocolate chips
- ¼ cup (57 g) melted butter
- 1 large egg
- ¼ cup (30 g) chopped peanuts (optional)
Instructions
- Crust Creation: Pulverize graham crackers with sugar and melted butter, pressing the crumbly mixture firmly into a lined baking pan to form a dense, uniform foundation. Chill for 15-20 minutes to set the base.
- Peanut Butter Layer: Blend peanut butter with powdered sugar, melted butter, and vanilla extract until achieving a velvety, spreadable consistency. Generously distribute this creamy mixture over the chilled crust, ensuring complete coverage.
- Chocolate Topping: Gently melt chocolate chips with butter in microwaveable increments, stirring between each interval to prevent burning. Smoothly pour the glossy chocolate over the peanut butter layer, using a spatula to create an even, luxurious surface.
- Final Set: Transfer the assembled dessert to the refrigerator, allowing it to cool and solidify for a minimum of two hours. Once completely set, slice into precise, elegant squares that showcase the distinct layers of flavor and texture.
Notes
- Chill the Crust Perfectly: Refrigerate the graham cracker base for exactly 15-20 minutes to create a sturdy foundation that prevents crumbling and ensures clean cutting.
- Smooth Peanut Butter Technique: Warm peanut butter slightly before mixing to achieve a silky, lump-free consistency that spreads effortlessly across the crust.
- Prevent Chocolate Burning: Melt chocolate in short 15-second microwave bursts, stirring between intervals to avoid scorching and maintain a glossy, smooth chocolate layer.
- Slice with Precision: Use a sharp, heated knife (run under hot water and quickly dry) to cut clean, beautiful squares that showcase the distinct layers of this decadent dessert.
- Prep Time: 10 minutes
- Cook Time: 25 minutes
- Category: Desserts, Snacks
- Method: None
- Cuisine: American
Nutrition
- Serving Size: 13
- Calories: 295
- Sugar: 21 g
- Sodium: 244 mg
- Fat: 14 g
- Saturated Fat: 6 g
- Unsaturated Fat: 8 g
- Trans Fat: 0 g
- Carbohydrates: 36 g
- Fiber: 2 g
- Protein: 5 g
- Cholesterol: 26 mg
John Nicholson
Lead Writer & Recipe Developer
Expertise
Recipe Testing and Development, Kitchen Hacks and Time-Saving Tips, Flavor Pairing and Ingredient Selection, Engaging Food Writing and Storytelling
Education
Johnson & Wales University
John Nicholson honed his skills at Johnson & Wales University, learning how to use fresh, local ingredients and down-to-earth techniques to make cooking simple and satisfying.
His recipes blend Southern comfort flavors with a modern touch, inviting everyone to cook with ease and confidence.
Living in Charleston, John takes cues from the city’s lively food scene, local markets, and seasonal produce. He’s all about making meals stress-free through easy tips, flavor pairings, and fun experiments in the kitchen