Festive Pumpkin Oreo Balls Recipe for Fall Cheer
Sweet treats that blend creamy pumpkin oreo balls with irresistible dessert magic can turn any ordinary moment into a celebration.
Oreo cookies crushed to perfection meet velvety pumpkin spice in this delightful no-bake recipe.
Each bite promises a burst of autumnal flavor that melts seamlessly on your tongue.
The combination of cream cheese, crushed cookies, and warm spices creates a heavenly texture.
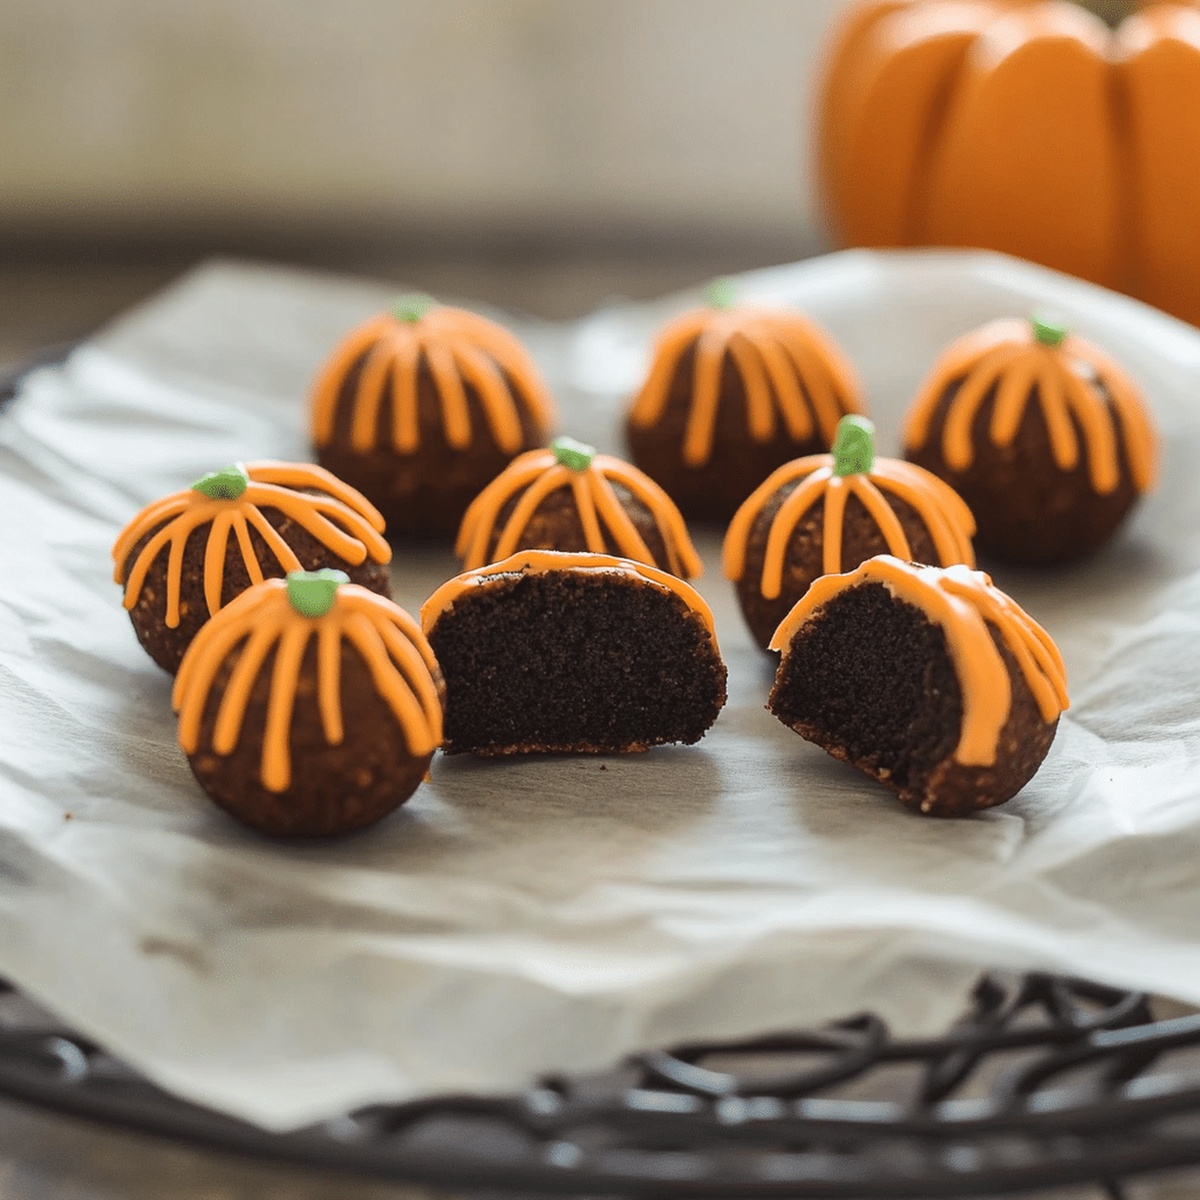
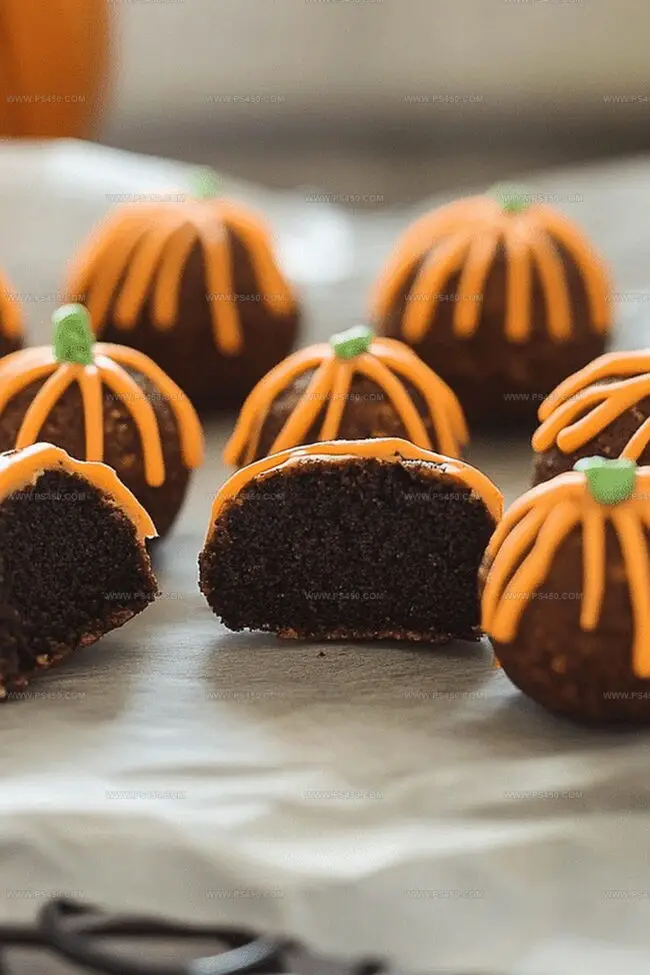
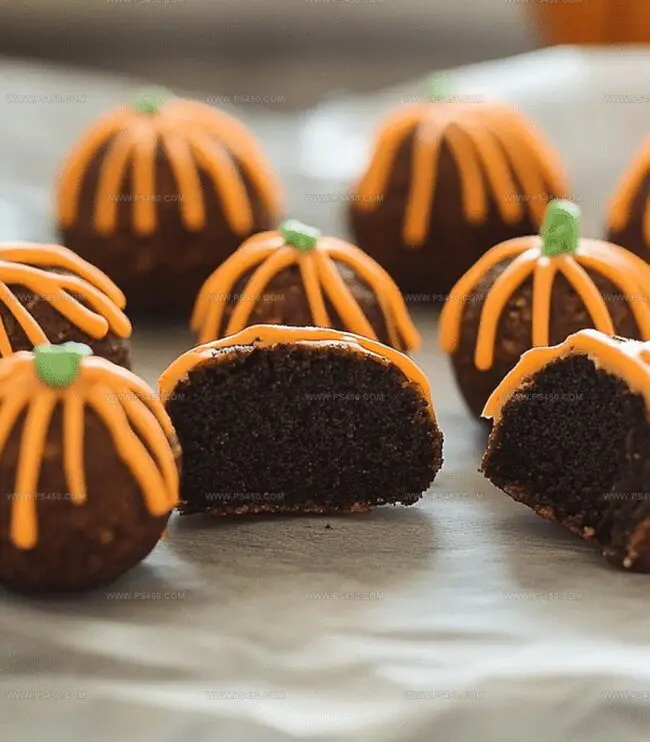
Rolled into perfect little spheres and coated with white chocolate, these pumpkin oreo balls are pure indulgence.
Drizzled with a hint of cinnamon and decorated with chocolate sprinkles, they become an instant crowd-pleaser.
Quick Recipe Overview
Pumpkin Oreo Balls: What You Need
For Cookie Base:For Creamy Filling:For Coating and Decoration:Supplemental Ingredient:Tips: Select fresh cream cheese for best texture, use room temperature ingredients for smoother mixing, choose high-quality Oreo cookies for richer flavor, ensure chocolate is melted gradually to prevent burning.
Essential Tools for Pumpkin Oreo Balls
Perfecting Pumpkin Oreo Balls
Pulverize Oreo cookies into fine crumbs using a food processor or rolling pin. Create a smooth, consistent texture that will blend perfectly with other ingredients.
Blend crushed cookies with softened cream cheese, pumpkin puree, and warm autumn spices. Mix until the combination forms a delightful, moldable consistency that hints at cozy fall flavors.
Roll the mixture into bite-sized spheres using your hands. Aim for small, uniform balls that will be easy to enjoy in one perfect mouthful. Place them on a parchment-lined tray.
Melt white chocolate or orange candy melts until silky smooth. Carefully dunk each chilled ball, ensuring complete coverage. Use a fork to lift and tap off excess chocolate, creating a beautiful, glossy finish.
Allow chocolate-covered treats to set by placing them in the refrigerator. Wait until the coating hardens completely, transforming these bites into irresistible seasonal delights ready to impress friends and family.
Tips & Tricks for Making Pumpkin Oreo Balls
Fun Ways to Serve Pumpkin Oreo Balls
Meal Prep & Storing Pumpkin Oreo Balls
FAQs
These balls are surprisingly easy to prepare. Even beginner bakers can make them with basic kitchen tools like a mixing bowl, spoon, and baking sheet.
The pumpkin puree and warm spices like cinnamon, nutmeg, and ginger create the signature pumpkin taste. These ingredients blend perfectly with the Oreo cookie crumbs.
Absolutely! While white chocolate is recommended, you can use milk chocolate, dark chocolate, or orange candy melts. Each type will give a unique flavor and appearance to the Oreo balls.
You can make these balls up to 3-4 days before serving. Keep them refrigerated in an airtight container, and they’ll maintain their delicious flavor and texture.
Print
Decadent Pumpkin Oreo Balls Recipe
- Total Time: 50 minutes
- Yield: 37 1x
Description
Indulgent Pumpkin Oreo Balls offer a delightful autumn treat that blends creamy pumpkin spice with classic cookie crunch. Fall dessert enthusiasts will savor these no-bake bites as a quick, irresistible seasonal sweet perfect for sharing.
Ingredients
- 12 oz (340 g) white chocolate or candy melts
- 1 package (14.3 oz/406 g) Oreo cookies (about 36 cookies), finely crushed
- 4 oz (113 g) cream cheese, softened
- ¼ cup (60 ml) pumpkin puree (not pumpkin pie filling)
- 1 tsp pumpkin spice
- Orange food coloring (optional)
- Crushed Oreos (for garnish)
- Sprinkles (for garnish)
- Melted chocolate (for drizzle, optional)
Instructions
- Preparation: Crush Oreo cookies into fine, uniform crumbs using a food processor or sealed plastic bag, creating a consistent base for the mixture.
- Mixing: Blend softened cream cheese, pumpkin puree, cinnamon, nutmeg, and ginger into the cookie crumbs, creating a smooth, fragrant mixture with rich autumn-inspired flavors.
- Forming: Roll the combined mixture into compact, uniform balls approximately one inch in diameter, arranging them on a parchment-lined tray for initial shaping.
- Chilling: Refrigerate the orbs for 30 minutes to firm their structure and facilitate easier coating, ensuring optimal handling and texture.
- Coating: Melt white chocolate chips or orange candy melts in a microwave-safe bowl, stirring carefully to achieve a glossy, even consistency without burning.
- Dipping: Immerse each chilled ball completely in the melted coating, using a fork to lift and drain excess chocolate, creating a smooth, elegant exterior.
- Finishing: Place chocolate-covered balls back on parchment paper, allowing them to set at room temperature or expedite solidification through brief refrigeration.
Notes
- Precise Crumb Technique: Crush Oreos into ultra-fine, consistent crumbs to ensure smooth texture and even flavor distribution throughout the mixture.
- Moisture Management: Drain excess liquid from pumpkin puree using a cheesecloth to prevent soggy balls and maintain proper structural integrity.
- Temperature Control: Keep cream cheese slightly softened but not melted for optimal binding and easier mixing of ingredients.
- Coating Mastery: Maintain chocolate coating at consistent lukewarm temperature to achieve smooth, glossy finish without cracking or streaking.
- Prep Time: 20 minutes
- Cook Time: 30 minutes
- Category: Desserts, Snacks
- Method: Blending
- Cuisine: American
Nutrition
- Serving Size: 37
- Calories: 150
- Sugar: 15 g
- Sodium: 70 mg
- Fat: 8 g
- Saturated Fat: 4 g
- Unsaturated Fat: 4 g
- Trans Fat: 0 g
- Carbohydrates: 20 g
- Fiber: 1 g
- Protein: 1 g
- Cholesterol: 10 mg
John Nicholson
Lead Writer & Recipe Developer
Expertise
Recipe Testing and Development, Kitchen Hacks and Time-Saving Tips, Flavor Pairing and Ingredient Selection, Engaging Food Writing and Storytelling
Education
Johnson & Wales University
John Nicholson honed his skills at Johnson & Wales University, learning how to use fresh, local ingredients and down-to-earth techniques to make cooking simple and satisfying.
His recipes blend Southern comfort flavors with a modern touch, inviting everyone to cook with ease and confidence.
Living in Charleston, John takes cues from the city’s lively food scene, local markets, and seasonal produce. He’s all about making meals stress-free through easy tips, flavor pairings, and fun experiments in the kitchen