Hersheys Red Velvet Blossoms Cookies Recipe to Bake
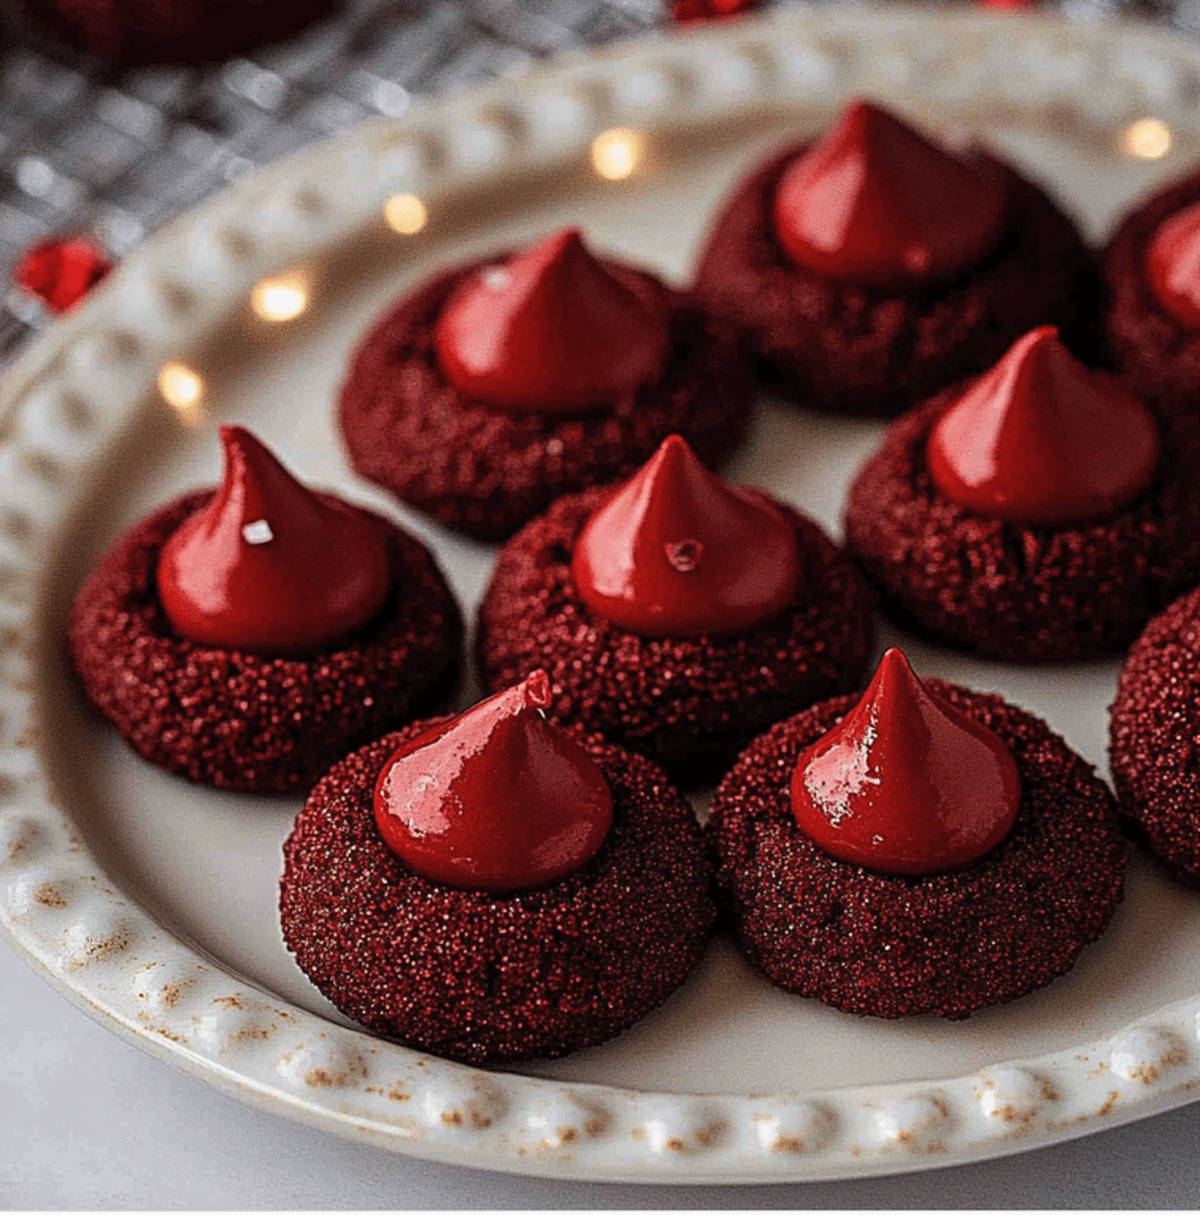
Sweet-toothed bakers find pure joy in these hersheys red velvet blossoms cookies that blend rich chocolate and vibrant crimson charm.
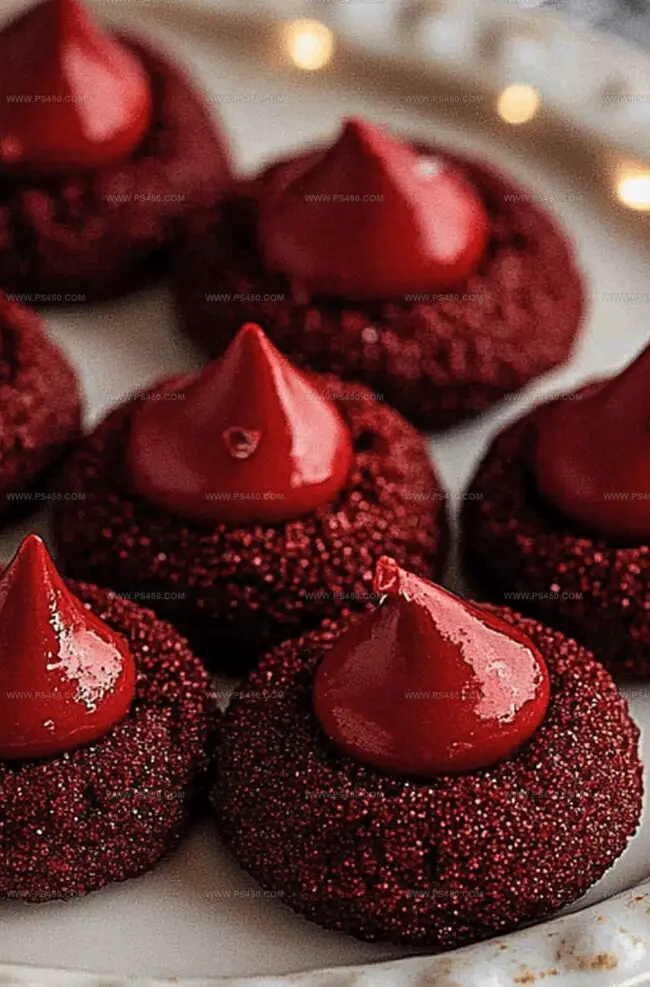
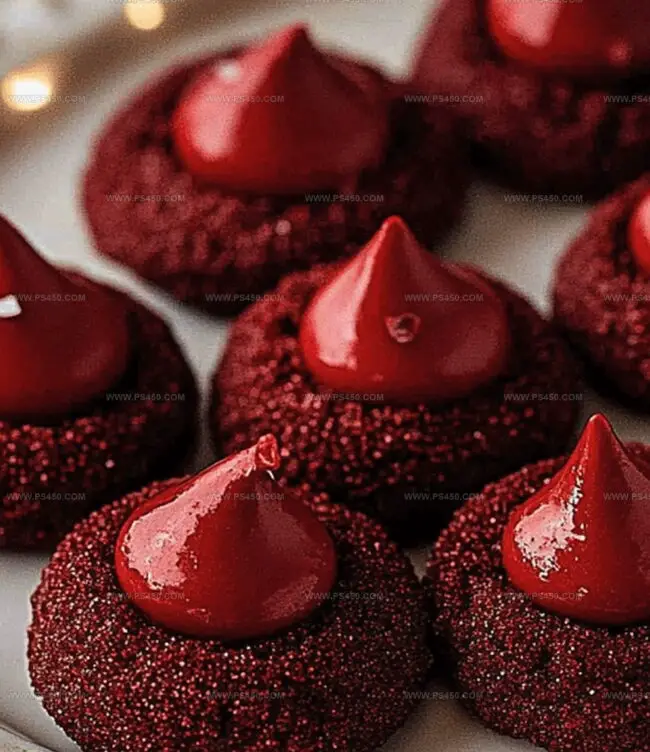
Soft, pillowy cookie bases welcome classic Hershey’s kisses nestled perfectly in their centers.
Each bite promises a delightful blend of velvety texture and decadent chocolate notes.
The stunning crimson hue catches eyes and sparks immediate dessert excitement.
Chocolate lovers will adore how these cookies combine simple ingredients with stunning visual appeal.
These treats work magic for holiday gatherings or casual weekend baking adventures.
Prepare to impress everyone with a batch of these irresistible cookies that vanish faster than you can say “delicious”!
Quick Recipe Overview
Ingredients To Bake Easy Hersheys Red Velvet Blossoms Cookies
For Cookie Base:For Coating and Decoration:For Baking Preparation:Tools For Easy Hersheys Red Velvet Blossoms Cookies Magic
Steps To Bake Easy Hersheys Red Velvet Blossoms Cookies
Crank the oven to a toasty 350F. Grab your baking sheets and line them with parchment paper for a clean, non-stick surface.
Dump the red velvet cake mix into a mixing bowl. Splash in some vegetable oil, crack a couple of eggs, and add a dash of vanilla. Stir until everything blends into a smooth, velvety mixture.
Scoop out small portions of dough and roll them into perfect little spheres. Give each ball a quick tumble in granulated sugar for a sparkling exterior. Arrange these sugary gems on your prepped baking sheets, leaving some breathing room between them.
Slide the sheets into the hot oven. Watch the magic happen for 9-11 minutes until the cookies look set but still have a soft heart.
Pull the cookies out and instantly crown each one with a Hersheys Kiss. Press gently so the chocolate nestles into the warm cookie. Let them chill on the baking sheet for a quick five minutes, then transfer to a cooling rack for the final setup.
Fun Ideas To Decorate Easy Hersheys Red Velvet Blossoms Cookies
Serve Easy Hersheys Red Velvet Blossoms Cookies With Love
How To Store Easy Hersheys Red Velvet Blossoms Cookies
Print
Delectable Hersheys Red Velvet Blossoms Cookies Recipe
- Total Time: 30 minutes
- Yield: 25 1x
Description
Hershey’s red velvet blossoms cookies offer a delightful twist on classic chocolate kiss cookies. Sweet chocolate kisses nestle perfectly atop rich red velvet cookie bases, creating a festive treat perfect for holiday gatherings and special occasions.
Ingredients
- 24 Hershey’s Kisses, unwrapped
- ¼ cup (50 grams / 1.75 oz) granulated sugar (for rolling)
- 1 tsp vanilla extract
- ⅓ cup (80 mL / 2.7 fl oz) vegetable oil
- 2 large eggs
- 1 box (15.25 oz / 432 g) red velvet cake mix
Instructions
- Preheat Preparation: Position the oven rack centrally and warm to 350F (175C). Line two baking sheets with parchment paper, creating a pristine surface for cookie placement.
- Dough Crafting: Combine red velvet cake mix, vegetable oil, eggs, and vanilla extract into a unified, silky dough. Blend thoroughly until ingredients meld seamlessly.
- Cookie Shaping: Scoop uniform dough portions and roll into elegant spheres. Generously coat each ball in granulated sugar, ensuring a crystalline, caramelizable exterior.
- Baking Configuration: Distribute sugar-encrusted dough balls across prepared sheets, spacing them two inches apart to allow graceful expansion during baking.
- Oven Transformation: Bake for 9-11 minutes, monitoring for perfectly set edges and tender, yielding centers. The cookies should exhibit a delicate, slightly soft profile.
- Chocolate Embellishment: Immediately after removing from the oven, delicately press a Hersheys Kiss into each warm cookie’s center. The residual heat will create a perfect chocolate nestling.
- Cooling Process: Rest cookies on baking sheets for five minutes to stabilize structure. Transfer to a wire rack, allowing complete cooling and elegant chocolate kiss setting.
Notes
- Measure Precisely: Use exact measurements for cake mix, oil, eggs, and vanilla to maintain the perfect cookie texture and vibrant red color.
- Temperature Control: Keep oven temperature consistent at 350F to achieve even baking and prevent dry or burnt edges.
- Sugar Coating Technique: Roll dough balls completely in granulated sugar, ensuring full coverage for a crisp, caramelized exterior.
- Kiss Placement Strategy: Press Hershey’s Kiss immediately after baking while cookies are still warm, allowing chocolate to melt slightly and adhere smoothly.
- Prep Time: 10 minutes
- Cook Time: 20 minutes
- Category: Desserts, Snacks
- Method: Baking
- Cuisine: American
Nutrition
- Serving Size: 25
- Calories: 130
- Sugar: 9 g
- Sodium: 150 mg
- Fat: 5 g
- Saturated Fat: 1 g
- Unsaturated Fat: 3 g
- Trans Fat: 0 g
- Carbohydrates: 18 g
- Fiber: 0 g
- Protein: 2 g
- Cholesterol: 15 mg
John Nicholson
Lead Writer & Recipe Developer
Expertise
Recipe Testing and Development, Kitchen Hacks and Time-Saving Tips, Flavor Pairing and Ingredient Selection, Engaging Food Writing and Storytelling
Education
Johnson & Wales University
John Nicholson honed his skills at Johnson & Wales University, learning how to use fresh, local ingredients and down-to-earth techniques to make cooking simple and satisfying.
His recipes blend Southern comfort flavors with a modern touch, inviting everyone to cook with ease and confidence.
Living in Charleston, John takes cues from the city’s lively food scene, local markets, and seasonal produce. He’s all about making meals stress-free through easy tips, flavor pairings, and fun experiments in the kitchen