
Raspberry-Filled Almond Snow Cookies Recipe to Try
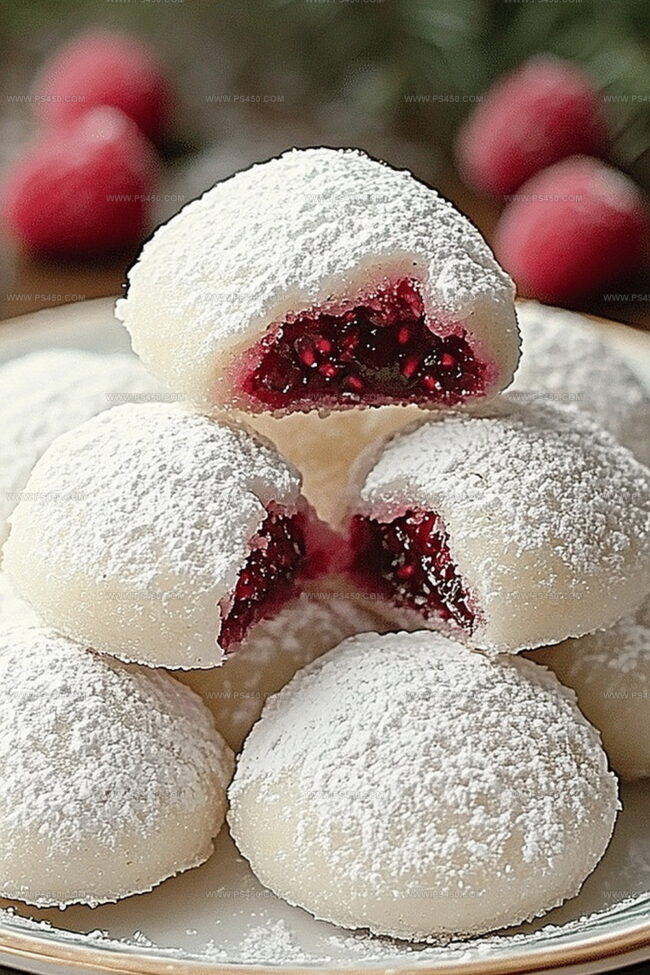
Sweet moments sparkle when you bite into these raspberry-filled almond snow cookies that melt softly in your mouth.
Delicate almonds and bright raspberry preserve create a harmonious dance of flavors.
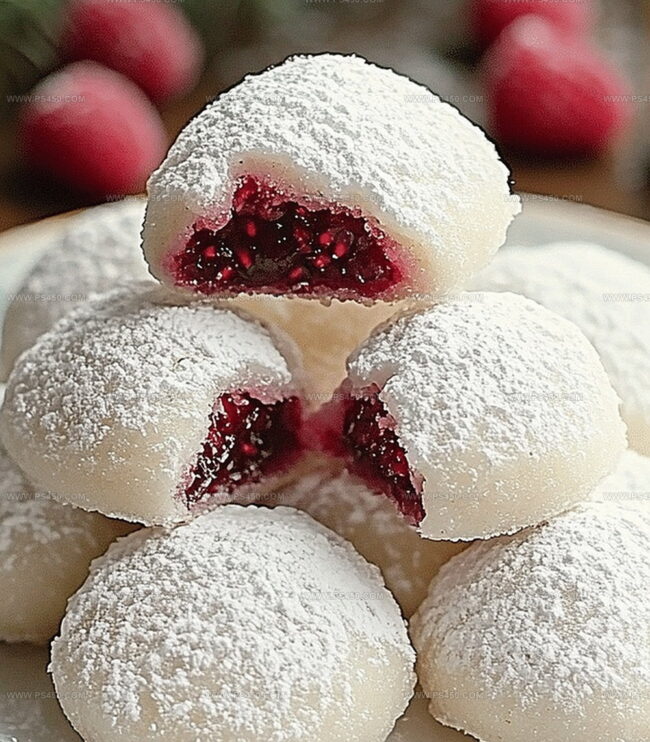
Powdered sugar dusts these tender morsels like a gentle winter landscape.
Each cookie promises a delightful surprise with its creamy almond base and fruity center.
Light and airy, these treats bring a touch of elegance to any dessert table.
Baking these cookies transforms an ordinary afternoon into a special celebration.
Prepare to indulge in a recipe that captures pure culinary magic.
Quick Recipe Overview
Raspberry-Filled Almond Snow Cookies: What Goes In
For The Dough Base:For The Filling:For The Finishing Touch:Tools to Make Almond Cookies with Raspberry Surprise
How to Shape and Bake Snow Cookies with Filling
Grab your mixing bowl and cream together butter and powdered sugar until they’re cloud-like and dreamy. Splash in some almond extract for, then gently fold in flour, ground almonds, and a pinch of salt. Your dough will feel soft and silky.
Cover your dough with plastic wrap and tuck it into the refrigerator for a cool 30-minute nap. This helps the dough become more manageable and develop richer flavors.
Fire up the oven to 350F. Roll the chilled dough into adorable little balls. Use your fingertip to create a cozy pocket in each cookie, ready to cradle some fruity goodness.
Carefully spoon a dollop of raspberry jam into each cookie’s center. Be gentle – you want a perfect burst of flavor, not a messy jam explosion.
Slide your cookie sheet into the oven and bake for 10-12 minutes. Watch for those golden, slightly crispy edges that promise deliciousness.
Let the cookies cool completely on a wire rack. Then shower them with a blizzard of powdered sugar, transforming them into winter wonderland delights.
Tips for Crisp Edges and Gooey Centers
How to Plate and Present Raspberry Snow Cookies
Keep These Filled Cookies Fresh and Soft
FAQs
Yes, you can swap raspberry jam with apricot, strawberry, or any other fruit preserve that complements the almond flavor.
No, you only need basic baking tools like a mixing bowl, baking sheet, and measuring cups. A simple spoon or your finger can create the cookie indentations.
Absolutely! Chilling helps the butter solidify, making the dough easier to handle and preventing the cookies from spreading too much during baking.
Look for lightly golden edges. The cookies will be soft when hot but will firm up as they cool. Don’t overbake, or they’ll become too dry.
Print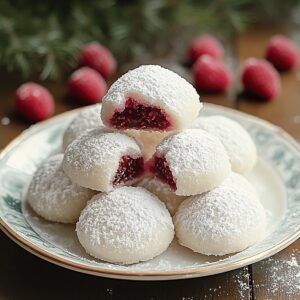
Delicate Raspberry-Filled Almond Snow Cookies Recipe
- Total Time: 35 minutes
- Yield: 25 1x
Description
Delightful Raspberry-Filled Almond Snow Cookies blend European pastry traditions with festive winter charm. Powdered sugar coating and delicate almond filling create an elegant dessert perfect for holiday gatherings and special moments you’ll treasure.
Ingredients
- 1 cup (226 grams) unsalted butter, softened
- 2 cups (240 grams) all-purpose flour
- ½ cup (50 grams) finely ground almonds or almond flour
- ½ cup (160 grams) raspberry jam
- ½ cup (60 grams) powdered sugar
- 1 tsp almond extract
- ½ tsp salt
- Additional powdered sugar for rolling
Instructions
- Creaming: Whip softened butter and powdered sugar in a mixing bowl until light and fluffy, blending in almond extract thoroughly to distribute the flavor evenly.
- Dough Formation: Fold in flour, ground almonds, and salt, mixing until a smooth, pliable dough develops. Wrap the dough in plastic and chill in the refrigerator for at least 30 minutes to firm up.
- Preparation: Preheat the oven to 350F (175C). Roll the chilled dough into small, uniform 1-inch spheres and create a gentle indentation in the center of each cookie using a fingertip or rounded tool.
- Filling: Carefully place a small amount of raspberry jam into the center of each cookie, taking care to avoid overfilling to prevent leakage during baking.
- Baking: Arrange the filled cookies on a parchment-lined baking sheet, spacing them appropriately. Bake for 10-12 minutes, watching for delicate golden edges as a sign of readiness.
- Finishing: Remove cookies from the oven and transfer to a wire cooling rack. Once completely cooled, generously dust with powdered sugar to create a stunning snow-like appearance.
Notes
Manage Butter Temperature: Ensure butter is softened but not melted, allowing for perfect creaming that creates light, airy cookie texture without compromising structural integrity.
Control Jam Placement: Use a small spoon or piping bag to precisely add raspberry jam, preventing overflow and maintaining clean, professional-looking cookie centers during baking.
Chill Dough Strategically: Refrigerate dough for exactly 30 minutes to enhance flavor development and make shaping easier, preventing excessive spreading during baking.
Customize Dietary Needs: Substitute almond flour with gluten-free alternatives like rice flour or blend for celiac or gluten-sensitive individuals, maintaining the cookie’s delicate texture and flavor profile.
- Prep Time: 20 minutes
- Cook Time: 15 minutes
- Category: Desserts, Snacks
- Method: Baking
- Cuisine: American
Nutrition
- Serving Size: 25
- Calories: 150
- Sugar: 7 g
- Sodium: 60 mg
- Fat: 10 g
- Saturated Fat: 6 g
- Unsaturated Fat: 4 g
- Trans Fat: 0 g
- Carbohydrates: 15 g
- Fiber: 1 g
- Protein: 2 g
- Cholesterol: 30 mg
John Nicholson
Lead Writer & Recipe Developer
Expertise
Recipe Testing and Development, Kitchen Hacks and Time-Saving Tips, Flavor Pairing and Ingredient Selection, Engaging Food Writing and Storytelling
Education
Johnson & Wales University
John Nicholson honed his skills at Johnson & Wales University, learning how to use fresh, local ingredients and down-to-earth techniques to make cooking simple and satisfying.
His recipes blend Southern comfort flavors with a modern touch, inviting everyone to cook with ease and confidence.
Living in Charleston, John takes cues from the city’s lively food scene, local markets, and seasonal produce. He’s all about making meals stress-free through easy tips, flavor pairings, and fun experiments in the kitchen