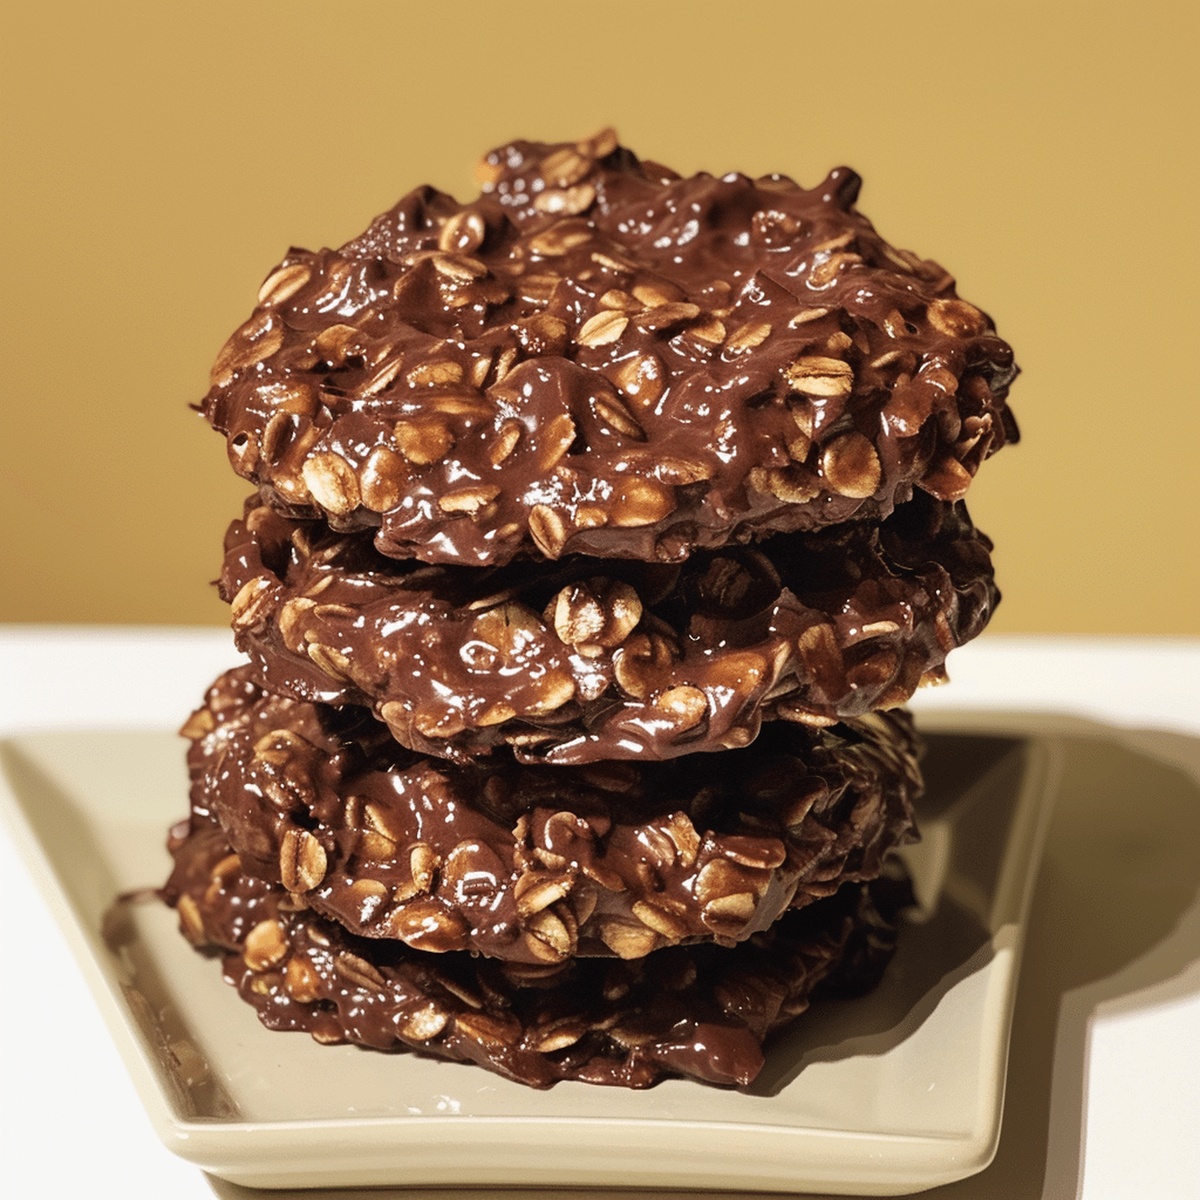
Enchanting No-Bake Chocolate Oatmeal Cookies Recipe
Chocolate lovers can’t resist these delectable no-bake cookies packed with velvety chocolate oatmeal goodness.
Sweet treats like these bring instant smiles to everyone’s faces.
The recipe combines simple ingredients that blend into a luscious dessert.
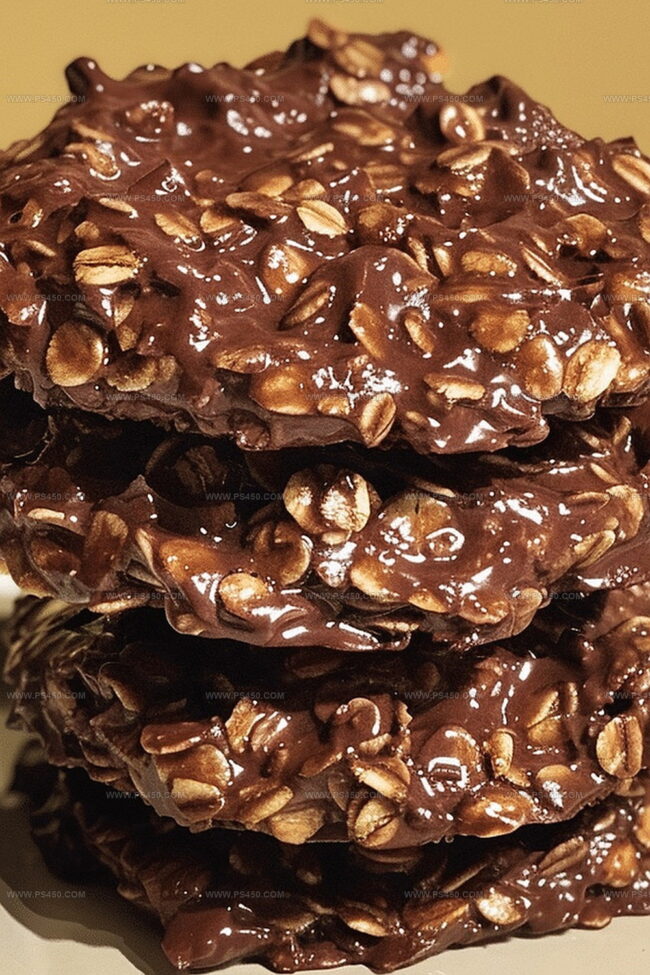
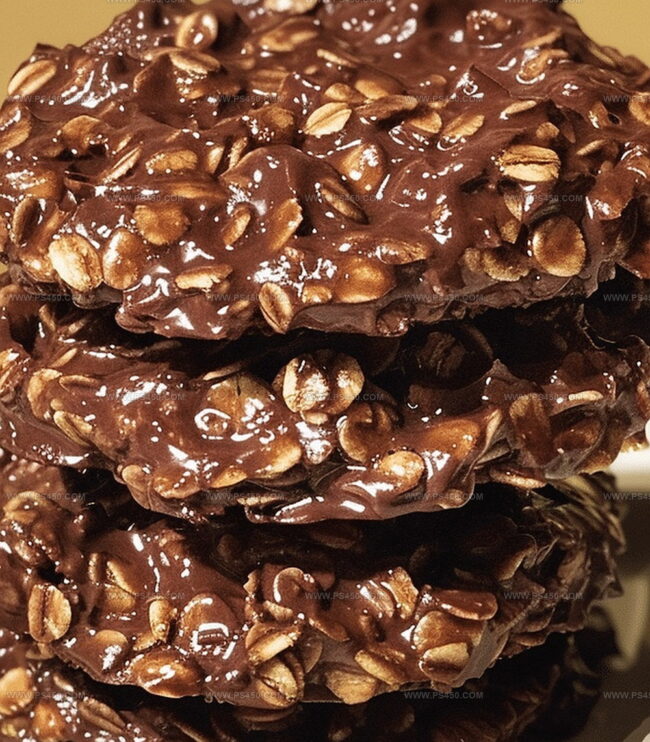
Rich cocoa and hearty oats create a perfect balance of flavor and texture.
Each bite offers a delightful mix of smoothness and subtle crunch.
No oven required means you can whip up these delicious cookies in minutes.
These irresistible morsels are sure to become a staple in your dessert repertoire.
Quick Recipe Overview
Chocolate Oatmeal Cookie Ingredient Must-Haves
For Chocolate Base:For Texture and Binding:For Preparation:Gear You’ll Need for No-Bake Cookie Success
Instructions for Chocolate Oatmeal Cookie Prep
Line a baking sheet with parchment paper to create a landing spot for your delicious no-bake treats.
In a saucepan, blend sugar, milk, butter, and cocoa powder over medium-high heat. Stir occasionally and wait for a bubbly, rolling boil to emerge.
Let the mixture bubble vigorously for exactly 60 seconds, stirring constantly to prevent burning. This moment is key to perfect cookie texture.
Pull the pan off the heat and swirl in peanut butter until smooth. Quickly fold in oats and vanilla, ensuring everything blends beautifully.
Scoop spoonfuls of the chocolatey mixture onto your prepared baking sheet, creating little rounds of happiness.
Allow cookies to rest at room temperature for about 20 minutes. They’ll transform from gooey to perfectly firm, ready to be devoured.
Tips to Adjust Texture and Sweetness in No-Bake Cookies
Serve No-Bake Cookies with a Side of Nostalgia
Keep Cookies Fresh with These Simple Methods
FAQs
The one-minute boiling time is critical for creating the right consistency. This precise duration helps the sugar dissolve completely and ensures the cookies will set properly when cooled.
Yes, you can use quick oats, but old-fashioned oats provide a better texture and chewier consistency. Quick oats might make the cookies slightly softer and less structured.
If your cookies remain soft, it likely means the mixture didn’t reach the correct temperature during boiling. Always ensure a full rolling boil and stir constantly for the full minute to guarantee proper setting.
Yes, using parchment paper or foil prevents the cookies from sticking to the baking sheet and makes removal much easier. It also helps the cookies cool and set evenly.
Print
Dreamy Chocolate Oatmeal No-Bake Cookies Recipe
- Total Time: 6 minutes
- Yield: 25 1x
Description
Chocolate oatmeal no-bake cookies deliver rich cocoa comfort without heating ovens. Fudgy chocolate lovers discover quick, simple dessert magic that satisfies sweet cravings in minutes.
Ingredients
- 3 cups (720 ml) quick oats (or old-fashioned oats)
- 2 cups (400 g) granulated sugar
- ½ cup (120 ml/125 g) peanut butter (creamy)
- ½ cup (1 stick/113 g) butter (salted)
- ½ cup (120 ml) milk (2% or whole)
- ¼ cup (25 g) cocoa powder
- 1 tsp vanilla extract
Instructions
- Preparation: Cover a baking sheet with parchment paper to create a clean surface for cookie placement.
- Mixture Creation: In a medium saucepan, blend sugar, milk, butter, and cocoa powder over medium-high heat, stirring consistently to achieve a smooth, uniform consistency.
- Boiling Process: Bring the chocolate mixture to a rolling boil, maintaining constant movement to prevent scorching, and continue boiling for exactly 60 seconds to develop optimal flavor and texture.
- Flavor Infusion: Remove from heat and swiftly incorporate peanut butter, stirring until the mixture transforms into a glossy, homogeneous blend.
- Final Combination: Fold in oats and vanilla extract, ensuring thorough distribution of ingredients throughout the chocolate base.
- Forming Cookies: Carefully dollop uniform spoonfuls of the mixture onto the prepared parchment-lined sheet, creating consistent cookie shapes.
- Setting and Cooling: Allow cookies to rest at room temperature, giving them 15-25 minutes to solidify completely and develop a perfect no-bake texture.
Notes
- Control Boiling Time: Precisely boil for 60 seconds to achieve the perfect cookie texture, preventing under or overcooking which can affect consistency.
- Prevent Burning: Stir continuously during boiling to avoid scorching the mixture, ensuring a smooth and even chocolate base for the cookies.
- Room Temperature Matters: Let cookies set at room temperature for 15-25 minutes, creating the ideal firm yet slightly chewy texture that makes these no-bake treats irresistible.
- Ingredient Quality Impacts: Use fresh, high-quality cocoa powder and oats to elevate the overall flavor and texture of the no-bake cookies.
- Prep Time: 5 minutes
- Cook Time: 1 minute
- Category: Snacks, Desserts
- Method: Boiling
- Cuisine: American
Nutrition
- Serving Size: 25
- Calories: 220
- Sugar: 14 g
- Sodium: 90 mg
- Fat: 9 g
- Saturated Fat: 4 g
- Unsaturated Fat: 5 g
- Trans Fat: 0 g
- Carbohydrates: 32 g
- Fiber: 2 g
- Protein: 4 g
- Cholesterol: 15 mg
John Nicholson
Lead Writer & Recipe Developer
Expertise
Recipe Testing and Development, Kitchen Hacks and Time-Saving Tips, Flavor Pairing and Ingredient Selection, Engaging Food Writing and Storytelling
Education
Johnson & Wales University
John Nicholson honed his skills at Johnson & Wales University, learning how to use fresh, local ingredients and down-to-earth techniques to make cooking simple and satisfying.
His recipes blend Southern comfort flavors with a modern touch, inviting everyone to cook with ease and confidence.
Living in Charleston, John takes cues from the city’s lively food scene, local markets, and seasonal produce. He’s all about making meals stress-free through easy tips, flavor pairings, and fun experiments in the kitchen