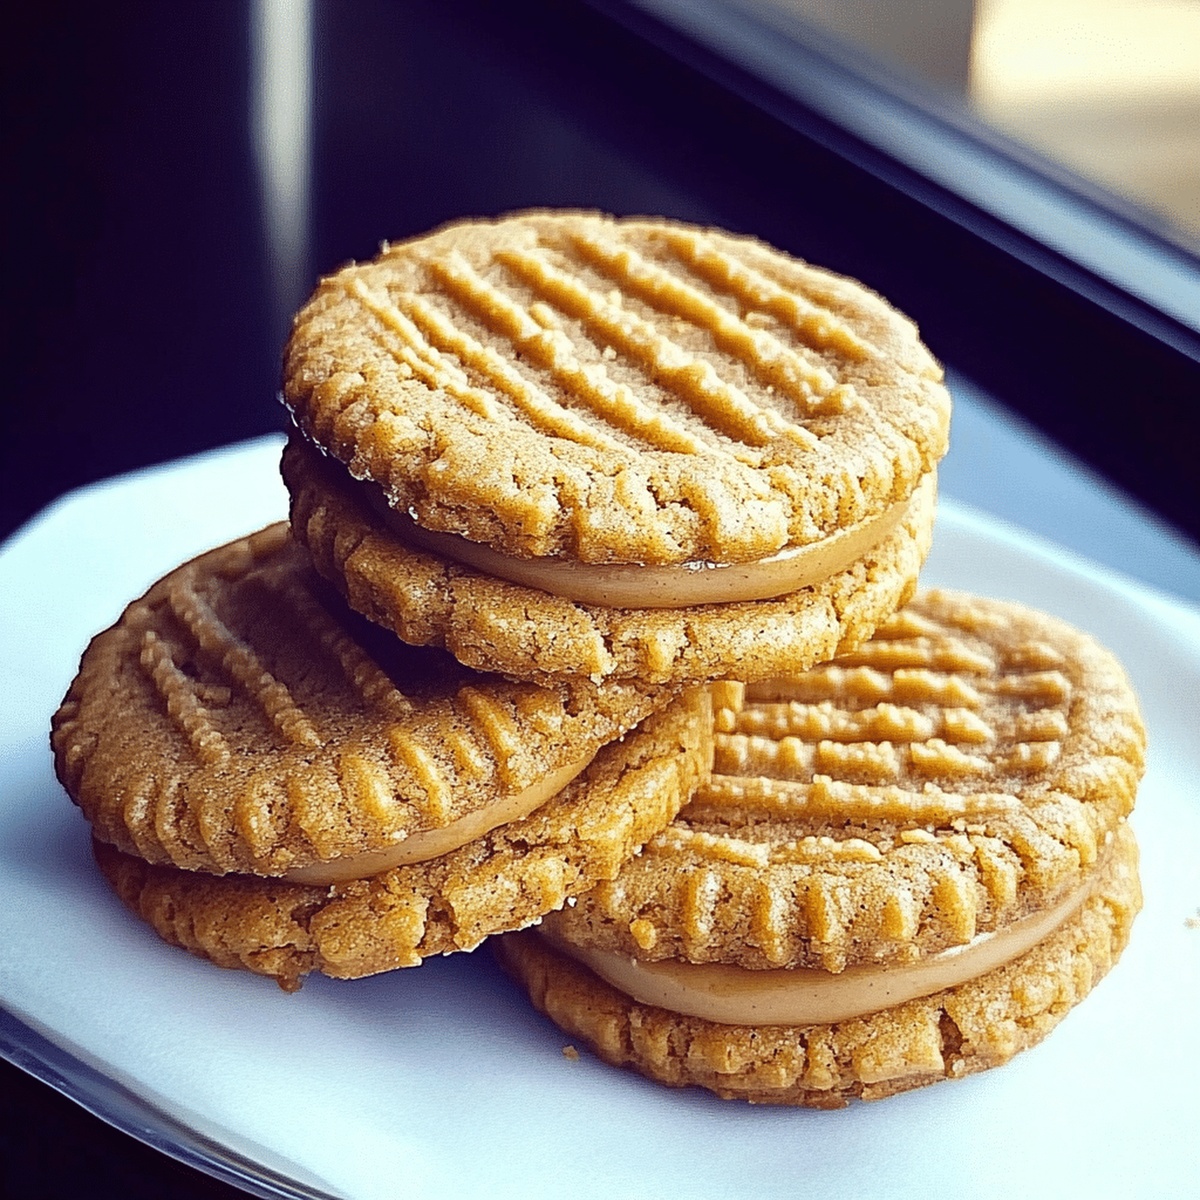
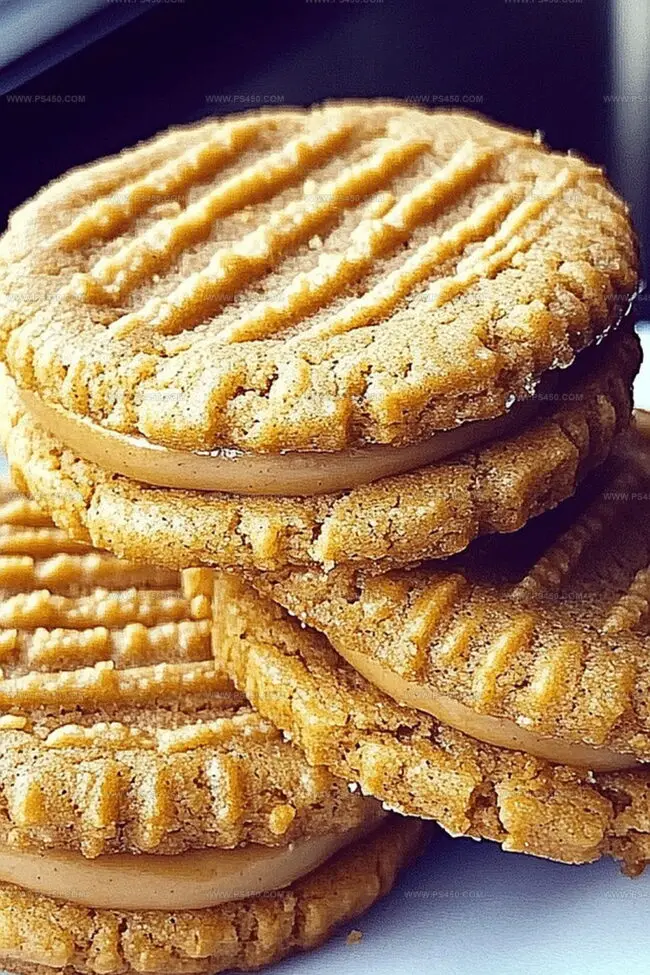
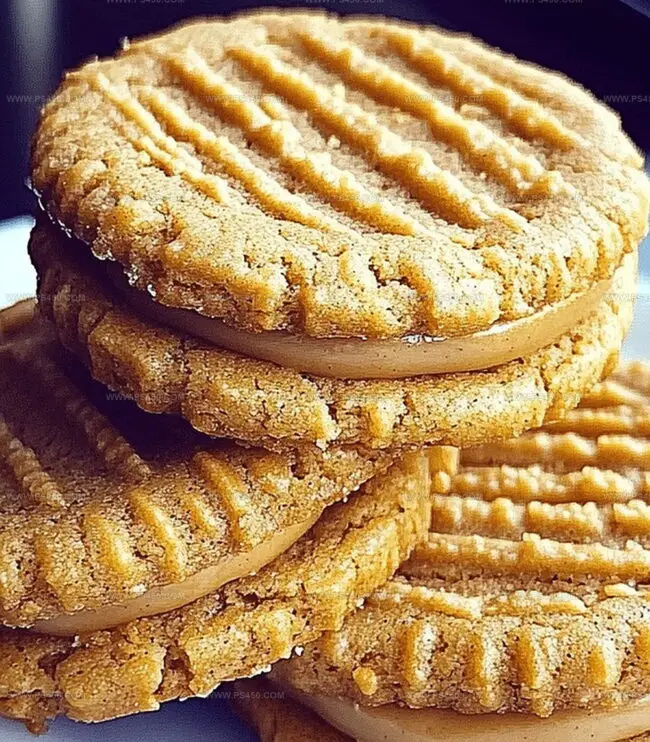
Soft Peanut Butter Sandwich Cookies Recipe
These decadent peanut butter sandwich cookies blend creamy richness with sweet nostalgia.
Soft, buttery cookies packed with irresistible peanut butter flavor promise pure comfort in every bite.
Bakers adore how simple ingredients create such delightful treats.
Homemade desserts rarely get more satisfying than these delectable sandwich cookies.
The delicate crunch and smooth filling make each cookie a miniature celebration of flavor.
Sharing these treats will spark joy and create memorable moments around the table.
You’ll want to whip up a batch and savor every delicious morsel.
Quick Recipe Overview
Peanut Butter Sandwich Cookie Ingredients
For Base And Flavor:For Binding And Structure:For Creamy Filling:Tools to Build the Perfect Sandwich Cookie
How to Make Peanut Butter Sandwich Cookies
Crank your oven to 350F and line baking sheets with parchment paper for cookie.
Blend butter, peanut butter, and sugars until they become super smooth and fluffy. Toss in egg and vanilla, mixing until everything looks perfectly combined.
Whisk flour, baking soda, baking powder, and salt in a separate bowl. Slowly fold these dry ingredients into your wet mixture, stirring gently.
Drop tablespoon-sized dough balls onto baking sheets. Press each ball down with a fork to create fun crisscross marks.
Slide cookies into the oven for 8-10 minutes until edges turn golden. Let them rest on the baking sheet for 5 minutes, then transfer to a cooling rack.
Beat peanut butter and butter until silky. Gradually mix in powdered sugar and vanilla. Add cream one tablespoon at a time until filling reaches perfect spreadable consistency.
Once cookies are completely cool, spread filling generously on one cookie. Top with another cookie to make a delicious sandwich. Repeat until all cookies are paired.
Filling & Flavor Additions to Try
Serving Peanut Butter Cookies the Fun Way
Keep Sandwich Cookies Soft and Fresh
FAQs
Yes, these peanut butter sandwich cookies are perfect for lunchboxes. They’re compact, easy to pack, and taste delicious when kids want a sweet treat during the day.
Absolutely! You can bake the cookies and prepare the filling up to 3 days in advance. Store cookies in an airtight container and keep the filling refrigerated. Assemble the sandwiches just before serving for the best texture.
No special equipment is needed. Just a standard mixer, mixing bowls, baking sheets, and a fork for creating the classic crisscross pattern will work perfectly.
Look for lightly golden edges and a set center. The cookies will still be soft when you remove them from the oven but will firm up as they cool on the baking sheet for those first 5 minutes.
Print
Dreamy Peanut Butter Sandwich Cookies Recipe
- Total Time: 30 minutes
- Yield: 13 1x
Description
Delightful peanut butter sandwich cookies blend creamy filling between two crisp, golden-brown cookies. Rich homemade treats offer comfort and indulgence with each delectable bite you’ll savor.
Ingredients
- ½ cup (113 g / 4 oz) unsalted butter, softened
- ½ cup (120 g / 4.2 oz) creamy peanut butter
- ½ cup (100 g / 3.5 oz) granulated sugar
- ½ cup (110 g / 3.9 oz) packed light brown sugar
- 1 ¼ cups (160 g / 5.6 oz) all-purpose flour
- 1 large egg
- ½ tsp baking soda
- ½ tsp baking powder
- ¼ tsp salt
- 1 tsp vanilla extract
- ½ cup (120 g / 4.2 oz) creamy peanut butter
- ¼ cup (57 g / 2 oz) unsalted butter, softened
- 1 cup (120 g / 4.2 oz) powdered sugar
- 1 tsp vanilla extract
- 2 tbsps heavy cream
Instructions
- Preparation: Preheat the oven to 350F (175C) and line baking sheets with parchment paper.
- Mixing Base: Cream butter, peanut butter, granulated sugar, and brown sugar in a large mixing bowl until light and fluffy, then blend in egg and vanilla extract until fully incorporated.
- Dry Ingredient Integration: Whisk flour, baking soda, baking powder, and salt together, then gently fold into the wet ingredients, minimizing mixing to maintain cookie texture.
- Cookie Formation: Shape dough into tablespoon-sized spheres, placing them 2 inches apart on prepared sheets, and create a signature crisscross pattern using a fork.
- Baking Process: Bake for 8-10 minutes until edges turn golden, then allow cookies to rest on the baking sheet for 5 minutes before transferring to a wire rack.
- Filling Creation: Whip peanut butter and softened butter until smooth, gradually incorporating powdered sugar, vanilla extract, and heavy cream to achieve a spreadable consistency.
- Assembly: Once cookies are completely cooled, spread filling on the flat side of one cookie and carefully sandwich with a second cookie, pressing gently to create the final peanut butter sandwich cookie.
Notes
- Prevent Overmixing: Stir dry ingredients minimally to maintain cookie tenderness and avoid tough, dense texture.
- Perfect Crisscross Pattern: Use a chilled fork for clean, uniform marks on cookie surface without sticking.
- Temperature Control: Remove cookies when edges turn golden to ensure soft, chewy center and crisp exterior.
- Customize Filling Consistency: Add heavy cream gradually to adjust buttercream thickness for smooth, spreadable filling.
- Prep Time: 20 minutes
- Cook Time: 10 minutes
- Category: Snacks, Desserts
- Method: Baking
- Cuisine: American
Nutrition
- Serving Size: 13
- Calories: 235
- Sugar: 15 g
- Sodium: 150 mg
- Fat: 14 g
- Saturated Fat: 6 g
- Unsaturated Fat: 8 g
- Trans Fat: 0 g
- Carbohydrates: 25 g
- Fiber: 1 g
- Protein: 5 g
- Cholesterol: 20 mg
John Nicholson
Lead Writer & Recipe Developer
Expertise
Recipe Testing and Development, Kitchen Hacks and Time-Saving Tips, Flavor Pairing and Ingredient Selection, Engaging Food Writing and Storytelling
Education
Johnson & Wales University
John Nicholson honed his skills at Johnson & Wales University, learning how to use fresh, local ingredients and down-to-earth techniques to make cooking simple and satisfying.
His recipes blend Southern comfort flavors with a modern touch, inviting everyone to cook with ease and confidence.
Living in Charleston, John takes cues from the city’s lively food scene, local markets, and seasonal produce. He’s all about making meals stress-free through easy tips, flavor pairings, and fun experiments in the kitchen