Brown Bag Apple Pie Recipe for Fall Baking Traditions
Have you ever stumbled upon a surprisingly simple brown bag apple pie recipe that changes everything about home baking?
Crisp autumn afternoons call for delightful desserts that fill kitchens with warm cinnamon aromas.
Traditional pie-making techniques can feel intimidating, but this method strips away complicated steps.
Baking becomes an adventure when you toss ingredients into a paper bag and let magic happen.
Unexpected techniques often produce the most remarkable results in cooking.
Wooden spoons, measuring cups, and a brown bag are your only requirements for creating a dessert that will spark conversation.
You’ll want to bookmark this recipe and surprise everyone with its delicious simplicity.
Why Easy Brown Bag Apple Pie Is A Hidden Gem
What You Need For Easy Brown Bag Apple Pie
Pie Crust Ingredients:Apple Filling Ingredients:Crumble Topping Ingredients:Steps To Make Easy Brown Bag Apple Pie
Step 1: Whip Up the Pie Crust
Grab a spacious mixing bowl and toss in these ingredients:Whisk these dry buddies together until they’re well acquainted. Slice cold butter into tiny cubes and drop them into the flour mixture. Use your fingertips or a pastry cutter to massage the butter into the flour. Keep working until the mixture looks like grainy sand. Drizzle in ice-cold water, one splash at a time, gently mixing until the dough starts to stick together. Split the dough into two equal portions, flatten them into round disks, and wrap each in plastic. Chill these dough disks in the refrigerator for about half an hour.
Step 2: Create the Apple Filling
Slice crisp apples into thin wedges and tumble them into a large mixing bowl. Shower the apples with:Toss everything together so each apple slice gets a delicious coating.
Step 3: Craft the Pie
Roll out one dough disk on a flour-dusted surface until it forms a beautiful 12-inch circle. Gently drape the dough into a 9-inch pie dish, trimming any excess hanging over the edges. Pour the apple mixture into the crust, spreading it evenly.
Step 4: Design the Crumble Topping
In a small bowl, combine:Use your fingers to transform these ingredients into a crumbly, sandy texture. Sprinkle this magical topping all over the apple filling.
Step 5: Bag and Bake
Carefully slide the entire pie dish inside a large brown paper bag. Fold the bag’s open end and secure it with staples. Place the bagged pie on a baking sheet to catch any potential drips.
Step 6: Bring on the Heat
Preheat the oven to 375F (190C). Slide the bagged pie into the oven and bake for one full hour. The bag will trap steam, creating an incredibly moist and tender pie.
Step 7: Cool and Serve
Carefully remove the pie from the oven. Let it rest and cool for about 30 minutes before unveiling. This waiting period allows the filling to set and makes slicing much easier.
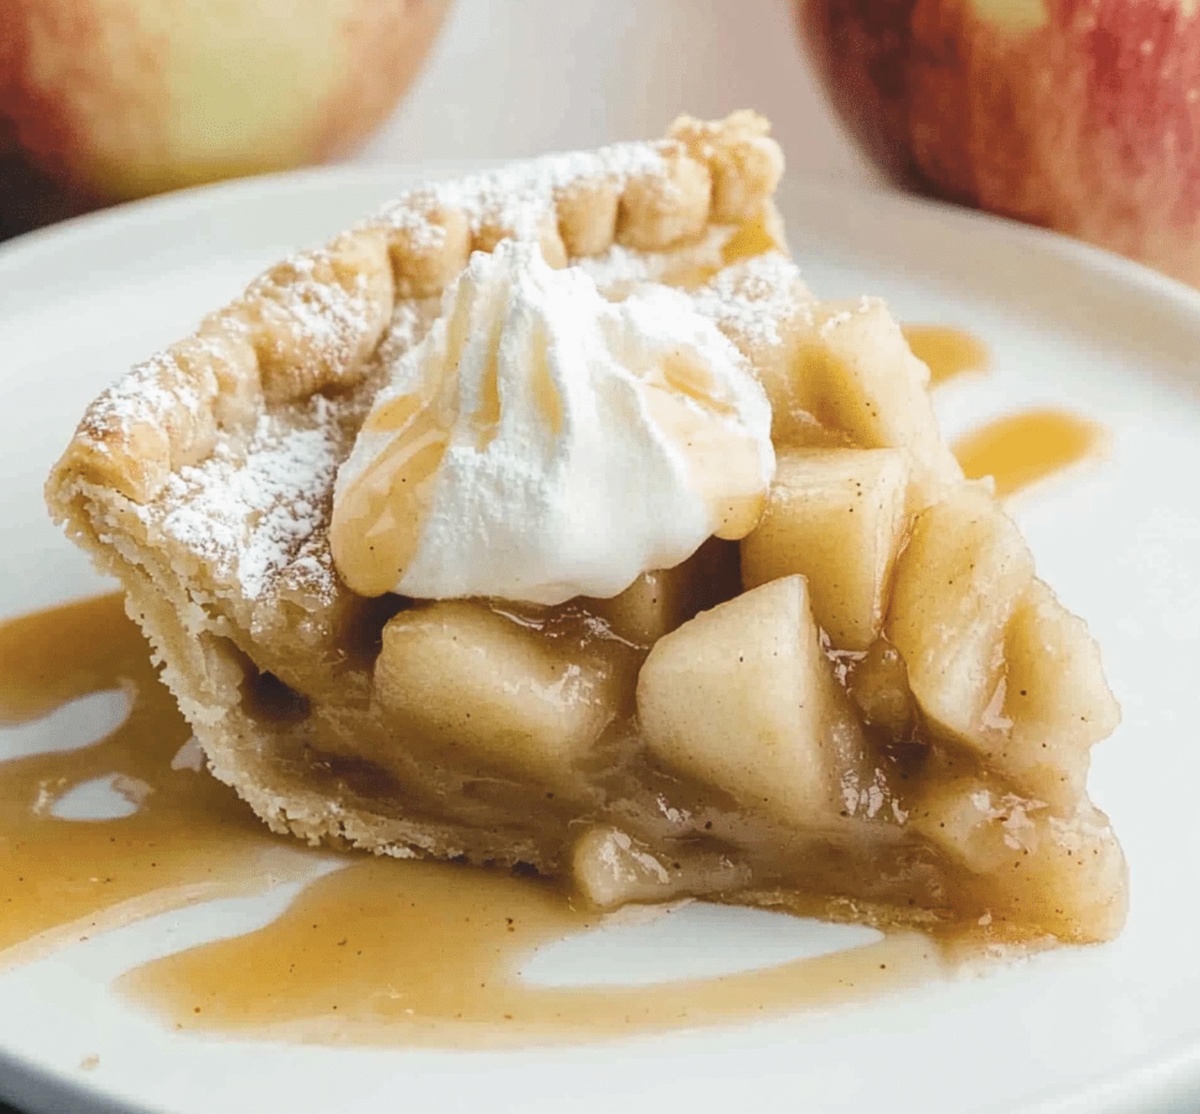
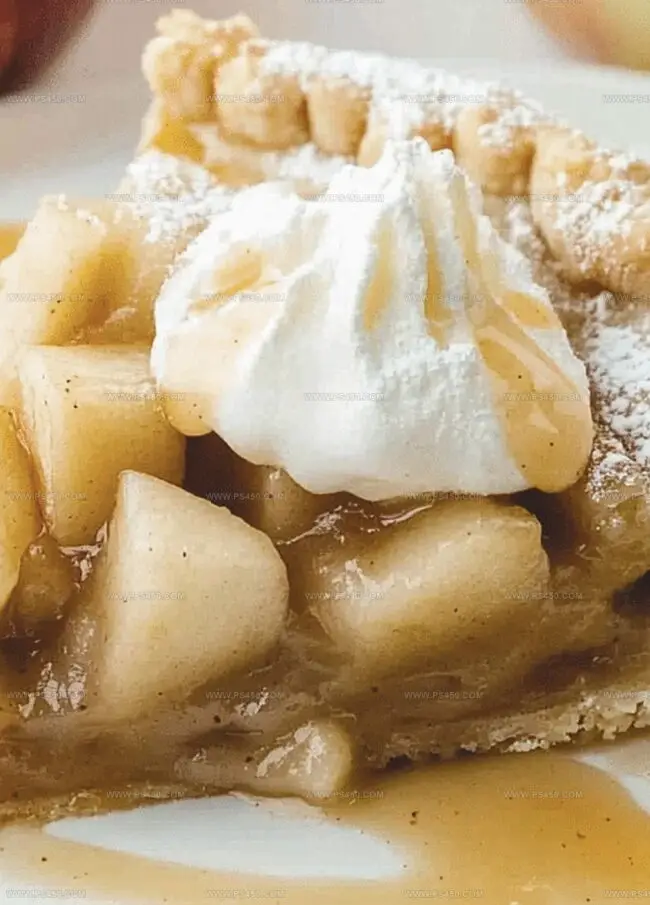
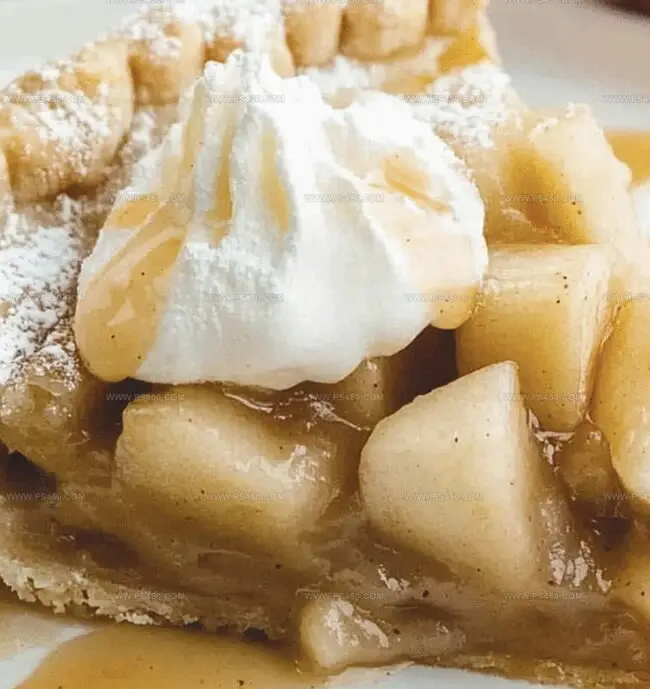
Enjoy your delightfully unique brown bag apple pie!
Tips For Easy Brown Bag Apple Pie Success
Storage Tips For Easy Brown Bag Apple Pie
Pairing Ideas For Easy Brown Bag Apple Pie
Easy Brown Bag Apple Pie Variations To Try
FAQ Guide For Easy Brown Bag Apple Pie
The brown bag technique helps create a moist, tender pie by trapping steam around the pie while it bakes. This method prevents the crust from burning and ensures even cooking, giving you a perfectly baked dessert with a wonderfully flaky crust.
Absolutely! A mix of tart and sweet apples works best. Granny Smith, Honeycrisp, and Golden Delicious are excellent choices. Combining different apple varieties adds depth of flavor and creates a more complex taste profile for your pie.
Look for golden-brown crust and bubbling filling peeking through the topping. The apples should be tender when pierced with a fork, and the aroma of cinnamon and baked apples will fill your kitchen. The bag will be slightly darkened and puffy when the pie is ready.
Yes! The brown bag method is actually quite safe when done correctly. Use a plain, uncoated paper bag without any printing or wax coating, and keep the bag away from the oven’s direct heat source. Always place the bagged pie on a baking sheet to catch any potential drips.
Print
Easy Brown Bag Apple Pie Recipe
- Total Time: 1 hour 30 minutes
- Yield: 8 1x
Description
Homemade Brown Bag Apple Pie delivers classic comfort with a delightful twist, wrapping warm spices and tender apples in a crisp, paper-wrapped pastry. Bakers can savor this nostalgic dessert that brings memories of grandma’s kitchen right to your plate.
Ingredients
Main Ingredients (Filling):
- 6 cups (about 6 medium) apples, peeled, cored, and thinly sliced (Granny Smith or Honeycrisp)
- ¾ cup (150 g) granulated sugar
- ¼ cup (55 g) brown sugar
- 1 tablespoon lemon juice
- 1 teaspoon ground cinnamon
- ¼ teaspoon nutmeg (optional)
Crust Ingredients:
- 2 ½ cups (310 g) all-purpose flour
- 1 teaspoon salt
- 1 teaspoon sugar
- 1 cup (225 g) unsalted butter (cold, cubed)
- 6–8 tablespoons ice water
Topping Ingredients:
- ½ cup (65 g) all-purpose flour
- ½ cup (100 g) granulated sugar
- ¼ cup (55 g) unsalted butter (cold, cubed)
Instructions
- Craft a delicate pie crust by whisking flour, salt, and sugar in a spacious mixing bowl. Incorporate cold, diced butter using fingertips or a pastry cutter until the mixture resembles coarse, crumbly texture.
- Gradually introduce icy water, gently blending until the dough coheres. Divide the dough into two equal portions, shape into flat disks, encase in plastic wrap, and refrigerate for a minimum of half an hour.
- Slice apples and combine with sugars, flour, aromatic spices, and citrus juice in a generous mixing vessel. Thoroughly coat the apple slices, ensuring even distribution of seasonings.
- On a flour-dusted surface, roll one dough disk into a circular shape extending to 12 inches. Carefully transfer the dough to a 9-inch pie dish, trimming excess edges with precision.
- Elegantly spread the seasoned apple mixture across the prepared crust, creating an even layer.
- Prepare a rustic crumble topping by blending flour, sugar, and chilled butter cubes. Use gentle pressure to form a loose, textured mixture.
- Generously sprinkle the crumble over the apple filling, covering the surface completely.
- Nestle the pie dish inside a large brown paper bag, sealing the open end securely with staples. Position the bagged pie on a baking sheet to capture potential drips.
- Preheat the oven to 375F (190C). Bake the enclosed pie for approximately one hour, allowing the flavors to meld and apples to soften.
- Carefully extract the piping hot pie from its paper cocoon. Allow the pie to rest and cool for a minimum of 30 minutes before serving, permitting the filling to set and flavors to intensify.
Notes
- Choose crisp, tart apples like Granny Smith or Honeycrisp for the best balance of flavor and texture in your pie.
- Prevent apple filling from becoming watery by letting sliced apples sit with sugar for 15 minutes, then drain excess liquid before mixing with other ingredients.
- Ensure a flaky crust by keeping butter and water extremely cold during preparation, and handle the dough minimally to avoid developing tough gluten.
- Transform this recipe into a gluten-free version by substituting all-purpose flour with a blend of almond flour and gluten-free flour mix in both crust and crumble topping.
- Prep Time: 30 minutes
- Cook Time: 1 hour
- Category: Desserts, Snacks
- Method: Baking
- Cuisine: American
Nutrition
- Serving Size: 8
- Calories: 360
- Sugar: 25 g
- Sodium: 150 mg
- Fat: 22 g
- Saturated Fat: 14 g
- Unsaturated Fat: 8 g
- Trans Fat: 0 g
- Carbohydrates: 40 g
- Fiber: 2 g
- Protein: 3 g
- Cholesterol: 45 mg
Emily Morgan
Food Critic & Kitchen Tips Specialist
Expertise
Global Food Exploration & Critique, Simple Kitchen Hacks & Time-Saving Tips, Presentation & Plating Techniques, Culinary Research & Storytelling.
Education
New York University
Emily Morgan has journeyed across the globe, collecting culinary secrets that turn everyday ingredients into impressive meals.
Based in Seattle and armed with a Journalism degree from NYU, she blends thorough research with a flair for presentation, ensuring every dish looks just as good as it tastes.
Focusing on fresh flavors, simple methods, and a bit of fun, Emily shows home cooks how to elevate their daily cooking without fancy gadgets or complex steps.