Smooth No-Bake Peanut Butter Balls Recipe to Crave
Sweet treats that spark joy often come with a delightful peanut butter balls recipe that promises pure indulgence.
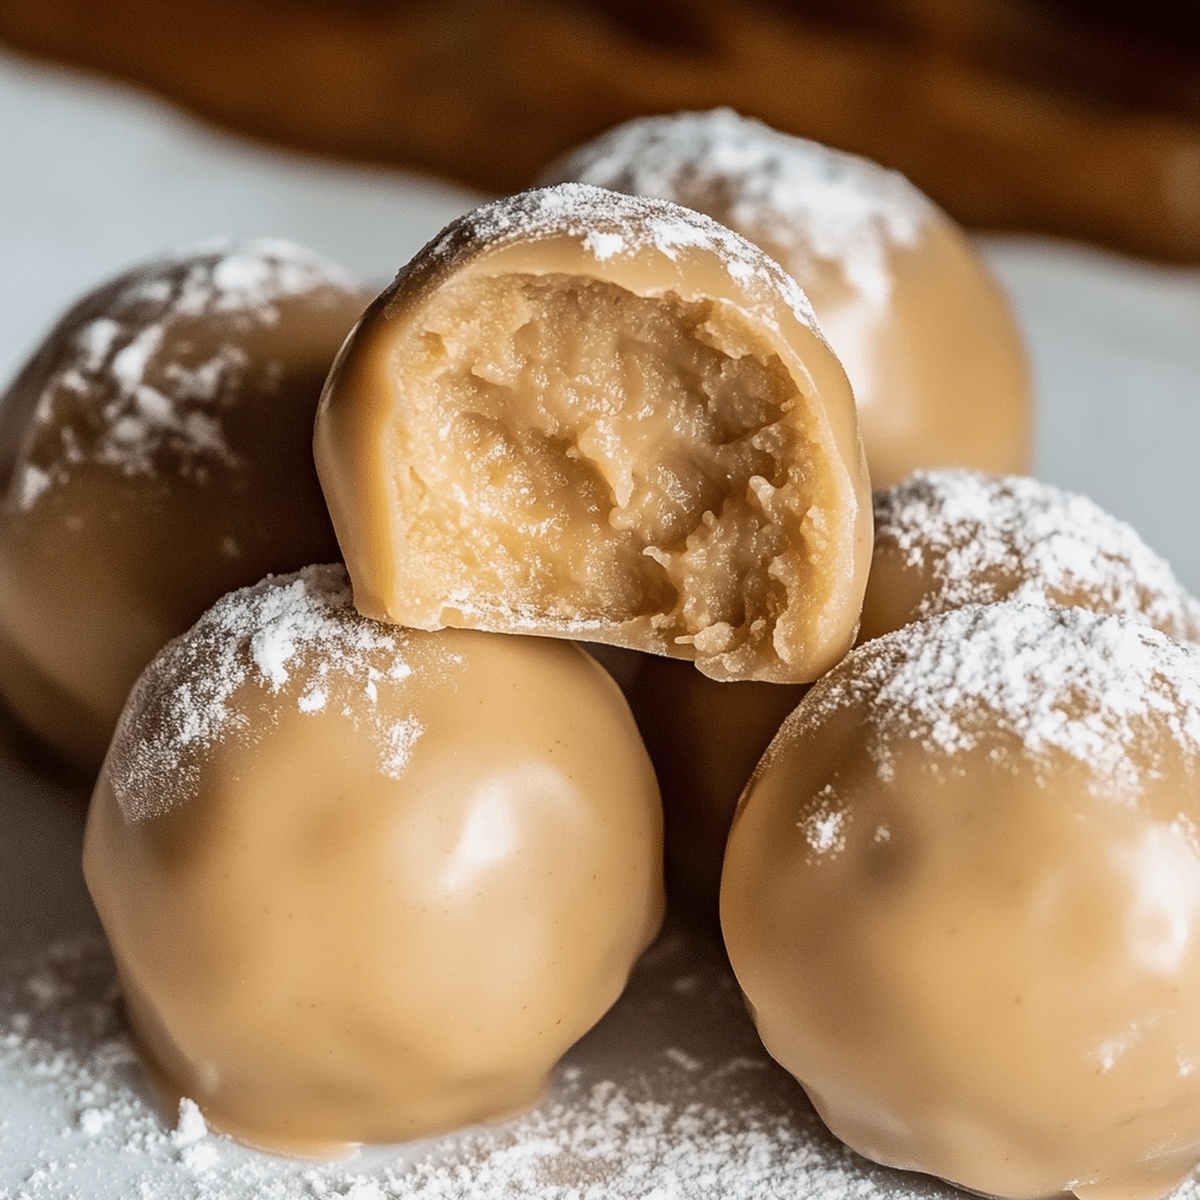
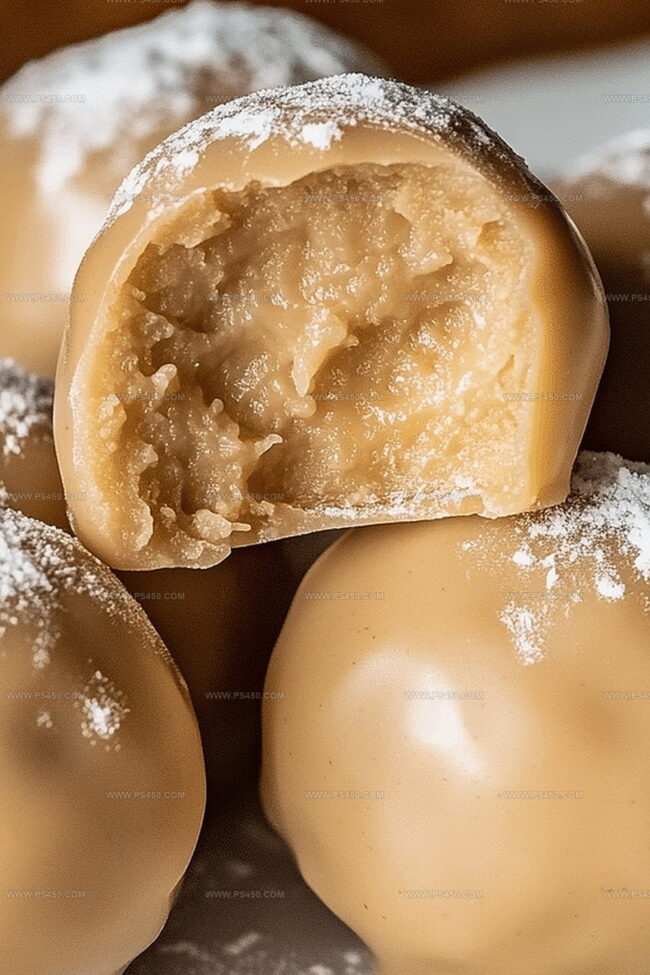
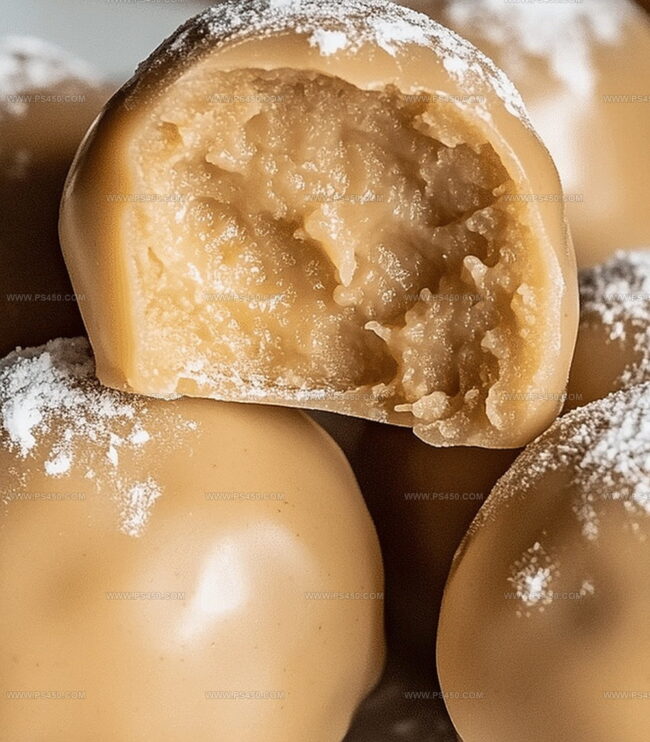
Chocolate and creamy peanut butter create an irresistible combination that melts in your mouth.
These no-bake delights require minimal ingredients and zero culinary expertise.
Simple pantry staples like graham crackers, powdered sugar, and smooth peanut butter blend together seamlessly.
Each bite delivers a perfect balance of sweetness and richness that satisfies every dessert craving.
Rolling these treats is a fun, stress-free process that even children can enjoy.
Prepare to treat yourself and loved ones to a heavenly snack that disappears faster than you can make them.
Quick Recipe Overview
What You Need for 3-Ingredient Peanut Butter Balls
For Binding and Flavor:For Texture and Bulk:For Optional Enhancement:Gear Up to Prepare 3-Ingredient Peanut Butter Balls
Steps to Create 3-Ingredient Peanut Butter Balls
Grab a mixing bowl and blend peanut butter with sweet liquid and crunchy oats until everything sticks together perfectly. The mixture should feel smooth and slightly sticky.
Use your hands to roll small portions into round, bite-sized spheres. Press gently to ensure each ball holds its shape without crumbling.
Place your freshly formed snacks on a parchment-lined tray. Pop them into the refrigerator for about half an hour until they become firm and deliciously cool. Once chilled, these protein-packed morsels are ready to munch!
Tips to Upgrade 3-Ingredient Peanut Butter Balls
How to Serve 3-Ingredient Peanut Butter Balls
Store 3-Ingredient Peanut Butter Balls Like a Pro
FAQs
Yes, they’re packed with protein from peanut butter, natural sweetness from honey, and fiber from oats, making them a nutritious snack option.
Absolutely! Almond butter, cashew butter, or sunflower seed butter work great as substitutes for peanut butter.
No, just a mixing bowl, spoon, and your hands are all you need to create these easy no-bake treats.
When stored in an airtight container in the refrigerator, they’ll remain delicious for up to a week.
Print
Effortless Peanut Butter Balls Recipe
- Total Time: 35 minutes
- Yield: 13 1x
Description
Effortless 3-ingredient peanut butter balls deliver sweet, no-bake comfort with minimal kitchen prep. Simple chocolate-drizzled spheres provide quick energy and delightful flavor for snack enthusiasts.
Ingredients
- 1 cup (240 ml / 8 fl oz) peanut butter, creamy
- 2 cups (240 g / 8.5 oz) powdered sugar
- 1 cup (170 g / 6 oz) semi-sweet chocolate chips
- 1 cup (170 g / 6 oz) milk chocolate chips, optional
Instructions
- Blend Base: In a spacious mixing bowl, whisk peanut butter and honey together until smooth, creating a uniform foundation that will easily incorporate the dry ingredients.
- Integrate Dry Elements: Fold oats (or coconut flakes) into the sticky mixture, stirring thoroughly to develop a cohesive, moldable consistency that holds shape when compressed.
- Shape and Form: Using a measuring spoon or cookie scoop, portion the mixture and roll between palms to create uniform, compact spheres, ensuring each ball is tightly packed and symmetrical.
- Chill and Set: Arrange the peanut butter orbs on a parchment-lined tray, then refrigerate for 30 minutes to solidify the texture and allow flavors to meld, resulting in a perfectly structured treat.
Notes
- Customize Sweetness: Adjust honey quantity based on personal preference, using less for a less sweet version or more for intense sweetness.
- Texture Flexibility: Swap oats with alternative dry ingredients like crushed graham crackers or protein powder for varied textures and nutritional profiles.
- Rolling Technique: Keep hands slightly damp while forming balls to prevent sticky mixture from clinging to fingers and ensure smooth, uniform shape.
- Storage Strategy: Store in airtight container within refrigerator for up to one week, separating layers with parchment paper to maintain pristine appearance and prevent sticking.
- Prep Time: 15 minutes
- Cook Time: 20 minutes
- Category: Snacks, Desserts
- Method: None
- Cuisine: American
Nutrition
- Serving Size: 13
- Calories: 155
- Sugar: 14 g
- Sodium: 2 mg
- Fat: 8 g
- Saturated Fat: 3 g
- Unsaturated Fat: 5 g
- Trans Fat: 0 g
- Carbohydrates: 20 g
- Fiber: 1 g
- Protein: 4 g
- Cholesterol: 0 mg
John Nicholson
Lead Writer & Recipe Developer
Expertise
Recipe Testing and Development, Kitchen Hacks and Time-Saving Tips, Flavor Pairing and Ingredient Selection, Engaging Food Writing and Storytelling
Education
Johnson & Wales University
John Nicholson honed his skills at Johnson & Wales University, learning how to use fresh, local ingredients and down-to-earth techniques to make cooking simple and satisfying.
His recipes blend Southern comfort flavors with a modern touch, inviting everyone to cook with ease and confidence.
Living in Charleston, John takes cues from the city’s lively food scene, local markets, and seasonal produce. He’s all about making meals stress-free through easy tips, flavor pairings, and fun experiments in the kitchen