Christmas Cookies Recipe Made from a Simple Cake Mix
Baking these delightful Christmas cookies with cake mix provides a shortcut to festive magic.
Holiday treats burst with flavor and simplicity when using this clever baking technique.
Soft, chewy textures emerge from a few simple ingredients that anyone can master.
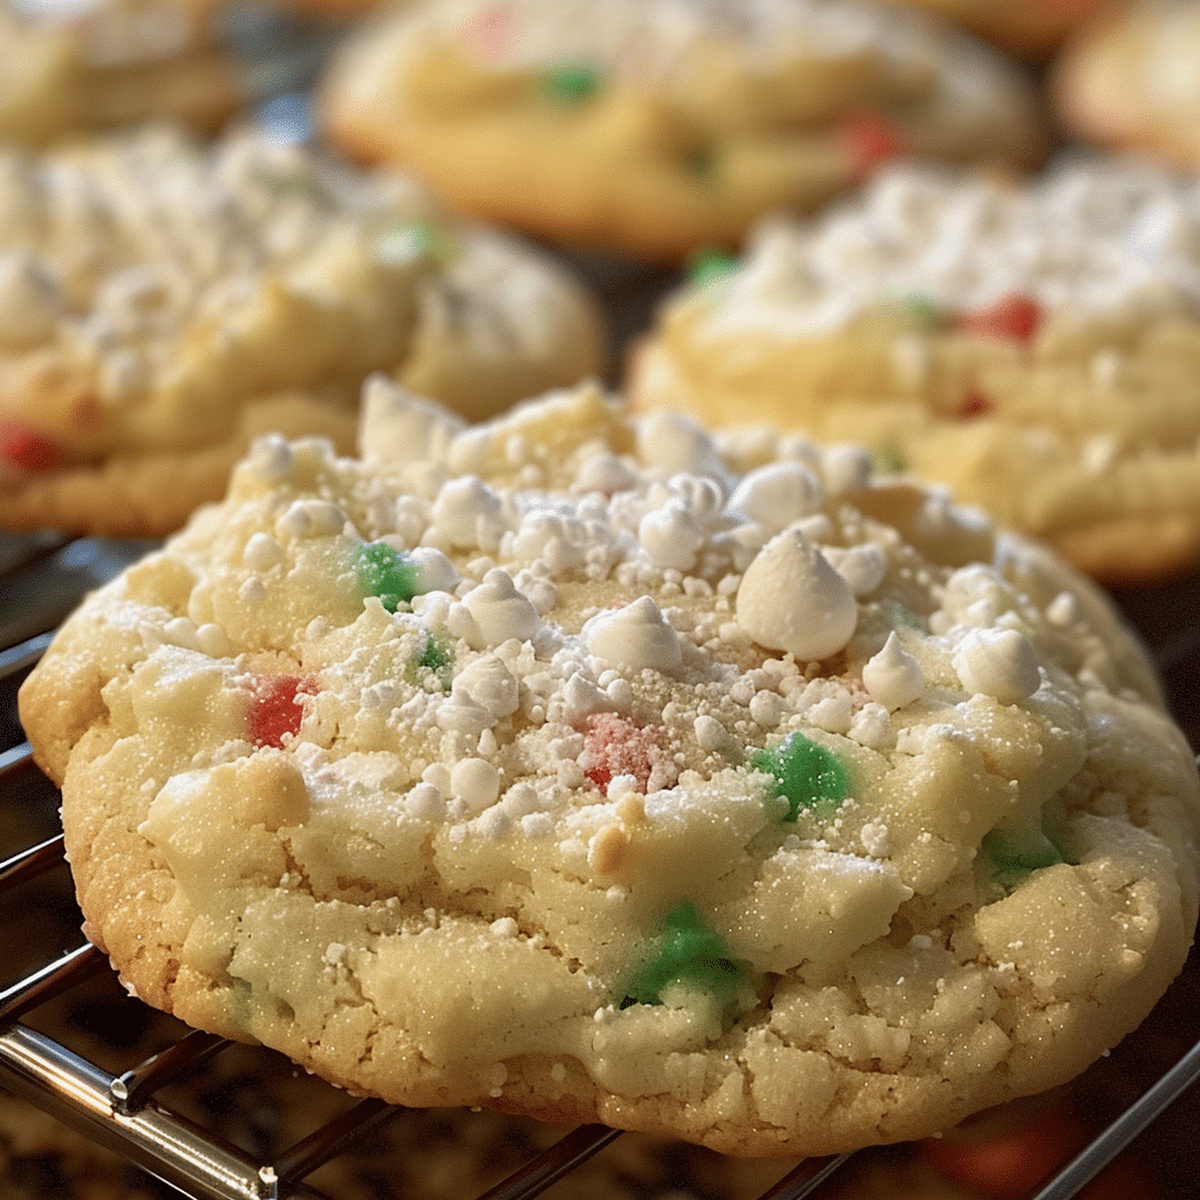
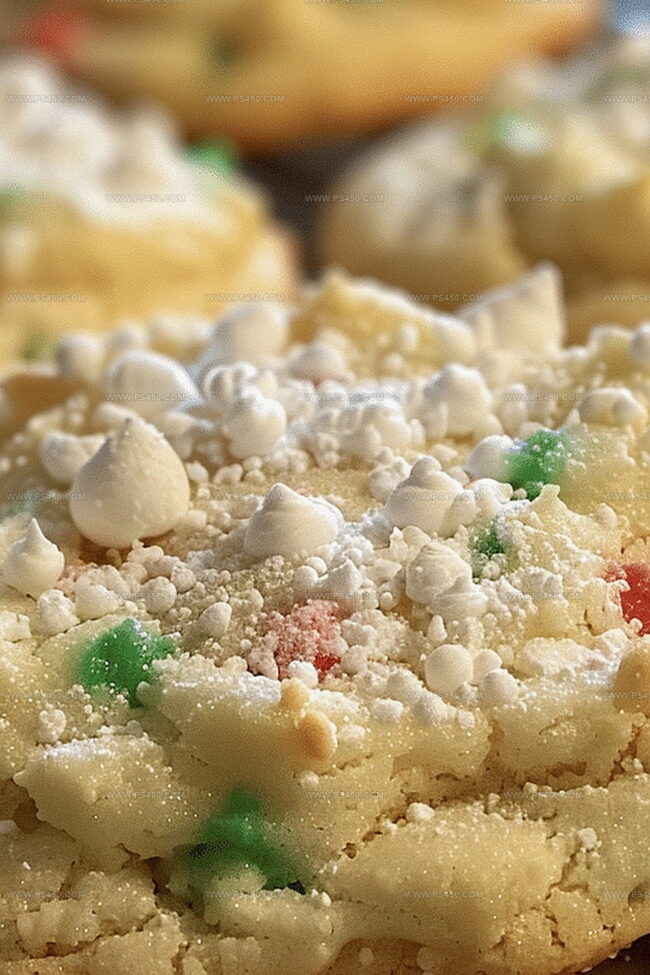
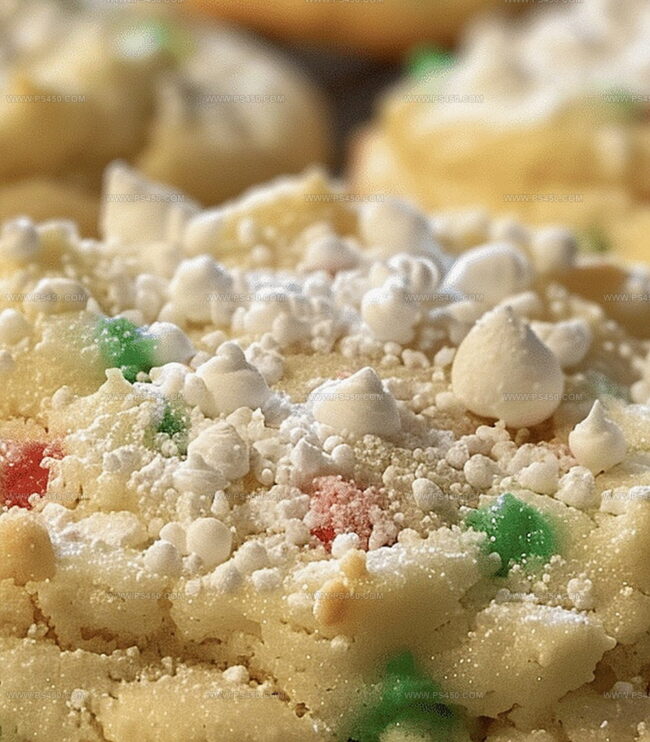
Rich flavors and colorful sprinkles transform ordinary moments into special memories.
Festive baking doesn’t require professional skills or complicated steps.
These cookies bring warm smiles and sweet joy to your holiday table.
You’ll love how quickly these treats come together for unexpected celebrations.
Quick Recipe Overview
Ingredients That Make Cake Mix Christmas Cookies Fun
For Cake Base and Binding:For Flavor Enhancers:For Baking Preparation:Tools for Creating Festive Cake Mix Christmas Cookies
Instructions to Make Cake Mix Christmas Cookies Quickly
Grab a mixing bowl and toss in cake mix, eggs, oil, and a splash of vanilla. Stir until everything blends smoothly. The mixture will feel thick and rich. Gently fold in most of your colorful M&Ms, saving a few for topping.
Pop the dough in the refrigerator for a quick 20-minute rest. This helps your cookies stay nice and plump, preventing them from spreading too much.
Warm your oven to 350F. Line baking sheets with parchment paper, creating a perfect landing spot for your festive treats.
Scoop out round cookie balls and place them on the prepared sheets. Give each one a gentle press and sprinkle the remaining M&Ms on top for extra pizzazz.
Slide the sheets into the oven and bake for 9-11 minutes. Look for golden edges while the centers remain soft and tender.
Let the cookies hang out on the baking sheet for a couple minutes, then transfer to a cooling rack. Once they’ve chilled out, they’re ready to devour!
Holiday Toppings for Brightening Cake Mix Christmas Cookies
How to Serve Cake Mix Christmas Cookies on a Cookie Tray
Store Your Christmas Cookies to Keep Them Soft and Cheery
FAQs
Yes, you can use any flavor of cake mix you like. Vanilla, chocolate, funfetti, or red velvet work great and will create unique cookie variations.
No, you don’t need a mixer. You can easily mix the ingredients by hand using a large mixing bowl and a wooden spoon or spatula.
Add extra M&Ms or sprinkles on top of each cookie before baking. You can also choose seasonal colors to match holidays or special occasions.
If the dough is too sticky, refrigerate it for 20-30 minutes before forming cookies. This will help firm up the dough and make it easier to handle.
Print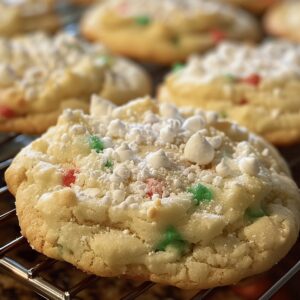
Festive Cake Mix Christmas Cookies Recipe
- Total Time: 20 minutes
- Yield: 25 1x
Description
Festive Cake Mix Christmas Cookies deliver delightful holiday cheer with minimal effort. Sweet crumbles and cheerful sprinkles make these simple treats perfect for seasonal celebrations.
Ingredients
- 1 box white or vanilla cake mix (15.25 oz / 432 g)
- 2 large eggs
- ½ cup (120 ml) vegetable oil
- 1 cup (170 g) red and green M&Ms or festive sprinkles
- 1 tsp vanilla extract (optional)
- ½ cup (85 g) white chocolate chips (optional)
Instructions
- Dough Preparation: Combine cake mix, eggs, oil, and vanilla extract in a large mixing bowl, blending until a smooth, uniform dough forms with a rich, glossy appearance.
- Mix-in Integration: Incorporate most of the M&Ms or sprinkles into the dough, reserving a portion for final decoration, ensuring even distribution throughout the mixture.
- Chill and Stabilize: Refrigerate the dough for 20 minutes to firm up the consistency, preventing excessive spread and maintaining cookie shape during baking.
- Oven Preparation: Preheat the oven to 350F (175C), situating the rack centrally and lining two baking sheets with parchment paper or silicone mats.
- Shaping and Decorating: Scoop uniform dough portions onto prepared sheets, spacing them one inch apart. Gently flatten each mound and garnish with remaining M&Ms or sprinkles.
- Baking Process: Slide trays into the preheated oven, baking for 9-11 minutes until cookie edges turn golden and centers appear slightly soft but set.
- Cooling and Finishing: Allow cookies to rest on baking sheets for 2-3 minutes, then transfer to a wire rack for complete cooling before serving or storing.
Notes
- Prevent Overmixing: Gently combine ingredients to maintain a light, tender cookie texture without developing tough gluten strands.
- Strategic Chilling: Refrigerate dough for at least 20 minutes to control spread and enhance flavor development, especially in warm kitchens.
- Uniform Sizing: Use a cookie scoop for consistent cookie shapes, ensuring even baking and professional-looking results.
- Decorative Placement: Reserve some M&Ms or sprinkles to press on top of cookies just before baking for a vibrant, intentional appearance.
- Prep Time: 10 minutes
- Cook Time: 10 minutes
- Category: Desserts, Snacks
- Method: Baking
- Cuisine: American
Nutrition
- Serving Size: 25
- Calories: 160
- Sugar: 13g
- Sodium: 150mg
- Fat: 7g
- Saturated Fat: 1g
- Unsaturated Fat: 6g
- Trans Fat: 0g
- Carbohydrates: 23g
- Fiber: 0g
- Protein: 2g
- Cholesterol: 20mg
John Nicholson
Lead Writer & Recipe Developer
Expertise
Recipe Testing and Development, Kitchen Hacks and Time-Saving Tips, Flavor Pairing and Ingredient Selection, Engaging Food Writing and Storytelling
Education
Johnson & Wales University
John Nicholson honed his skills at Johnson & Wales University, learning how to use fresh, local ingredients and down-to-earth techniques to make cooking simple and satisfying.
His recipes blend Southern comfort flavors with a modern touch, inviting everyone to cook with ease and confidence.
Living in Charleston, John takes cues from the city’s lively food scene, local markets, and seasonal produce. He’s all about making meals stress-free through easy tips, flavor pairings, and fun experiments in the kitchen