Christmas Peppermint Recipe That’s Cool and Ready to Share
Sweet holiday magic comes alive with a classic Christmas peppermint recipe that captures the essence of seasonal cheer.
Delicate peppermint flavors dance through this simple yet elegant treat, promising a burst of festive delight.
These homemade candies melt smoothly on your tongue, releasing a cool, refreshing taste that defines winter celebrations.
Crafted with just a few basic ingredients, this recipe brings a touch of nostalgia and warmth to your kitchen.
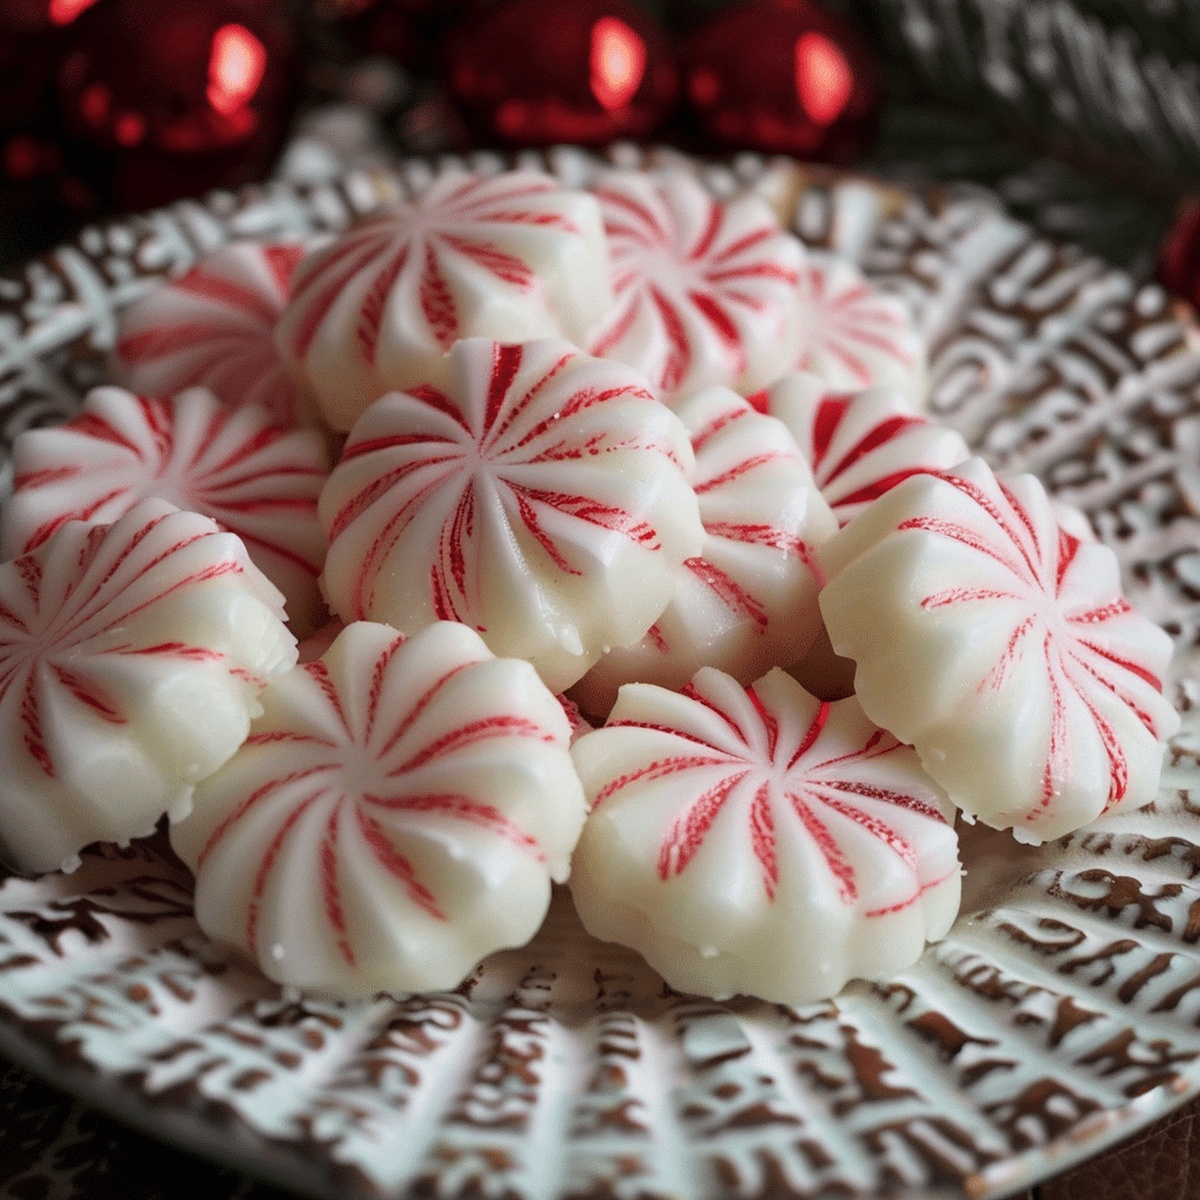
The vibrant red and white swirls create a stunning visual that instantly signals the joy of the season.
Each carefully crafted piece serves as a delicious reminder of cherished holiday memories.
Prepare to spread some sweet joy and watch these peppermints become the star of your festive gatherings.
Quick Recipe Overview
Christmas Peppermints: Ingredient List
For Base Ingredients:For Flavor Enhancers:For Coloring and Finishing:Kitchen Tools to Shape Holiday Peppermints
Instructions to Create Christmas Peppermints
Create a silky-smooth mixture by thoroughly blending softened cream cheese until it’s super creamy and free of lumps.
Gradually introduce powdered sugar, stirring until a soft, pliable dough emerges. Splash in peppermint extract and mix until the aroma fills your kitchen.
Separate the dough into three equal sections. Leave one portion pure white, then infuse the others with vibrant red and green hues by kneading the food coloring throughout.
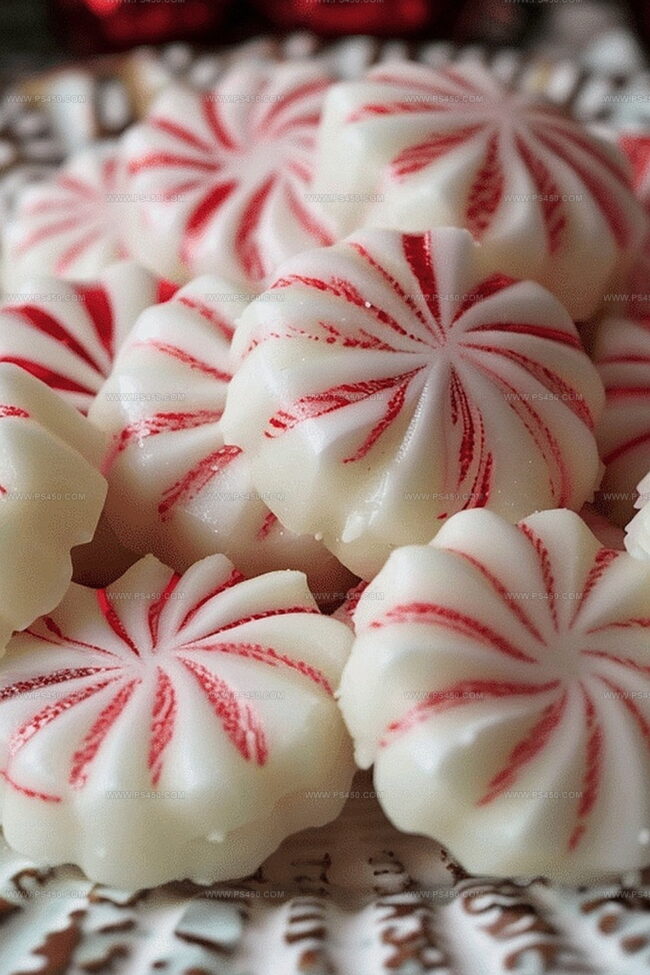
Dust your workspace with a light sprinkle of powdered sugar. Roll tiny dough balls and gently press them with a fork, creating classic peppermint shapes that look like little holiday gems.
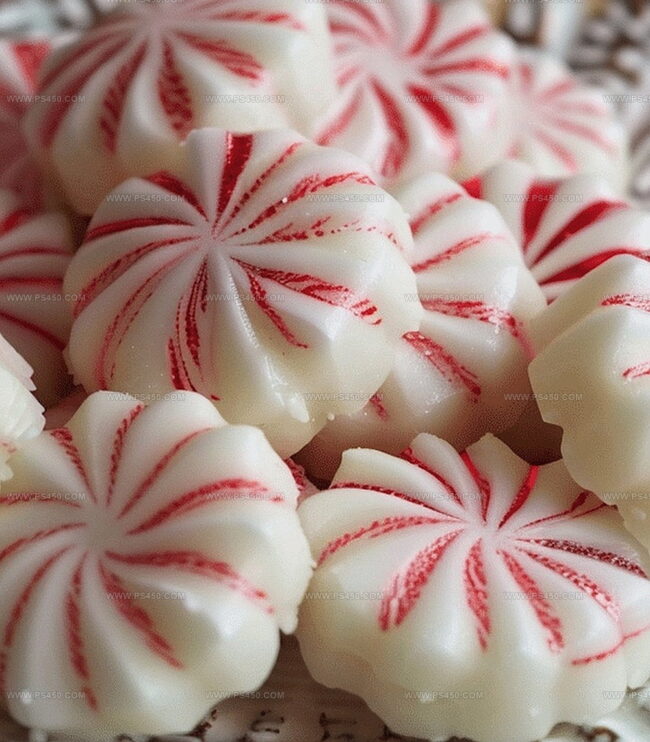
Tumble each peppermint through granulated sugar, ensuring a glittery, crystalline coating that adds extra sweetness and crunch.
Let your peppermints rest on a parchment-lined tray, allowing them to firm up for a couple of hours. Once solid, store in an airtight container – they’ll stay fresh and delightful for weeks.
Tips to Personalize Christmas Peppermint Candy
Serving Christmas Peppermints for Gatherings
Best Ways to Keep Peppermints Fresh
FAQs
The peppermint extract provides a strong, refreshing minty taste that makes these candies distinctly festive and delicious.
Yes, you can increase or decrease the amount of peppermint extract to suit your personal taste preference. Start with the recommended amount and add more gradually.
The recipe contains dairy from cream cheese, so it’s not suitable for vegans or those with dairy allergies. However, you can experiment with dairy-free cream cheese alternatives.
Always dust your work surface and hands with powdered sugar. This helps prevent sticking and makes it easier to handle the soft, creamy dough when forming the peppermint shapes.
Print
Festive Christmas Peppermints Recipe
- Total Time: 3 hours 20 minutes
- Yield: 31 1x
Description
Homemade Christmas peppermints blend festive cheer with sweet minty magic from traditional Italian dessert techniques. Candy crafters can enjoy creating these delightful holiday treats that sparkle with seasonal charm.
Ingredients
- 4 ounces (115 grams) cream cheese, softened
- 4 cups (500 grams) powdered sugar
- ½ teaspoon (2.5 ml) peppermint extract
- Red food coloring
- Green food coloring
- Granulated sugar
Instructions
- Prepare Base: Whip cream cheese in a large mixing bowl until smooth and creamy, creating a uniform foundation for the peppermint treats.
- Develop Dough: Fold powdered sugar into the cream cheese, mixing until a pliable, cohesive dough forms with a silky consistency.
- Flavor Enhancement: Infuse the dough with peppermint extract, ensuring even distribution of the refreshing essence throughout the mixture.
- Color Separation: Divide the dough into three equal portions, reserving one for the classic white base and transforming the others with festive red and green food colorings.
- Color Integration: Knead each colored segment thoroughly, working the pigments until achieving a vibrant, streak-free hue that captures the holiday spirit.
- Shaping Process: Dust the work surface with powdered sugar, then roll each colored dough into uniform half-inch spheres, creating consistent, bite-sized candies.
- Texture Refinement: Gently press each sphere with fork tines, imparting a traditional peppermint pattern and coating generously with granulated sugar for a sparkling finish.
- Drying and Setting: Arrange the sugared confections on a parchment-lined baking sheet, allowing them to air-dry for 2-3 hours until they develop a firm, stable texture.
- Storage and Preservation: Transfer the completed peppermints to an airtight container, maintaining optimal freshness at room temperature for one week or refrigerated for up to two weeks.
Notes
Prevent Sticky Dough: Dust work surfaces and hands generously with powdered sugar to maintain smooth dough manipulation and prevent unwanted adhesion.
Color Consistency Technique: Knead food coloring thoroughly into dough segments, using steady, even motions to guarantee uniform color without unsightly streaks or patches.
Sizing Precision: Use a small cookie scoop or weigh each dough ball to ensure identical candy sizes, creating a professional and visually appealing final presentation.
Storage Strategy: Store peppermints in an airtight container with parchment paper between layers to preserve texture and prevent candies from sticking together, maintaining their delicate crystalline surface.
- Prep Time: 20 minutes
- Cook Time: 3 hours
- Category: Snacks, Desserts
- Method: Blending
- Cuisine: American
Nutrition
- Serving Size: 31
- Calories: 63
- Sugar: 15 g
- Sodium: 5 mg
- Fat: 2 g
- Saturated Fat: 1 g
- Unsaturated Fat: 1 g
- Trans Fat: 0 g
- Carbohydrates: 13 g
- Fiber: 0 g
- Protein: 0 g
- Cholesterol: 3 mg
John Nicholson
Lead Writer & Recipe Developer
Expertise
Recipe Testing and Development, Kitchen Hacks and Time-Saving Tips, Flavor Pairing and Ingredient Selection, Engaging Food Writing and Storytelling
Education
Johnson & Wales University
John Nicholson honed his skills at Johnson & Wales University, learning how to use fresh, local ingredients and down-to-earth techniques to make cooking simple and satisfying.
His recipes blend Southern comfort flavors with a modern touch, inviting everyone to cook with ease and confidence.
Living in Charleston, John takes cues from the city’s lively food scene, local markets, and seasonal produce. He’s all about making meals stress-free through easy tips, flavor pairings, and fun experiments in the kitchen