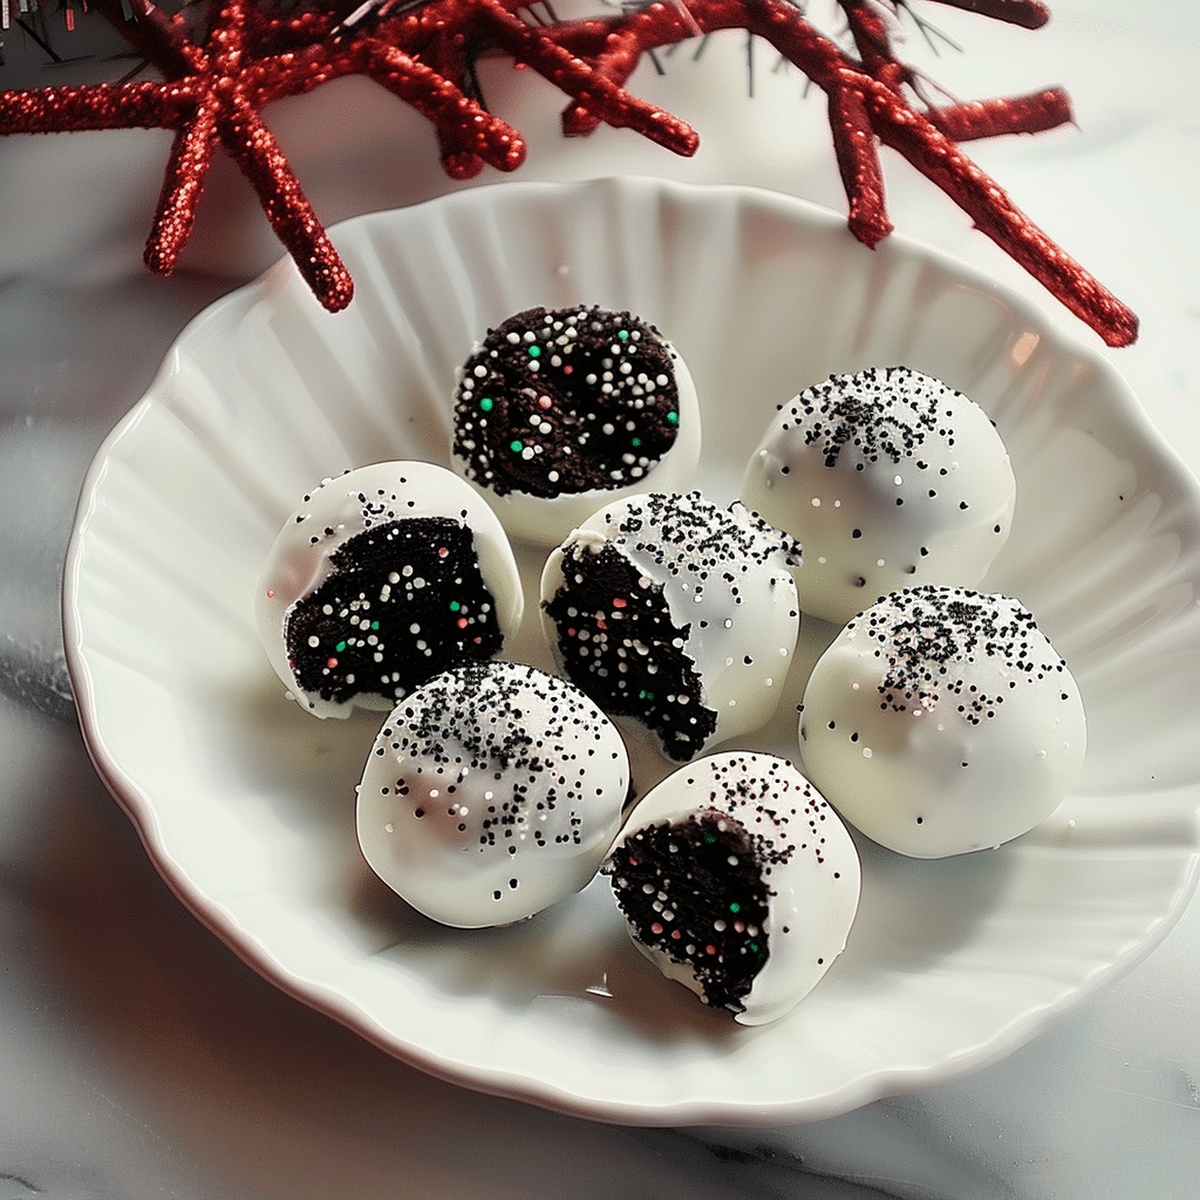
Jolly Christmas Oreo Balls Recipe: Fun Festive Treats!
Sweet holiday gatherings call for irresistible Oreo balls that melt hearts during Christmas celebrations.
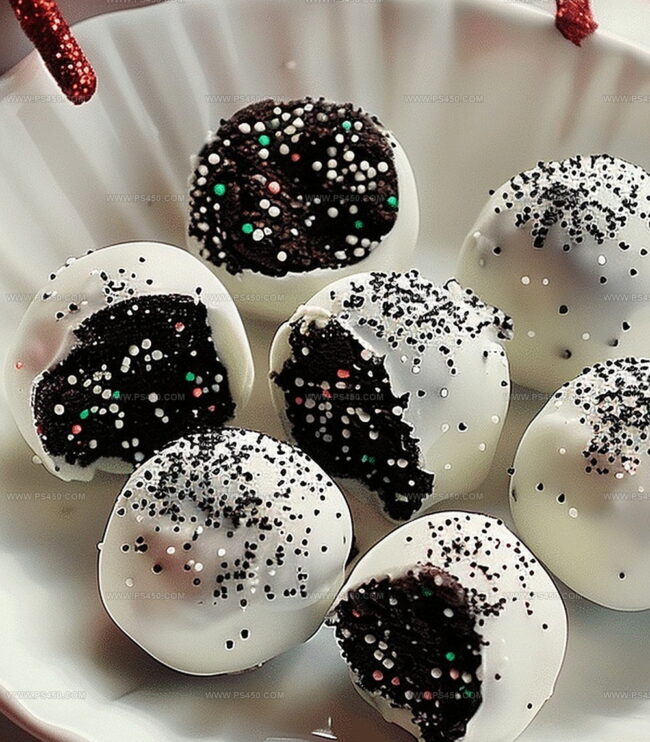
These decadent no-bake treats blend creamy chocolate and classic Oreo cookies into delightful bite-sized delights.
Rich cream cheese smooths the mixture, creating a luxurious texture that surprises every guest.
Dark chocolate coating adds an elegant finish to these simple yet impressive desserts.
Each ball delivers a perfect balance of crunch and smoothness that disappears quickly from party platters.
Craft these delectable morsels and watch smiles spread faster than holiday cheer.
Quick Recipe Overview

Ingredients for Oreo Balls for Christmas
For Cookie Base:For Coating:For Decorative Touches:Tools to Shape and Dip Oreo Balls for Christmas
How to Prepare Oreo Balls for Christmas Gifting
Blast your Oreo cookies into fine crumbs using a food processor. Mix in softened cream cheese until the mixture becomes a smooth, delectable blend.
Scoop small portions of the cookie mixture and roll them into perfect little spheres with your hands. Place these yummy balls on a parchment-lined tray.
Pop the tray into the refrigerator or freezer. Let the balls cool and set for about half an hour until they’re nice and firm.
Melt chocolate wafers in the microwave, stirring between short intervals. Gently dip each chilled ball into the melted chocolate, letting excess drip away using a fork.
While the chocolate is still wet, sprinkle on colorful decorations or drizzle with candy melts. Let them rest on the baking sheet until the chocolate hardens completely.
Return the chocolate-covered balls to the refrigerator for a quick 10-15 minute cooldown to ensure they’re perfectly set and ready to enjoy.
Topping and Coating Ideas for Oreo Balls for Christmas
Serve Oreo Balls at Parties or in Gift Boxes
Store Oreo Balls So They Stay Chilled and Delicious
FAQs
Yes! You can experiment with flavors like mint, peanut butter, or birthday cake Oreos for unique taste variations.
A food processor helps, but you can also crush Oreos in a sealed plastic bag using a rolling pin if you don’t have one.
Oreo balls can be stored in the refrigerator for up to 2 weeks in an airtight container, maintaining their delicious taste and texture.
Absolutely! You can prepare them 2-3 days before an event and keep them refrigerated, which actually helps them set better and develop richer flavor.
Print
Festive Oreo Balls For Christmas Recipe
- Total Time: 1 hour 15 minutes
- Yield: 37 1x
Description
Mouthwatering Oreo Balls bring festive cheer to holiday dessert tables across North America. Sweet chocolate-coated treats rolled with cream cheese and crushed cookies offer absolute delight for celebratory moments with friends and family.
Ingredients
- 36 Oreo cookies (crushed into fine crumbs)
- 8 oz (226 g) cream cheese (softened)
- 10 oz (283 g) dark chocolate melting wafers
- 10 oz (283 g) white chocolate melting wafers (optional for variation)
- Christmas sprinkles
- Red candy melts
- Green candy melts
Instructions
- Preparation: Crush Oreo cookies in a food processor until they form fine, uniform crumbs, creating a powdery base for the holiday confection.
- Mixing: Blend softened cream cheese with Oreo crumbs until the mixture becomes a cohesive, smooth consistency perfect for molding.
- Shaping: Roll the mixture into uniform spheres, maintaining consistent size and round shape, then place on a parchment-lined tray with slight separation.
- Chilling: Refrigerate or freeze the orbs for 30 minutes to enhance structural integrity and prepare for coating.
- Chocolate Coating: Melt chocolate wafers in short microwave intervals, stirring to create a smooth, glossy liquid for dipping.
- Dipping: Submerge each chilled ball into melted chocolate using a fork, ensuring even coverage and allowing excess chocolate to drip off.
- Decorating: While chocolate is still wet, embellish with festive sprinkles or create artistic drizzles using colored candy melts for a decorative touch.
- Final Set: Return the decorated treats to the refrigerator for 10-15 minutes, allowing the chocolate to set completely and preserve their pristine appearance.
Notes
- Precise Crumb Texture: Pulse Oreos in food processor until achieving fine, sand-like consistency for smoother ball formation and better binding with cream cheese.
- Temperature Control: Ensure cream cheese is room temperature to blend seamlessly without lumps, creating a uniform mixture that holds shape perfectly.
- Consistent Size Technique: Use a small cookie scoop or tablespoon measure to create uniform balls, guaranteeing even coating and professional presentation.
- Chocolate Coating Mastery: Melt chocolate in short 15-second intervals, stirring between each session to prevent burning and maintain silky smooth texture for perfect dipping.
- Prep Time: 15 minutes
- Cook Time: 1 hour
- Category: Desserts, Snacks
- Method: Blending
- Cuisine: American
Nutrition
- Serving Size: 37
- Calories: 100
- Sugar: 10 g
- Sodium: 50 mg
- Fat: 6 g
- Saturated Fat: 3.5 g
- Unsaturated Fat: 2 g
- Trans Fat: 0 g
- Carbohydrates: 11 g
- Fiber: 0.5 g
- Protein: 1 g
- Cholesterol: 10 mg
John Nicholson
Lead Writer & Recipe Developer
Expertise
Recipe Testing and Development, Kitchen Hacks and Time-Saving Tips, Flavor Pairing and Ingredient Selection, Engaging Food Writing and Storytelling
Education
Johnson & Wales University
John Nicholson honed his skills at Johnson & Wales University, learning how to use fresh, local ingredients and down-to-earth techniques to make cooking simple and satisfying.
His recipes blend Southern comfort flavors with a modern touch, inviting everyone to cook with ease and confidence.
Living in Charleston, John takes cues from the city’s lively food scene, local markets, and seasonal produce. He’s all about making meals stress-free through easy tips, flavor pairings, and fun experiments in the kitchen