Finger-Lickin’ Fried Chicken Recipe for Family Joy
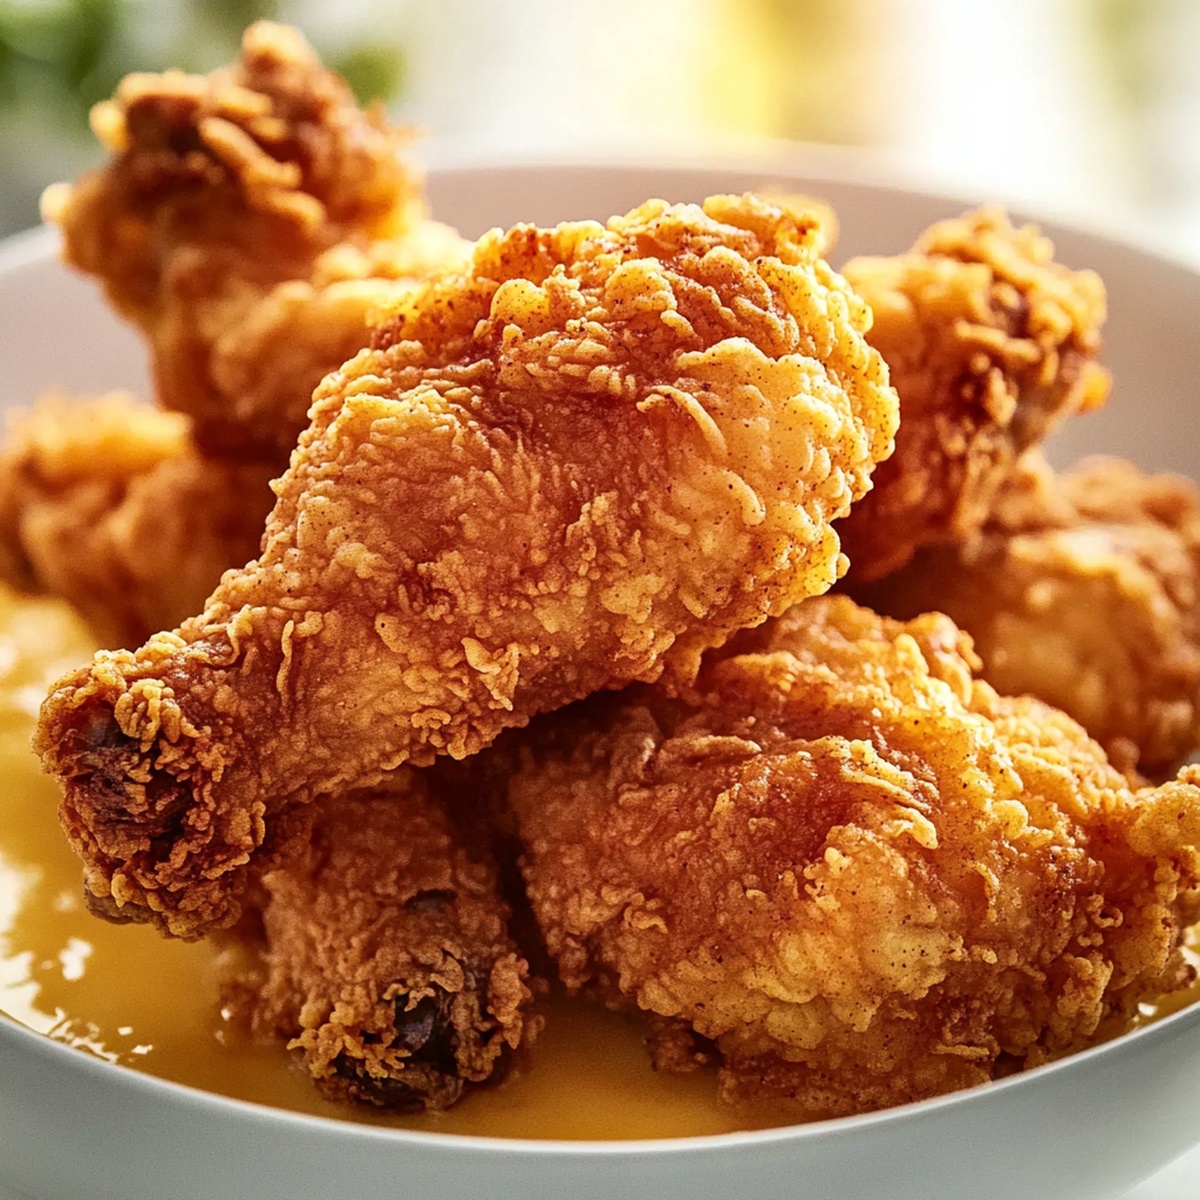
Crispy, golden fried chicken sizzles with irresistible promise, beckoning hungry souls with its mouth-watering aroma.
Southern-style golden fried chicken carries generations of culinary comfort and warmth.
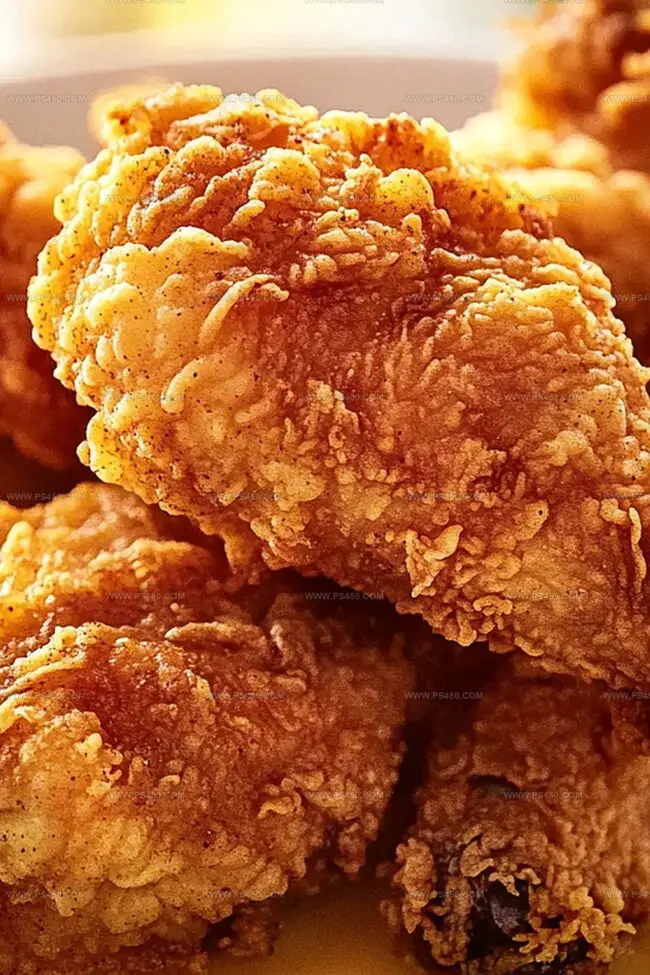
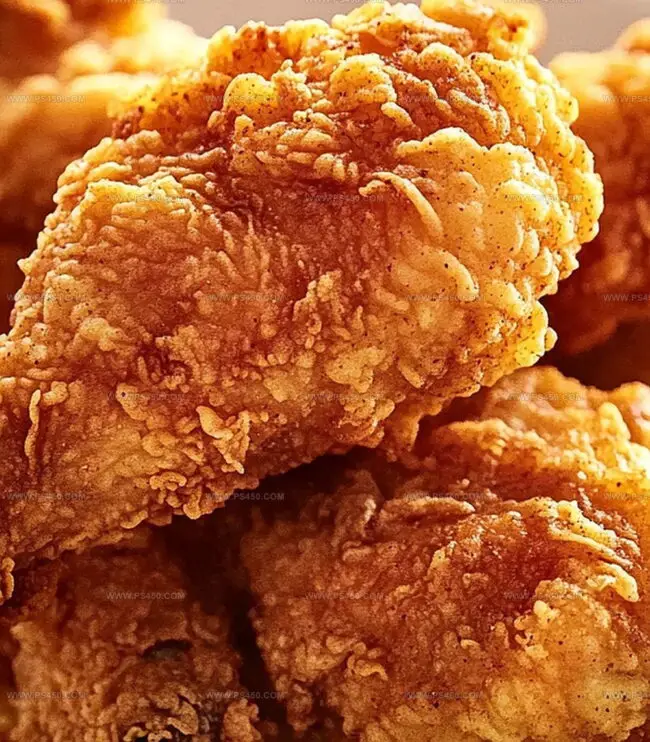
Every golden-brown piece promises a delectable crunch that penetrates deep into the meat’s tender core.
This classic recipe delivers a perfectly seasoned exterior that crackles with each delightful bite.
Marinating the chicken ensures maximum flavor infusion and guarantees succulent results.
The carefully balanced blend of spices transforms ordinary chicken into an extraordinary meal.
You won’t be able to resist diving into this crowd-pleasing dish that brings everyone together around the table.
Quick Recipe Overview
Ingredients For Crispy Fried Chicken
For Marinade and Tenderizing:For Crispy Coating:For Frying and Finishing:Gear To Make Fried Chicken Crispy
How To Fry Chicken The Right Way
Whisk buttermilk with seasonings in a large container. Submerge chicken pieces completely, ensuring every inch gets coated. Let chicken soak in the refrigerator for several hours or overnight for maximum tenderness.
Combine flour with a blend of spices in a wide, shallow container. Make sure seasonings are evenly distributed for consistent flavor across each piece of chicken.
Pull chicken from buttermilk bath, allowing excess liquid to drip off. Roll each piece generously in seasoned flour mixture, pressing firmly to create a thick, crunchy exterior. For extra crunch, repeat dipping process.
Fill heavy-bottomed pan with oil, heating until it reaches perfect frying temperature. Use a cooking thermometer to ensure precise heat.
Gently lower chicken pieces into hot oil, maintaining space between them. Cook until exterior turns deep golden brown and interior reaches safe temperature. Flip occasionally for even cooking.
Allow chicken to rest briefly on paper towels to absorb excess oil. Plate immediately and enjoy with your favorite accompaniments.
Tips For Crispy Fried Chicken Perfection
How To Serve Fried Chicken
Store Fried Chicken So It Stays Crispy
Print
Golden Fried Chicken Recipe
- Total Time: 45 minutes
- Yield: 5 1x
Description
Crispy korean-style fried chicken delivers an irresistible crunch that elevates classic poultry. Seasoned with gochujang and double-fried for maximum texture, this recipe brings restaurant-quality flavor straight to home kitchens.
Ingredients
- 4 chicken thighs (bone-in, skin-on)
- 4 chicken drumsticks
- 2 cups (480 ml) buttermilk
- 1 tsp salt
- ½ tsp black pepper
- ½ tsp paprika
- 2 cups (240 g) all-purpose flour
- 1 tsp salt
- 1 tsp garlic powder
- ½ tsp onion powder
- ½ tsp paprika
- ½ tsp black pepper
- ½ tsp cayenne pepper
- 34 cups (8 liters) vegetable oil (for deep frying)
Instructions
- Marination: Immerse chicken pieces in a vibrant buttermilk bath infused with an array of bold spices, ensuring complete coverage. Refrigerate for several hours to allow flavor infusion and meat tenderization.
- Flour Preparation: Craft a dynamic spice-laden flour mixture, whisking ingredients meticulously to guarantee uniform flavor distribution. This seasoned coating will create a tantalizing crispy exterior.
- Dredging Process: Drain chicken from marinade, allowing excess liquid to fall away. Thoroughly coat each piece in the spiced flour blend, pressing firmly to maximize flavor adherence. For an exceptionally crisp finish, repeat the dredging technique by re-dipping in buttermilk and flour mixture.
- Oil Preparation: Choose a robust skillet or Dutch oven and fill with sufficient oil for deep frying. Utilize a culinary thermometer to maintain precise temperature at 350F, creating the ideal frying environment.
- Frying Technique: Carefully introduce chicken pieces into the sizzling oil, maintaining adequate spacing to prevent overcrowding. Rotate periodically to ensure consistent golden-brown coloration and even cooking. Fry until chicken reaches a safe internal temperature of 165F, typically requiring 12-15 minutes.
- Resting and Serving: Transfer golden chicken to a wire rack or absorbent towels, allowing excess oil to drain. Let rest briefly to redistribute internal juices and optimize texture. Serve piping hot alongside complementary side dishes that elevate the meal’s gastronomic experience.
Notes
- Marinate Strategically: Allow chicken to soak in buttermilk for minimum 4 hours, preferably overnight, to maximize tenderness and flavor absorption.
- Double-Dredge for Crunch: Repeat flour coating process twice to create an exceptionally crispy, thick exterior that seals in moisture and delivers a satisfying crackle.
- Temperature Control: Maintain consistent oil temperature at 350F to prevent greasy results and ensure even, golden-brown cooking without burning the coating.
- Rest and Drain Properly: Let fried chicken rest on wire rack instead of paper towels to preserve crispy texture and prevent soggy bottoms by allowing excess oil to drip away completely.
- Prep Time: 15 minutes
- Cook Time: 30 minutes
- Category: Dinner, Snacks
- Method: Frying
- Cuisine: American
Nutrition
- Serving Size: 5
- Calories: 500
- Sugar: 1 g
- Sodium: 800 mg
- Fat: 30 g
- Saturated Fat: 8 g
- Unsaturated Fat: 20 g
- Trans Fat: 0 g
- Carbohydrates: 40 g
- Fiber: 2 g
- Protein: 25 g
- Cholesterol: 100 mg
John Nicholson
Lead Writer & Recipe Developer
Expertise
Recipe Testing and Development, Kitchen Hacks and Time-Saving Tips, Flavor Pairing and Ingredient Selection, Engaging Food Writing and Storytelling
Education
Johnson & Wales University
John Nicholson honed his skills at Johnson & Wales University, learning how to use fresh, local ingredients and down-to-earth techniques to make cooking simple and satisfying.
His recipes blend Southern comfort flavors with a modern touch, inviting everyone to cook with ease and confidence.
Living in Charleston, John takes cues from the city’s lively food scene, local markets, and seasonal produce. He’s all about making meals stress-free through easy tips, flavor pairings, and fun experiments in the kitchen