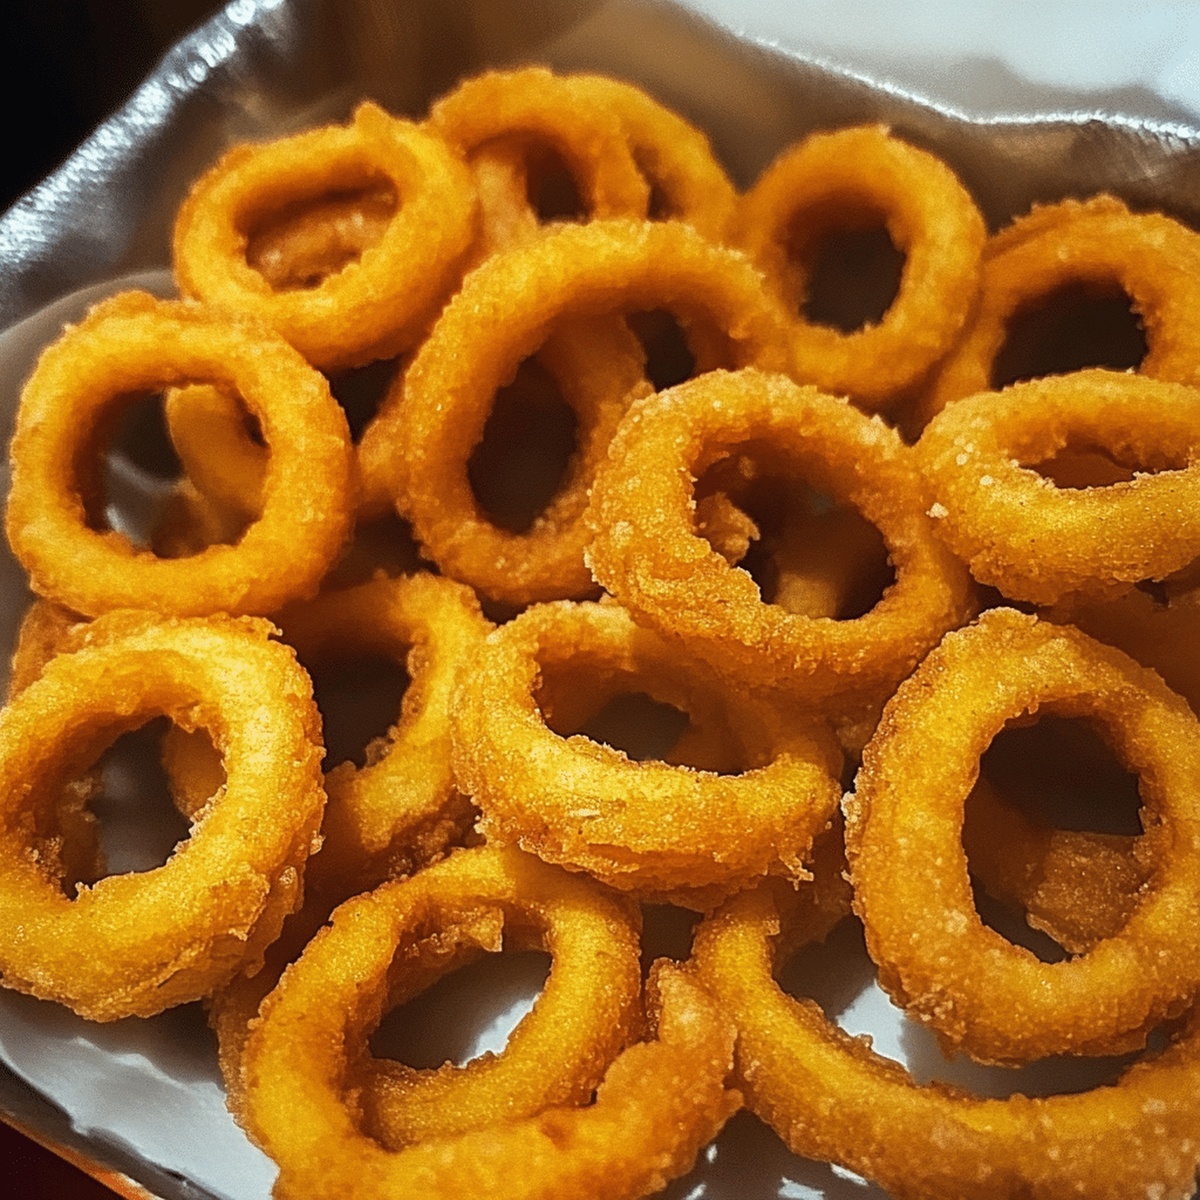
Golden Onion Rings Recipe: A Fun Homemade Treat
Crispy, golden fried onion rings tantalize taste buds with their irresistible crunch and flavor.
Mastering the perfect golden fried onion rings requires a few simple techniques and quality ingredients.
The secret lies in selecting the right onions and creating a light, crispy batter that seals in maximum flavor.
Each ring promises a delightful balance of tender onion and crackling exterior that makes appetizers truly memorable.
Seasoned chefs and home cooks alike can achieve restaurant-quality results with this straightforward method.
The batter’s delicate composition ensures a light, airy coating that transforms ordinary onions into a crowd-pleasing treat.
Prepare to wow your guests with these addictive, golden-brown delights that disappear faster than you can plate them.
Quick Recipe Overview
Crispy Fried Onion Ring Ingredient List
For Onion Base:For Dry Ingredients:For Wet Ingredients:Tools for Golden Onion Rings
How to Fry Onion Rings at Home
Grab fresh onions and cut them into thin, circular rings. Gently separate each ring, creating a beautiful display of crispy potential.
Whip up a light, airy batter by mixing flour, a pinch of salt, and a dash of baking powder. Blend in milk and egg until smooth and silky.
Dunk each onion ring into flour, then dip into the wet batter. Roll the rings through crunchy bread crumbs, ensuring a complete, even coating.
Heat oil in a deep pot until it shimmers with excitement. Carefully lower rings into the hot oil, letting them dance and turn golden brown. Fry in small batches to maintain perfect crispiness.
Transfer the golden rings onto paper towels to remove excess oil. Sprinkle with a touch of salt and serve immediately while they’re crackling hot and irresistibly crunchy.
Tips for Crispier Onion Ring Texture
Best Ways to Serve Fried Onion Rings
Fried Onion Ring Storage Made Simple
FAQs
Coating the onion rings with flour helps the batter stick better and creates a crispier outer layer for your fried onion rings.
Yes, you can use panko breadcrumbs for an extra crispy texture or seasoned breadcrumbs for more flavor. Regular breadcrumbs work perfectly fine too.
Ensure the oil is at the right temperature (365F), don’t overcrowd the pan, and drain the rings on paper towels immediately after frying to remove excess oil.
Shake off excess flour and batter between each coating step, and make sure to dredge the rings thoroughly in breadcrumbs for a uniform, crispy exterior.
Print
Golden Fried Onion Rings Recipe
- Total Time: 25 minutes
- Yield: 5 1x
Description
Crispy Fried Onion Rings elevate classic pub snacks with golden, crunchy perfection. Generous coating and expert technique ensure maximum flavor that delights taste buds.
Ingredients
- 1 ¼ cups (300 ml) all-purpose flour
- ¾ cup (180 ml) dry bread crumbs
- 2 large onions
- 1 egg
- 1 cup (240 ml) milk
- 1 teaspoon baking powder
- 1 teaspoon salt
- Oil for frying
Instructions
- Preparation: Carefully slice onions into uniform 1/4-inch rings, meticulously separating intact rings and discarding fragmented pieces.
- Flour Coating: Combine flour, baking powder, and salt in a mixing bowl, creating a seasoned dry foundation. Thoroughly dust onion rings with the flour mixture, shaking off excess.
- Batter Creation: Whisk egg and milk into the flour blend, transforming the dry ingredients into a smooth, silky liquid coating.
- Breading Process: Spread breadcrumbs on a flat surface. Dip floured rings into the liquid batter, allowing excess to drip off, then generously coat with breadcrumbs, ensuring complete coverage.
- Frying Technique: Heat oil in a deep vessel to 365°F, monitoring temperature with a cooking thermometer. Gently lower rings in small batches to prevent overcrowding and maintain consistent oil temperature.
- Finishing Touch: Fry rings until achieving a rich golden-brown color, approximately 2-3 minutes, turning once to ensure even crispiness. Drain on paper towel-lined plate to remove excess oil and preserve the delicate, crunchy exterior.
Notes
Manage Onion Texture: Select fresh, firm onions with tight layers to prevent rings from falling apart during coating and frying process.
Temperature Control: Maintain consistent oil temperature at 365°F to achieve golden-brown exterior without absorbing excessive grease or becoming soggy.
Batter Consistency: Whisk batter until smooth and free of lumps, ensuring even coating and crispy texture across all onion rings.
Drain Technique: Place fried rings on wire rack or angled paper towels to prevent bottoms from becoming greasy and losing crispiness.
- Prep Time: 15 minutes
- Cook Time: 10 minutes
- Category: Appetizer, Snacks
- Method: Frying
- Cuisine: American
Nutrition
- Serving Size: 5
- Calories: 250
- Sugar: 2 g
- Sodium: 300 mg
- Fat: 12 g
- Saturated Fat: 1.5 g
- Unsaturated Fat: 10 g
- Trans Fat: 0 g
- Carbohydrates: 32 g
- Fiber: 2 g
- Protein: 6 g
- Cholesterol: 25 mg


John Nicholson
Lead Writer & Recipe Developer
Expertise
Recipe Testing and Development, Kitchen Hacks and Time-Saving Tips, Flavor Pairing and Ingredient Selection, Engaging Food Writing and Storytelling
Education
Johnson & Wales University
John Nicholson honed his skills at Johnson & Wales University, learning how to use fresh, local ingredients and down-to-earth techniques to make cooking simple and satisfying.
His recipes blend Southern comfort flavors with a modern touch, inviting everyone to cook with ease and confidence.
Living in Charleston, John takes cues from the city’s lively food scene, local markets, and seasonal produce. He’s all about making meals stress-free through easy tips, flavor pairings, and fun experiments in the kitchen