Gooey Butter Tart Squares Recipe With a Sweet Finish
Crafting delectable gooey butter tart squares brings pure delight to any dessert table.
These irresistible squares blend Canadian butter tart nostalgia with a deliciously decadent twist.
Sweet, rich, and utterly indulgent, the recipe captures classic comfort in every single bite.
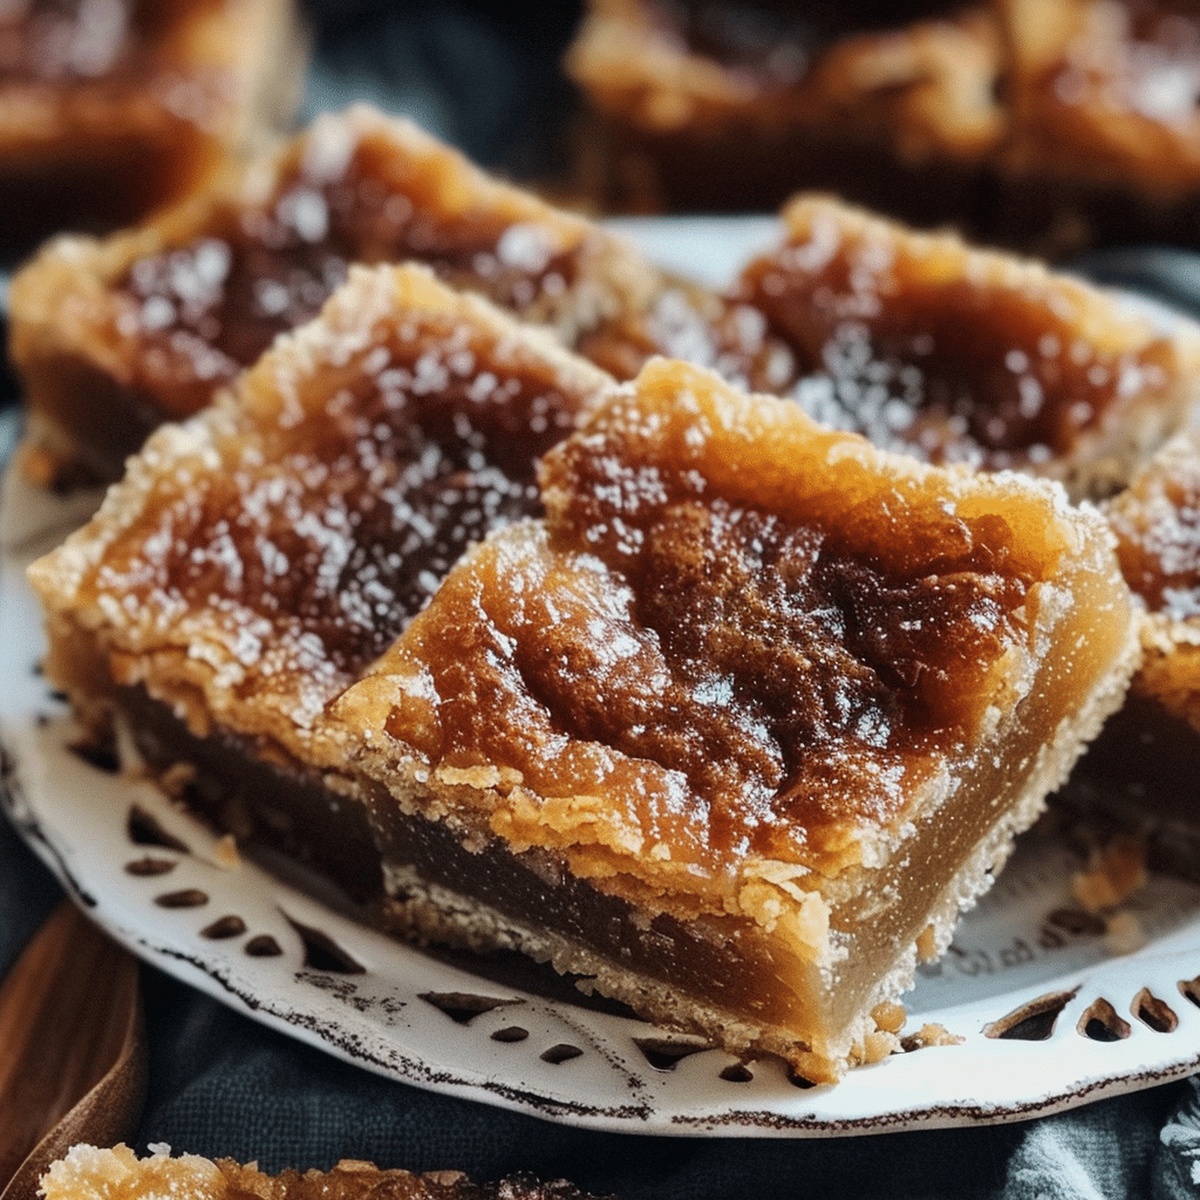
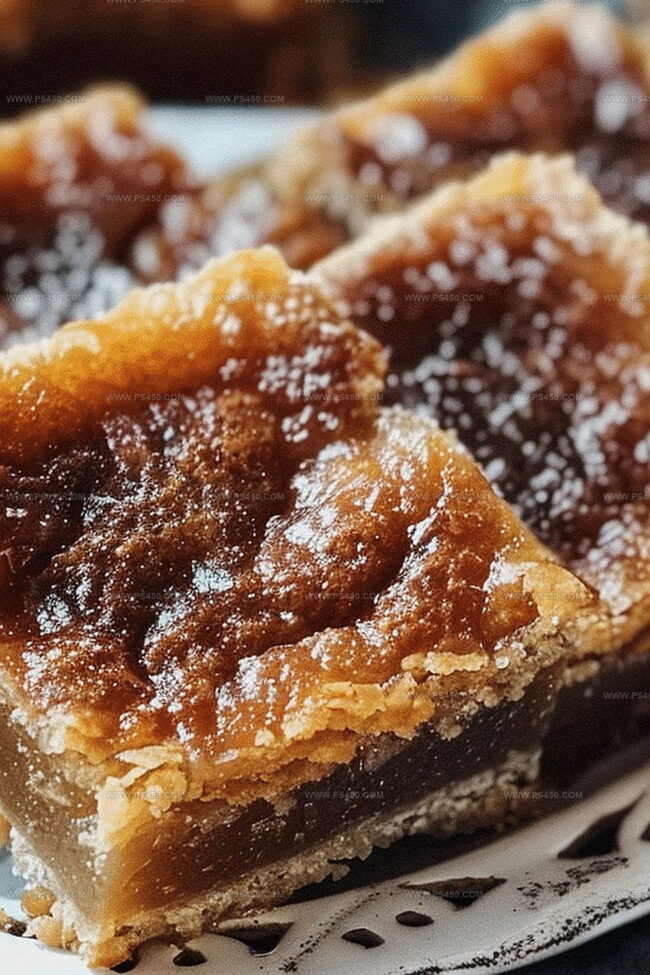
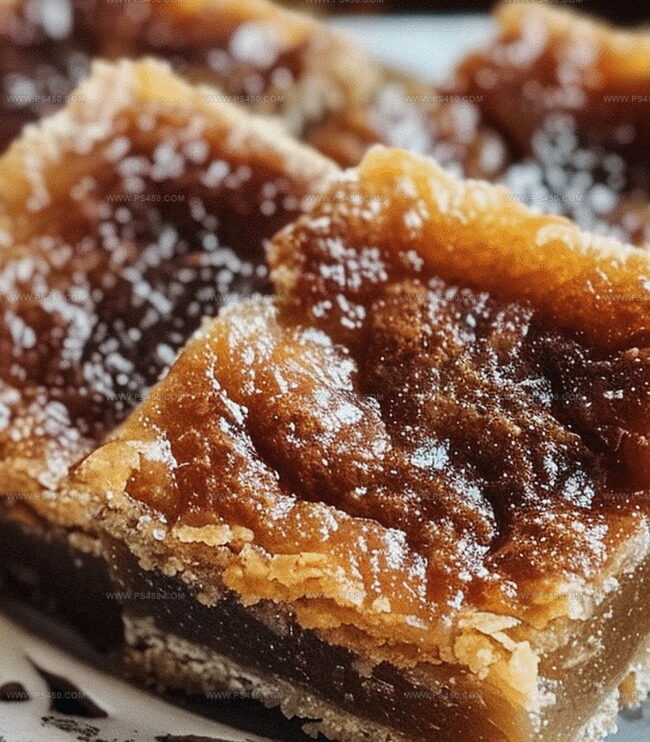
Layers of buttery pastry cradle a luscious, caramel-like filling that melts perfectly on your tongue.
The combination of simple ingredients transforms an ordinary treat into something extraordinary.
Each square promises a delightful journey through traditional Canadian bakery magic.
Let these mouthwatering squares become your next baking adventure.
Quick Recipe Overview
Ingredients for Butter Tart Squares
For Crust:For Filling:For Optional Mix-Ins:Tools That Help You Create Buttery, Sweet Tart Squares
How to Bake Canadian Butter Tart Squares at Home
Grab a mixing bowl and blend flour with sugar. Break up cold butter into tiny pieces and work it into the dry ingredients until you create a crumbly texture. Press this mixture firmly into a lined baking pan, creating an even foundation.
Slide the pan into a warm oven heated to 350F. Let the base transform into a light golden color, which takes about 10-12 minutes. This creates a sturdy platform for your delicious squares.
In a separate bowl, combine eggs, brown sugar, melted butter, a splash of vinegar, and vanilla. Stir until everything looks smooth and silky. Optional: Toss in raisins or chopped walnuts for extra character.
Pour the filling over your golden crust, making sure it spreads evenly. Return the pan to the oven and bake for 25-30 minutes. You’ll know it’s ready when the edges turn golden and the center has a subtle wiggle.
Allow the entire creation to cool completely in the pan. Use parchment paper edges to lift out your masterpiece. Cut into neat squares and serve.
Keep leftover squares in an airtight container. They’ll stay fresh at room temperature for three days or up to a week in the refrigerator.
Add-Ons for Giving Your Butter Tart Squares a Twist
How to Serve Butter Tart Squares for Dessert or Gifts
Store Butter Tart Squares Without Losing Texture
FAQs
Butter Tart Squares are a Canadian dessert inspired by traditional butter tarts, featuring a shortbread-like crust and a gooey, sweet filling made with brown sugar, eggs, and butter.
Yes, they are a bar version of the classic Canadian butter tart. Instead of individual pastry shells, the recipe uses a single pan and cuts into squares, making them easier to prepare and serve.
Absolutely! The raisins and walnuts are optional. You can leave them out entirely or substitute with chocolate chips or coconut if you prefer.
Look for a golden-brown top and a slight jiggle in the center. The filling should be set but still have a bit of wobble when you gently shake the pan, which indicates the perfect texture.
Print
Gooey Butter Tart Squares Recipe
- Total Time: 50 minutes
- Yield: 17 1x
Description
Classic Canadian Butter Tart Squares blend sweet maple-inspired flavors with a rich pastry base. Maple-loving bakers will appreciate this simple dessert that celebrates traditional Canadian culinary heritage.
Ingredients
- 2 large eggs
- 1 cup (240 ml) packed brown sugar
- ½ cup (113 g) cold butter, cubed
- ¼ cup (57 g) melted butter
- 1 cup (120 g) all-purpose flour
- ¼ cup (50 g) granulated sugar
- 1 tbsp white vinegar
- 1 tsp vanilla extract
- ½ cup (60 g) raisins or chopped walnuts (optional)
Instructions
- Oven Preparation: Position the rack centrally and preheat to 350F (175C) for uniform baking conditions.
- Crust Creation: Blend flour, sugar, and cold butter in a mixing bowl, working the mixture until it transforms into a coarse, crumbly consistency. Press the mixture firmly into an 8×8-inch baking pan, creating a compact base layer.
- Crust Partial Baking: Bake the crust for 10-12 minutes until it achieves a delicate golden tone, establishing a robust foundation for the upcoming filling.
- Filling Composition: Whisk eggs, brown sugar, melted butter, flour, vinegar, and vanilla extract into a smooth, harmonious blend. Optionally incorporate raisins or chopped walnuts for added texture and depth.
- Filling Application: Pour the prepared mixture over the pre-baked crust, spreading it evenly to cover the entire surface.
- Final Baking: Continue baking for 25-30 minutes, monitoring until the top turns golden-brown and the center maintains a subtle wobble, indicating a perfect custard-like consistency.
- Cooling and Serving: Allow the baked squares to cool completely within the pan. Utilize parchment paper overhang to lift the dessert, slice into neat squares, and serve at room temperature.
- Storage: Preserve remaining squares in an airtight container, consuming within 3 days to maintain optimal freshness and flavor.
Notes
- Crust Consistency Matters: Use cold butter and work quickly to maintain a crumbly, not smooth, texture for a flaky base that melts in your mouth.
- Precise Baking is Key: Watch the oven carefully during both crust and filling stages to prevent over-browning, which can lead to a bitter taste.
- Filling Texture Tricks: Remove from oven when the center is slightly jiggly but not liquid; it will continue setting as it cools, creating a perfect custard-like consistency.
- Customize with Caution: When adding nuts or raisins, chop them finely and distribute evenly to ensure balanced flavor and prevent sinking to the bottom of the filling.
- Prep Time: 15 minutes
- Cook Time: 35 minutes
- Category: Desserts, Snacks
- Method: Baking
- Cuisine: Canadian
Nutrition
- Serving Size: 17
- Calories: 194
- Sugar: 20 g
- Sodium: 82 mg
- Fat: 10 g
- Saturated Fat: 6 g
- Unsaturated Fat: 4 g
- Trans Fat: 0 g
- Carbohydrates: 26 g
- Fiber: 1 g
- Protein: 2 g
- Cholesterol: 47 mg
John Nicholson
Lead Writer & Recipe Developer
Expertise
Recipe Testing and Development, Kitchen Hacks and Time-Saving Tips, Flavor Pairing and Ingredient Selection, Engaging Food Writing and Storytelling
Education
Johnson & Wales University
John Nicholson honed his skills at Johnson & Wales University, learning how to use fresh, local ingredients and down-to-earth techniques to make cooking simple and satisfying.
His recipes blend Southern comfort flavors with a modern touch, inviting everyone to cook with ease and confidence.
Living in Charleston, John takes cues from the city’s lively food scene, local markets, and seasonal produce. He’s all about making meals stress-free through easy tips, flavor pairings, and fun experiments in the kitchen