Quick & Gooey Rice Krispie Peanut Butter Balls Recipe
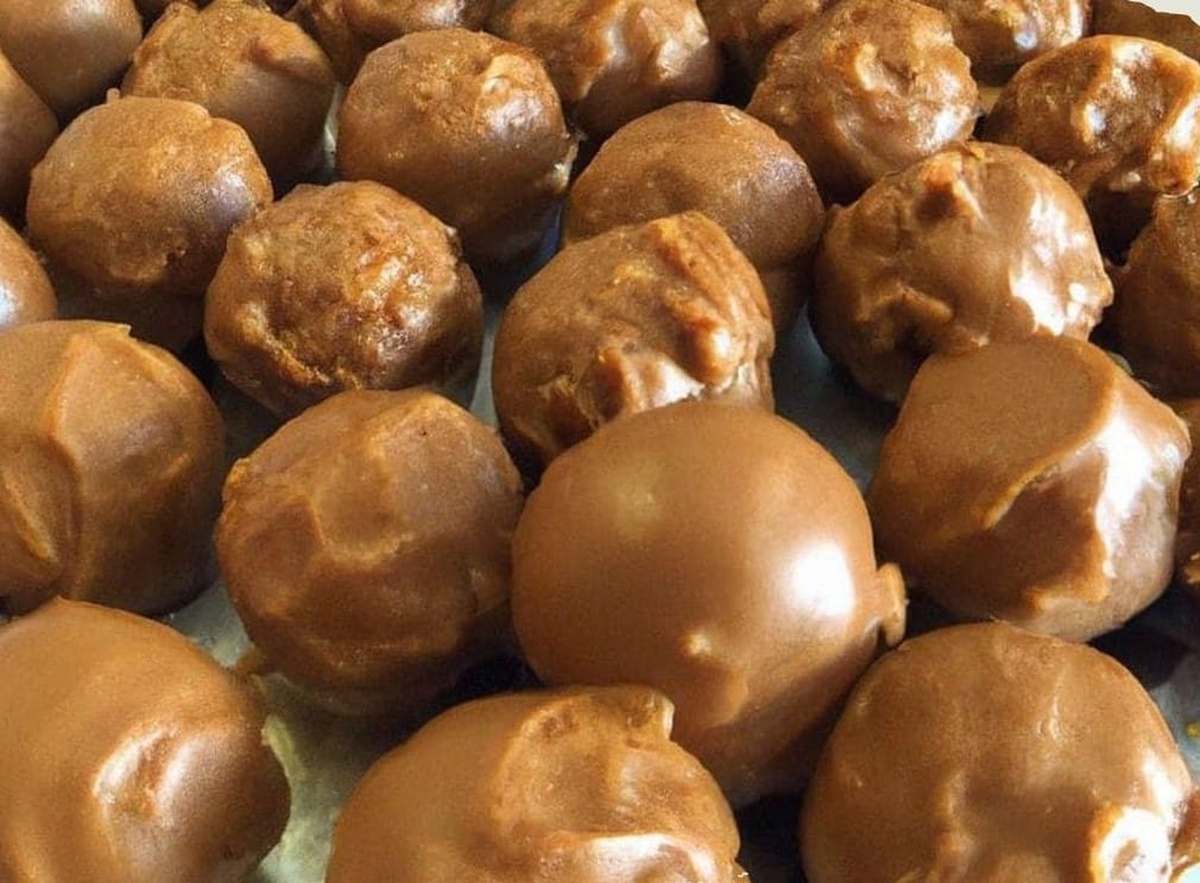
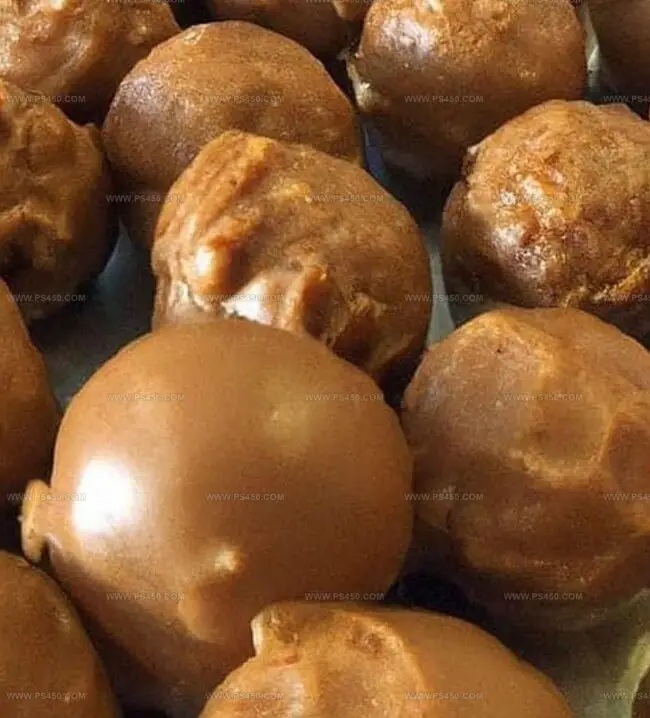
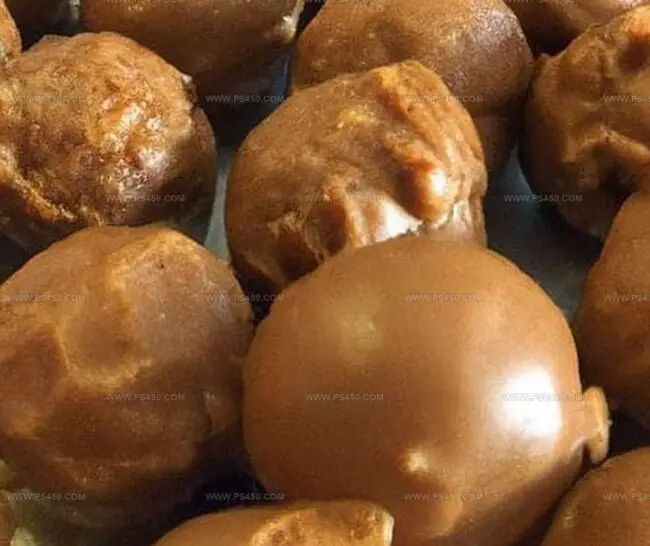
Chocolate-drizzled peanut butter balls with Rice Krispies dance between decadent dessert and irresistible snack.
Sweet marshmallow magic binds these delightful treats together with creamy richness.
Each bite promises a perfect blend of crunchy cereal and smooth peanut butter.
Rolled into bite-sized spheres, these treats are guaranteed crowd-pleasers at any gathering.
Kids and adults alike will fall in love with their playful texture and rich flavor.
The simple recipe requires minimal ingredients but delivers maximum satisfaction.
Prepare to indulge in a nostalgic treat that brings pure joy to every single bite.
Quick Recipe Overview
Rice Krispie Peanut Butter Balls: Ingredients You’ll Love
For Base Mixture:For Crunch Element:For Coating:Necessary Equipment for Rice Krispie Peanut Butter Balls
How to Make Rice Krispie Peanut Butter Balls
Blend peanut butter with softened butter and vanilla until silky smooth. Gradually mix in powdered sugar to form a thick, moldable dough.
Gently incorporate Rice Krispies into the mixture, keeping the cereal crisp and intact.
Roll the mixture into bite-sized spheres and place on a parchment-lined tray. Chill in the refrigerator until firm.
Melt chocolate chips with a touch of coconut oil, stirring until glossy and smooth.
Carefully dip each chilled ball into the melted chocolate, allowing excess to drip off. Return to the tray.
Refrigerate coated balls until chocolate sets completely.
Transfer to an airtight container. Keep refrigerated for maximum freshness and crunch. These delectable bites will stay perfect for up to two weeks.
Cooking Tips for Rice Krispie Peanut Butter Balls
Creative Ways to Serve Rice Krispie Peanut Butter Balls
Storing & Planning for Rice Krispie Peanut Butter Balls
FAQs
These balls are super simple to prepare, requiring no baking and just a few basic ingredients like peanut butter, powdered sugar, Rice Krispies, and chocolate for coating.
You’ll only need basic kitchen tools like a large mixing bowl, baking sheet, parchment paper, and a fork or toothpick for dipping in chocolate.
Absolutely! You can use milk chocolate, dark chocolate, or white chocolate based on your preference. Just ensure the chocolate melts smoothly.
Make sure to chill the mixture in the refrigerator for about 30 minutes before rolling. This helps firm up the peanut butter mixture and makes it easier to shape into balls.
Print
Gooey Rice Krispie Peanut Butter Balls Recipe
- Total Time: 50 minutes
- Yield: 25 1x
Description
Heavenly Rice Krispie Peanut Butter Balls combine crispy cereal with creamy peanut butter for an irresistible treat. Chocolate-drizzled morsels deliver sweet satisfaction that will delight chocolate and peanut butter enthusiasts.
Ingredients
- 1 cup (240 ml) creamy peanut butter
- 2 cups (70 g) Rice Krispies cereal
- 1 ½ cups (255 g) semi-sweet chocolate chips
- 2 cups (240 g) powdered sugar
- ¼ cup (57 g) unsalted butter, softened
- 1 tbsp (15 ml) coconut oil or shortening (optional, for smooth chocolate coating)
- 1 tsp (5 ml) vanilla extract
Instructions
- Mixture Preparation: Blend peanut butter, softened butter, and vanilla extract in a large bowl, whisking until smooth and homogeneous.
- Sugar Integration: Fold powdered sugar into the mixture, mixing thoroughly until the texture becomes dense and moldable.
- Cereal Incorporation: Gently fold Rice Krispies into the mixture, ensuring even distribution without crushing the cereal.
- Forming Spheres: Roll the mixture into compact one-inch balls, placing them on a parchment-lined tray.
- Initial Chilling: Refrigerate the balls for 30 minutes to stabilize their structure and enhance consistency.
- Chocolate Coating: Melt chocolate chips with coconut oil in the microwave, stirring between short intervals to create a smooth, liquid coating.
- Dipping Process: Submerge each ball completely in melted chocolate using a fork, allowing excess to drip off before returning to the parchment.
- Final Chilling: Refrigerate the chocolate-covered balls for 20-30 minutes until the chocolate sets completely.
- Storage: Transfer to an airtight container, storing in the refrigerator for up to two weeks or at room temperature for 3-4 days.
Notes
- Prevent Crumbly Mixture: Ensure butter is at room temperature for smooth blending, and add powdered sugar gradually to achieve the right consistency without dryness.
- Maintain Cereal Crunch: Fold Rice Krispies gently to preserve their crispy texture, avoiding over-mixing that could crush the delicate kernels.
- Perfect Chocolate Coating: Melt chocolate in short bursts and stir frequently to prevent burning, using a fork for even, thin chocolate coverage.
- Storage Smart: Keep balls refrigerated for firmer texture and longer shelf life, separating layers with parchment paper to prevent sticking.
- Prep Time: 20 minutes
- Cook Time: 30 minutes
- Category: Snacks, Desserts
- Method: None
- Cuisine: American
Nutrition
- Serving Size: 25
- Calories: 141
- Sugar: 10 g
- Sodium: 56 mg
- Fat: 7 g
- Saturated Fat: 3 g
- Unsaturated Fat: 4 g
- Trans Fat: 0 g
- Carbohydrates: 17 g
- Fiber: 0.5 g
- Protein: 2 g
- Cholesterol: 3 mg


John Nicholson
Lead Writer & Recipe Developer
Expertise
Recipe Testing and Development, Kitchen Hacks and Time-Saving Tips, Flavor Pairing and Ingredient Selection, Engaging Food Writing and Storytelling
Education
Johnson & Wales University
John Nicholson honed his skills at Johnson & Wales University, learning how to use fresh, local ingredients and down-to-earth techniques to make cooking simple and satisfying.
His recipes blend Southern comfort flavors with a modern touch, inviting everyone to cook with ease and confidence.
Living in Charleston, John takes cues from the city’s lively food scene, local markets, and seasonal produce. He’s all about making meals stress-free through easy tips, flavor pairings, and fun experiments in the kitchen