Comforting Hearty Cheeseburger Soup Recipe – Family Favorite!
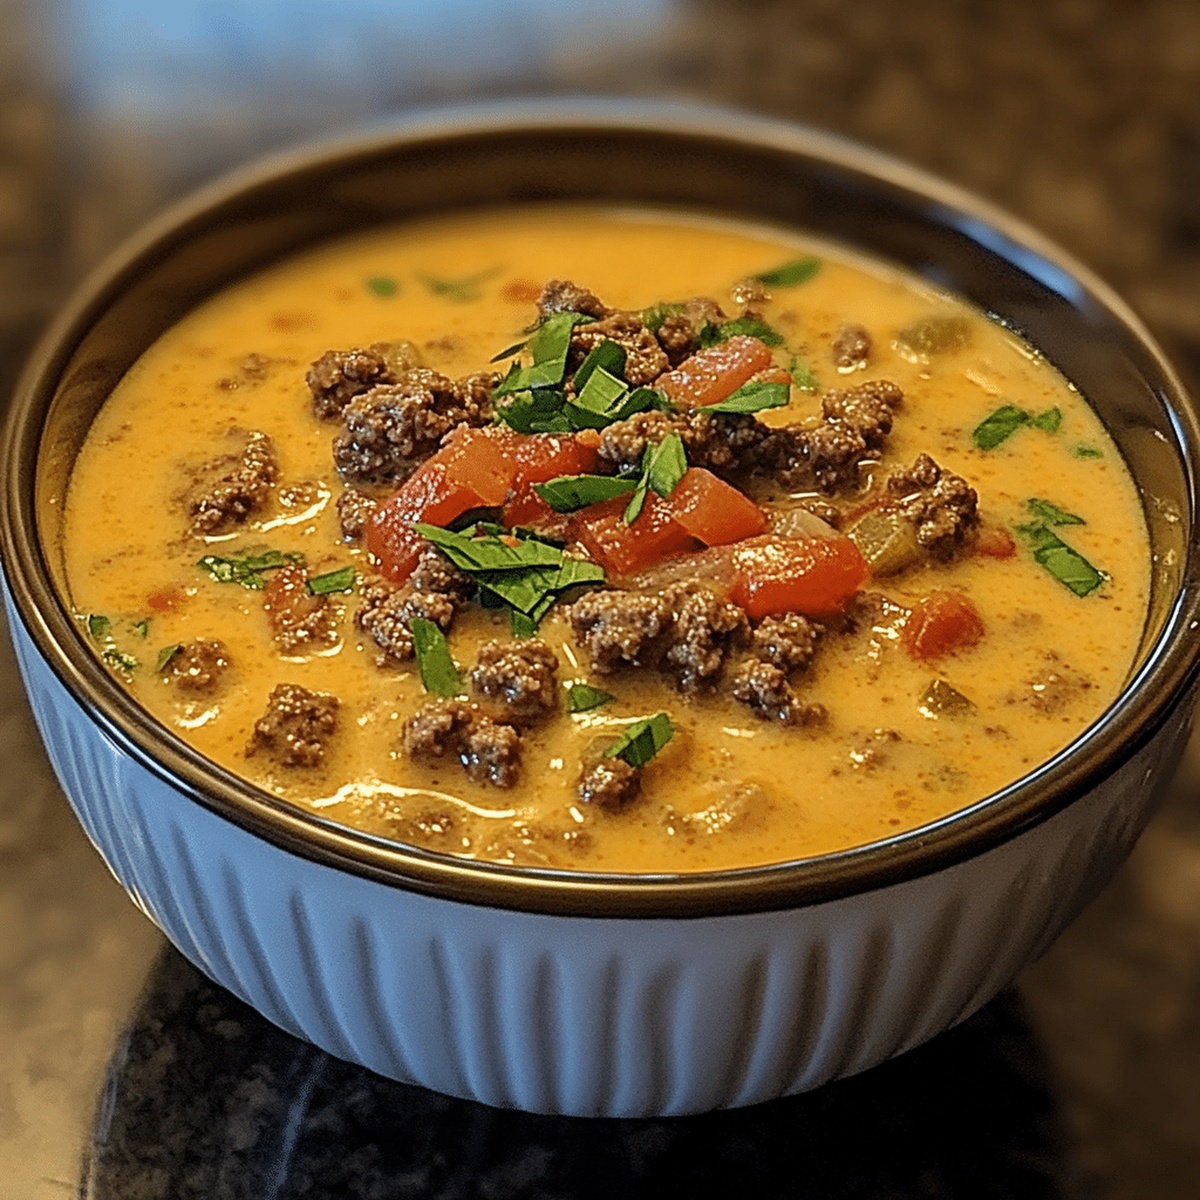
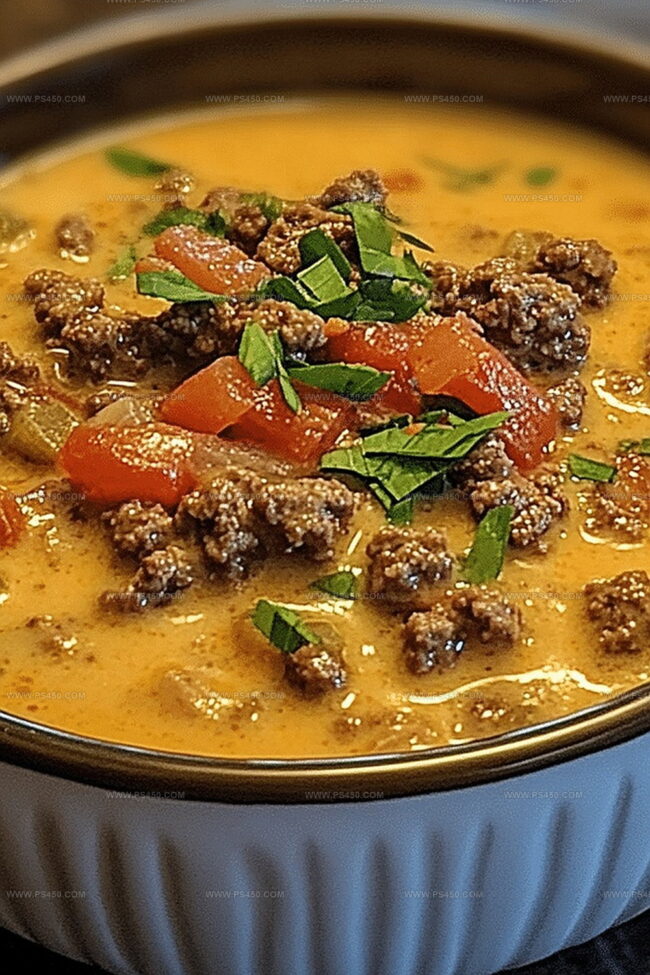
Comfort food takes on a delicious new form with this creamy cheeseburger soup that captures all the classic burger flavors in a warm, satisfying bowl.
Ground beef simmers alongside tender potatoes, creating a rich and hearty base that brings restaurant-style excitement to your kitchen.
Crispy bacon bits and melted cheese add layers of irresistible texture and depth to every spoonful.
Packed with robust ingredients, this soup delivers a nostalgic twist on a beloved American favorite.
The recipe transforms simple ingredients into a crowd-pleasing meal that warms you from the inside out.
Each bite promises a delightful blend of savory goodness that will have everyone asking for seconds.
Prepare to savor every comforting, cheese-laden moment of this incredible soup experience.
Quick Recipe Overview
Cheeseburger Soup Ingredient Lineup
For Protein Base:For Aromatic Vegetables:For Liquid and Creaminess:For Binding and Thickening:For Cheese Elements:For Seasoning and Enhancement:For Fresh Finish:Tools to Simmer Cheeseburger Soup Just Right
How to Build Cheeseburger Soup from Scratch
Cheeseburger Soup Mix-Ins to Play With
Serve Cheeseburger Soup With Crusty Bread or Toppings
Save Cheeseburger Soup for Second Helpings
FAQs
Yes, cheeseburger soup is kid-friendly and packed with familiar flavors most children enjoy. It’s a great way to introduce them to a fun, comforting meal that combines burger and soup elements.
Absolutely! You can prepare the soup and store it in the refrigerator for 2-3 days. When ready to serve, gently reheat on the stovetop, stirring occasionally to maintain the soup’s creamy texture.
Unlike traditional beef soups, cheeseburger soup includes cheese, creating a richer and more indulgent flavor profile that mimics the taste of an actual cheeseburger. The combination of ground beef, cheese, and creamy base makes it unique and satisfying.
This soup offers protein from beef, vegetables for nutrients, and dairy from cheese, making it a relatively balanced meal. You can enhance its nutritional value by adding more vegetables or using lean ground beef.
Print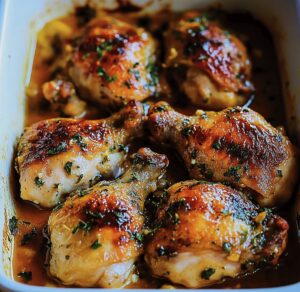
Baked Lemon Butter Chicken Recipe
- Total Time: 40 minutes
- Yield: 4 1x
Description
Succulent lemon butter chicken delivers Mediterranean flavors straight to dinner tables with elegant simplicity. Juicy chicken breasts bathed in zesty butter sauce promise a delightful meal you’ll savor from first bite to last.
Ingredients
Main Protein:
- 4 boneless, skinless chicken breasts (or 6 chicken thighs)
Seasonings and Spices:
- 1 teaspoon salt
- ½ teaspoon black pepper
- 1 teaspoon garlic powder
- ½ teaspoon paprika
- ½ teaspoon Italian seasoning
- ½ teaspoon red pepper flakes (optional, for heat)
Liquid and Flavor Enhancers:
- 4 tablespoons (60 milliliters) unsalted butter, melted
- 3 cloves garlic, minced
- 2 tablespoons (30 milliliters) fresh lemon juice
- 1 teaspoon lemon zest
- 1 tablespoon (15 milliliters) honey (for a touch of sweetness)
- ¼ cup (60 milliliters) chicken broth (or water)
- Fresh parsley or thyme
- Lemon slices
Instructions
- Thoroughly cleanse and pat the chicken pieces completely dry using clean kitchen towels, ensuring maximum moisture removal.
- Create a robust seasoning blend by generously coating both sides of the chicken with a mixture of salt, freshly ground black pepper, aromatic garlic powder, sweet paprika, and fragrant Italian herb seasoning.
- Select a spacious baking dish that allows chicken pieces to rest in a single layer without overcrowding, promoting even heat distribution and crispy exterior.
- Strategically position chicken pieces skin-side up within the prepared baking dish, allowing ample space between each portion.
- Melt butter in a separate small saucepan, infusing it with freshly squeezed lemon juice, minced garlic, and finely chopped parsley to create a vibrant, aromatic sauce.
- Carefully drizzle the luscious lemon-butter mixture evenly over the seasoned chicken, ensuring comprehensive coverage and maximum flavor absorption.
- Slice additional lemon rounds and nestle them delicately between and around the chicken pieces to enhance citrusy undertones during roasting.
- Transfer the baking dish to the preheated oven, roasting for approximately 35-40 minutes until chicken achieves a golden-brown exterior and internal temperature reaches 165°F (74°C).
- Remove from oven and allow chicken to rest for 5-7 minutes, permitting juices to redistribute and ensuring succulent, tender meat.
- Garnish with extra fresh parsley and serve immediately, accompanied by pan drippings for added richness and flavor.
Notes
- Always use fresh lemons for the brightest, most vibrant citrus flavor that will elevate the entire dish.
- Pat the chicken completely dry to ensure a perfectly crispy and golden-brown exterior when baking.
- Opt for bone-in, skin-on chicken thighs or breasts for maximum juiciness and rich flavor development.
- Adjust cooking time based on the thickness of your chicken pieces, using a meat thermometer to check internal temperature reaches 165°F for safe consumption.
- Prep Time: 10 minutes
- Cook Time: 30 minutes
- Category: Dinner
- Method: Baking
- Cuisine: American
Nutrition
- Serving Size: 4
- Calories: 320
- Sugar: 2 g
- Sodium: 650 mg
- Fat: 18 g
- Saturated Fat: 8 g
- Unsaturated Fat: 10 g
- Trans Fat: 0 g
- Carbohydrates: 5 g
- Fiber: 0 g
- Protein: 34 g
- Cholesterol: 100 mg
John Nicholson
Lead Writer & Recipe Developer
Expertise
Recipe Testing and Development, Kitchen Hacks and Time-Saving Tips, Flavor Pairing and Ingredient Selection, Engaging Food Writing and Storytelling
Education
Johnson & Wales University
John Nicholson honed his skills at Johnson & Wales University, learning how to use fresh, local ingredients and down-to-earth techniques to make cooking simple and satisfying.
His recipes blend Southern comfort flavors with a modern touch, inviting everyone to cook with ease and confidence.
Living in Charleston, John takes cues from the city’s lively food scene, local markets, and seasonal produce. He’s all about making meals stress-free through easy tips, flavor pairings, and fun experiments in the kitchen