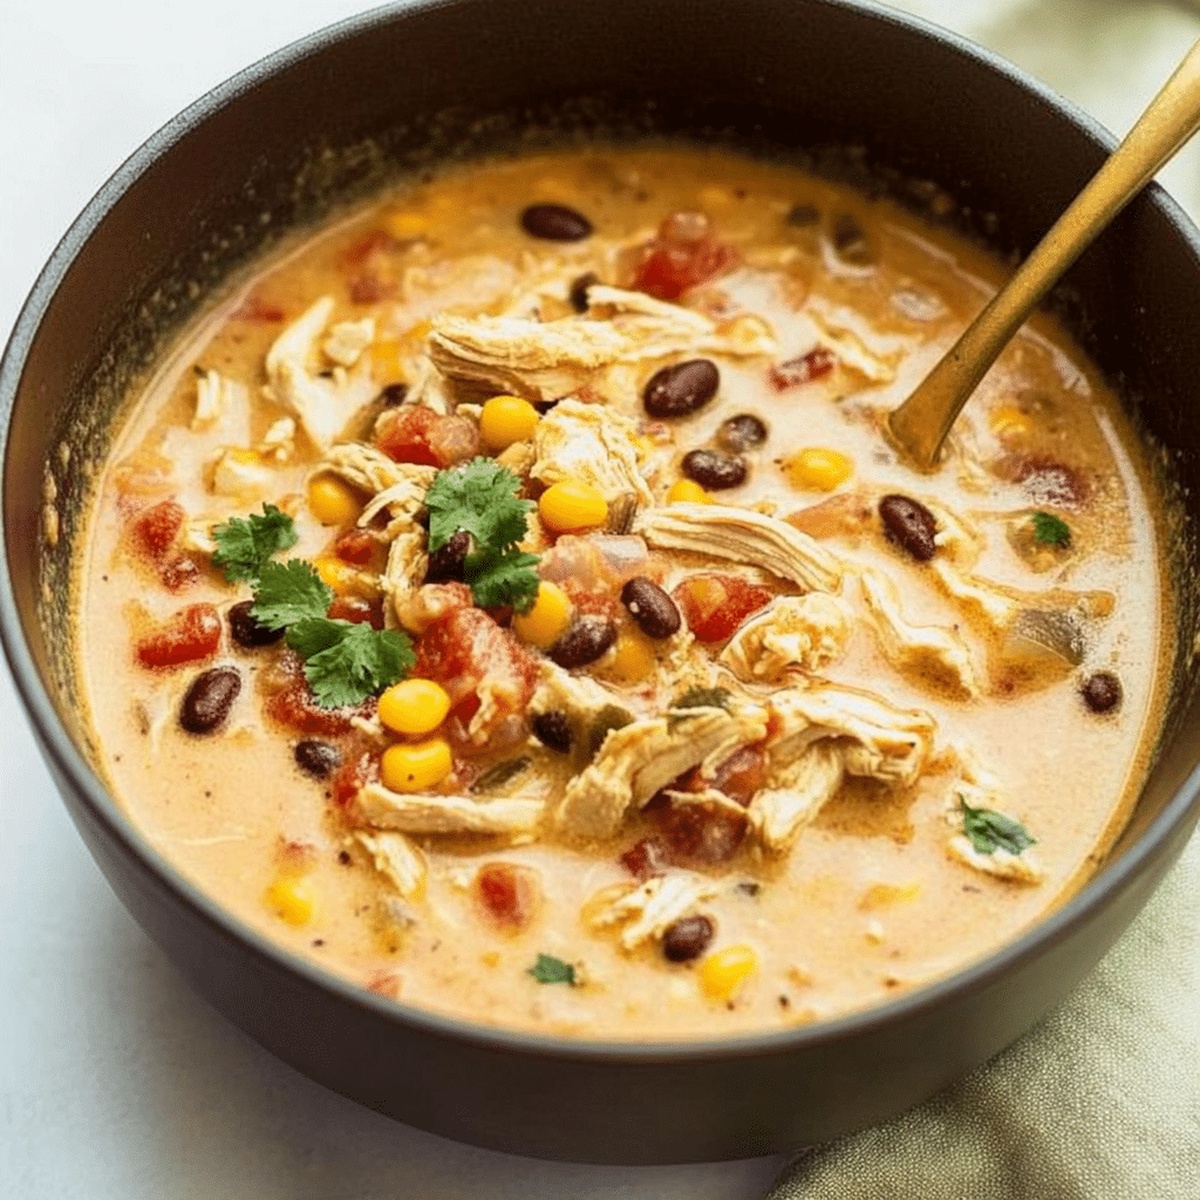
Chicken Taco Soup Recipe for a Heartwarming Bowl
Bubbling with zesty flavors, this homemade chicken taco soup bursts with comfort and spice.
Packed with tender shredded chicken, vibrant vegetables, and bold southwestern seasonings, the recipe promises a delightful meal that satisfies deep hunger.
Warm and inviting, each spoonful transports you to a cozy kitchen filled with aromatic spices.
The easy-to-follow method ensures even novice cooks can create a restaurant-quality dish in their own home.
Fresh ingredients blend seamlessly, creating a robust soup that delivers complex layers of taste.
Ladle this mouthwatering soup into bowls and watch as smiles spread around the dinner table.
Quick Recipe Overview
Chicken Taco Soup: What You’ll Need
For Proteins and Base:For Vegetable and Bean Blend:For Liquid and Seasoning:Essential Tools for Chicken Taco Soup
Cooking Chicken Taco Soup
Brown chicken pieces in a skillet with a splash of olive oil until perfectly cooked through. Shred the meat using two forks for tender, juicy results.
Toss chopped onions and garlic into a large pot, letting them dance and soften until they release their delicious fragrance.
Tumble in diced tomatoes, black beans, kidney beans, and corn. Stir the ingredients to create a colorful, vibrant mixture.
Stream chicken broth into the pot and sprinkle taco seasoning generously. Let everything bubble and blend for 10-15 minutes, allowing flavors to mingle and deepen.
Fold the shredded chicken into the simmering soup, letting it warm through and absorb the rich, zesty flavors.
Ladle the steaming soup into bowls and crown with your favorite toppings like creamy sour cream, sharp cheese, fresh cilantro, zesty lime wedges, and crunchy tortilla chips.
Tips for Chicken Taco Soup
How to Serve Chicken Taco Soup
Storing & Meal Planning for Chicken Taco Soup
FAQs
Yes, add diced jalapeños or use a hot taco seasoning blend to increase the heat level. You can also include a dash of hot sauce while cooking or when serving.
Most ingredients are naturally gluten-free, but check your taco seasoning and chicken broth labels to ensure they do not contain gluten. Use certified gluten-free products if needed.
Absolutely! You can substitute black beans and kidney beans with pinto beans, white beans, or any canned beans you prefer. Just maintain similar quantities.
Add extra protein by including ground beef instead of chicken, using rotisserie chicken, or stirring in some canned or cooked quinoa. Greek yogurt as a topping can also boost protein content.
Print
Delectable Nutty Treacle Slice Recipe
- Total Time: 2 hours 15 minutes
- Yield: 13 1x
Description
Nutty treacle slice delivers a delightful British dessert with minimal effort. Rich caramel and crunchy nuts create a perfect sweet treat you’ll savor with each satisfying bite.
Ingredients
- 1 ½ cups (135g) rolled oats
- ½ cup (75g) mixed chopped nuts (almonds, peanuts, walnuts, etc.)
- ½ cup (40g) shredded coconut
- ½ cup (125g) unsalted butter
- ⅓ cup (80ml) golden syrup or treacle
- ¼ cup (50g) brown sugar
- ½ tsp vanilla extract
- ¼ cup (40g) chopped dried fruit (like raisins or dates) optional
- 1 pinch of salt
Instructions
- Preparation: Line a rectangular baking pan with parchment paper, ensuring complete coverage of base and sides for effortless removal.
- Caramel Creation: Melt butter, treacle, and brown sugar in a saucepan over gentle heat, stirring continuously until the mixture transforms into a glossy, slightly bubbling liquid.
- Flavor Infusion: Incorporate vanilla extract into the warm syrup, blending thoroughly to distribute the rich aromatic essence.
- Ingredient Fusion: In a large mixing bowl, combine rolled oats, toasted coconut flakes, chopped nuts, and optional dried fruit, seasoning with a subtle hint of salt.
- Binding Process: Pour the warm treacle mixture over dry ingredients, folding meticulously until every component becomes completely coated and glistening with syrupy goodness.
- Molding and Chilling: Press the mixture firmly into the prepared pan, creating an even surface, then refrigerate for at least two hours to allow ingredients to set and flavors to meld.
- Finishing Touch: Remove the chilled slice from the refrigerator, lift out using parchment paper, and slice into elegant bars or bite-sized squares using a sharp knife for precise cutting.
- Storage: Keep the completed confection in an airtight container within the refrigerator to maintain its delectable texture and flavor profile.
Notes
- Enhance Caramel Consistency: Heat treacle mixture slowly and stir constantly to prevent burning or crystallization, ensuring a smooth, glossy texture without scorching.
- Customize Nut Selection: Experiment with different nuts like almonds, pecans, or walnuts to create unique flavor profiles and add personal touch to the slice.
- Boost Nutritional Value: Incorporate seeds like chia or flaxseed for added nutrients and interesting texture without compromising the recipe’s delightful consistency.
- Control Sweetness Level: Adjust brown sugar quantity based on preference or dietary needs, potentially substituting with natural sweeteners like honey or maple syrup for variation.
- Prep Time: 5 minutes
- Cook Time: 10 minutes
- Category: Snacks, Desserts
- Method: Mixing
- Cuisine: British
Nutrition
- Serving Size: 13
- Calories: 180
- Sugar: 8g
- Sodium: 25mg
- Fat: 9g
- Saturated Fat: 5g
- Unsaturated Fat: 4g
- Trans Fat: 0g
- Carbohydrates: 23g
- Fiber: 2g
- Protein: 3g
- Cholesterol: 15mg


John Nicholson
Lead Writer & Recipe Developer
Expertise
Recipe Testing and Development, Kitchen Hacks and Time-Saving Tips, Flavor Pairing and Ingredient Selection, Engaging Food Writing and Storytelling
Education
Johnson & Wales University
John Nicholson honed his skills at Johnson & Wales University, learning how to use fresh, local ingredients and down-to-earth techniques to make cooking simple and satisfying.
His recipes blend Southern comfort flavors with a modern touch, inviting everyone to cook with ease and confidence.
Living in Charleston, John takes cues from the city’s lively food scene, local markets, and seasonal produce. He’s all about making meals stress-free through easy tips, flavor pairings, and fun experiments in the kitchen