Cozy Hearty Loaded Baked Potato Soup Recipe to Warm You Up
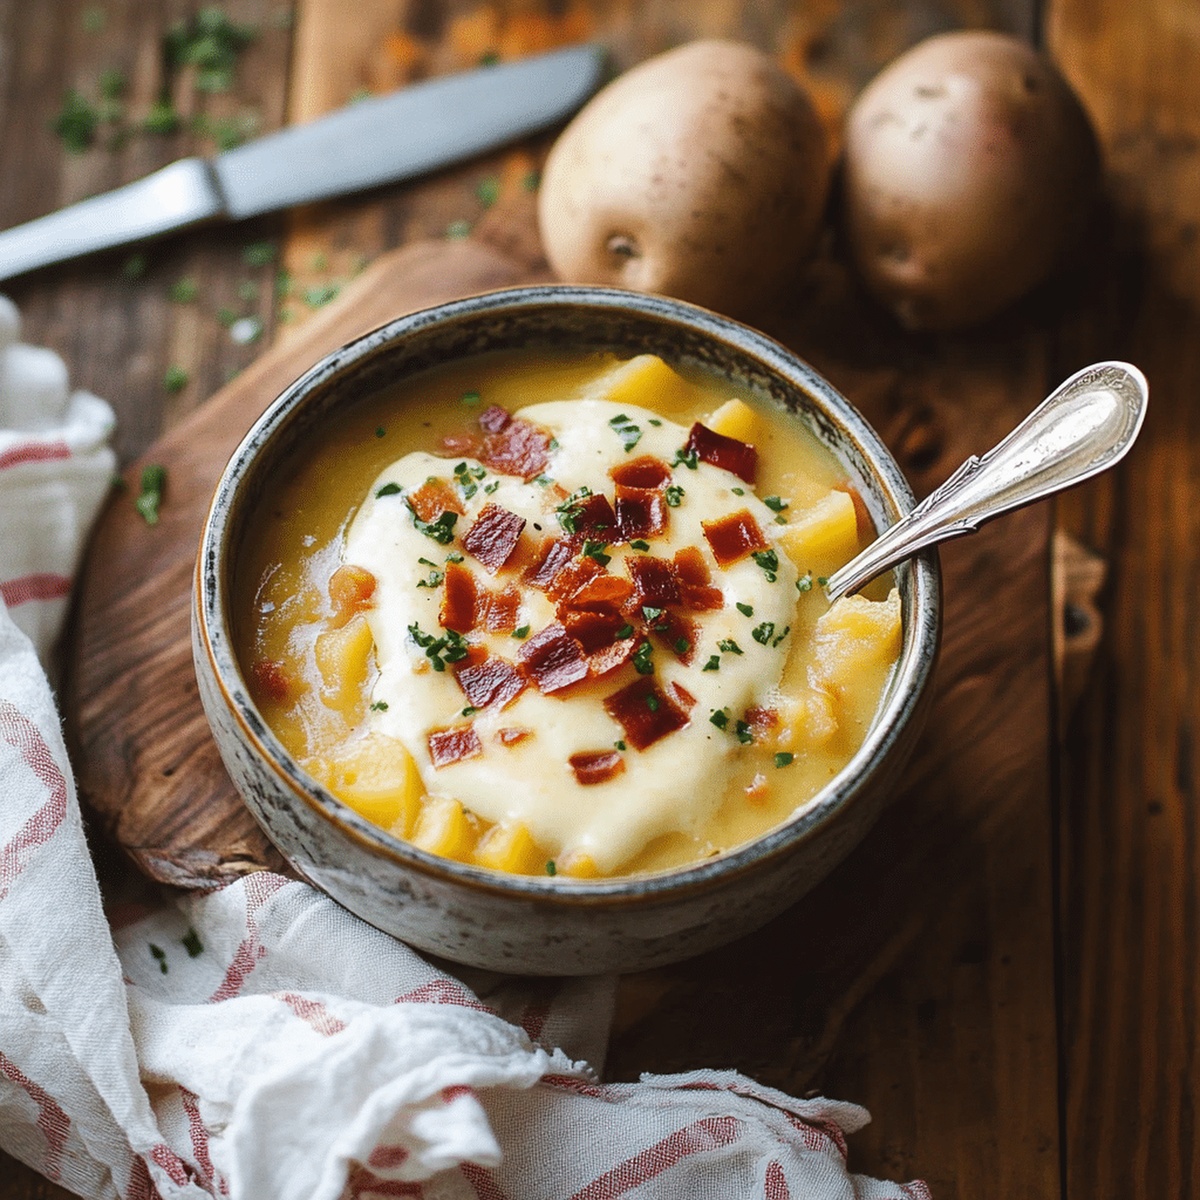
Comfort arrives in a steaming bowl of creamy loaded baked potato soup that promises pure culinary bliss.
Cold evenings call for warm, satisfying meals that hug your soul from the inside.
Potatoes transform into a luxurious blend of rich, velvety goodness with each spoonful.
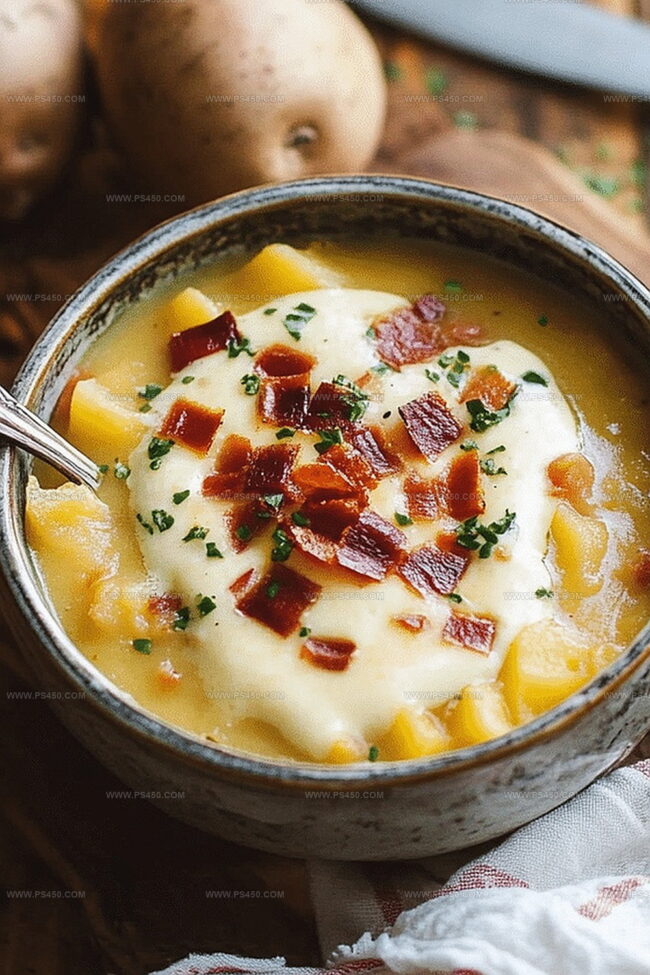
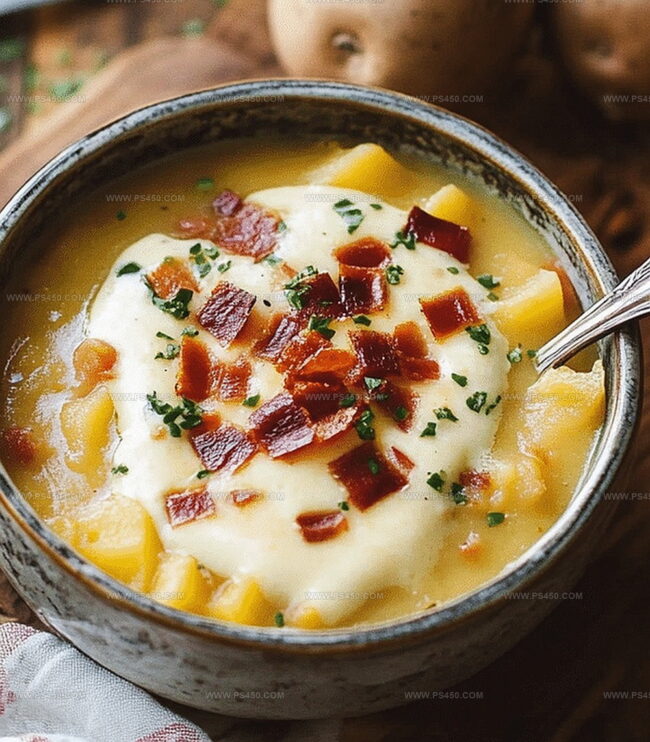
Crispy bacon bits, sharp cheddar cheese, and fresh chives dance across the surface, creating a symphony of flavors.
This soup delivers restaurant-quality comfort right in your own kitchen.
Every ingredient is carefully selected to maximize deliciousness and warmth.
Prepare to fall in love with the most comforting soup you’ll ever experience.
Quick Recipe Overview
Ingredients for Loaded Baked Potato Soup
For Potato and Base Ingredients:For Thickening and Flavor Enhancers:For Finishing and Garnish:Soup Tools for This Fully-Loaded Comfort
Cooking Instructions for Loaded Potato Soup
Heat up a spacious pot and melt butter until it sizzles. Toss in chopped onions and dance them around until they turn soft and glassy.
Sprinkle flour over the onion mixture and stir with enthusiasm. Let it toast slightly to develop a rich, nutty foundation.
Pour broth into the pot while whisking energetically. Drop in roughly mashed potatoes and let the mixture bubble and blend for about 10 minutes.
Grab an immersion blender and smooth out the soup. Splash in milk and cream, then shower shredded cheese until it melts into pure comfort. Season with salt and pepper to your heart’s content.
Pull the pot off the heat and swirl in sour cream for an extra luxurious touch. Give it a final taste and adjust seasonings until it sings with deliciousness.
Tips to Keep It and Flavor-Packed
How to Serve Loaded Soup with Crunchy Toppings
Storing Leftover Soup Without Losing Texture
FAQs
Raw potatoes work, but they’ll change the soup’s rich flavor. Baked potatoes provide a deeper, more caramelized taste that’s essential to this soup’s signature profile.
No, the recipe contains chicken broth, cheese, and dairy. To make it vegetarian, substitute chicken broth with vegetable broth and ensure vegetarian cheese.
The soup should have a creamy, slightly thick consistency that coats the back of a spoon. If it’s too thick, add a little more broth. If too thin, let it simmer longer or add more cheese.
Yes, this soup reheats well. Store in the refrigerator for 3-4 days. When reheating, add a splash of milk or broth to restore the creamy texture.
Print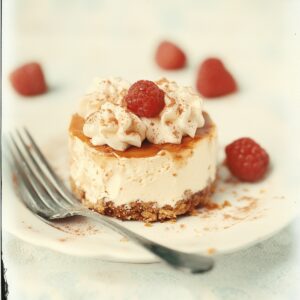
Silky Pumpkin Mini Cheesecakes Recipe
- Total Time: 3 hours 30 minutes
- Yield: 13 1x
Description
Light and creamy no-bake pumpkin mini cheesecakes offer a delightful autumn dessert without oven time. Small graham cracker crusts and silky pumpkin filling create perfect individual portions for seasonal gatherings.
Ingredients
- 8 oz (226 g) cream cheese, softened
- ½ cup (120 g) pumpkin puree (not pie filling)
- ½ cup (120 ml) heavy whipping cream, whipped to stiff peaks
- ⅓ cup (66 g) brown sugar
- ¼ cup (30 g) powdered sugar
- 3 tbsps (36 g) brown sugar
- 1 cup (120 g) graham cracker or gingersnap crumbs
- 5 ½ tbsps (78 g) melted unsalted butter
- 1 tsp cinnamon
- 1 tsp vanilla extract
- ½ tsp ground ginger
- ¼ tsp ground nutmeg
- ¼ tsp ground cloves
- Pinch of salt
Instructions
- Crust Preparation: Pulverize graham crackers into fine particles, combining with sugar and melted butter until mixture resembles compacted, moist sand; firmly press into individual muffin tin cavities to create a sturdy foundation.
- Filling Creation: Whip cream cheese until velvety smooth, then blend in pumpkin puree, white and brown sugars, vanilla extract, and warming spices until perfectly integrated; gently fold in whipped topping to maintain a light, airy consistency.
- Assembly and Chilling: Meticulously fill prepared crusts with pumpkin cheesecake mixture, ensuring even distribution; refrigerate for a minimum of three hours to allow flavors to harmonize and filling to set completely.
- Garnishing and Serving: Carefully unmold chilled mini cheesecakes, crowning each with a billowy dollop of whipped cream, a delicate sprinkle of cinnamon, and optional graham cracker crumb embellishment for a textural finish.
Notes
Optimize Crumb Base: Ensure graham crackers are crushed ultra-fine to prevent crumbly texture; press mixture firmly and evenly to create a compact, stable foundation that won’t fall apart when serving.
Balance Moisture in Filling: Drain excess liquid from pumpkin puree beforehand to prevent watery cheesecake; use paper towels to absorb moisture and maintain dense, creamy consistency.
Master Gentle Folding Technique: Incorporate whipped topping with soft, circular motions using a spatula to preserve air bubbles; overmixing will deflate the filling and result in dense, heavy texture.
Temperature Control for Perfect Set: Refrigerate cheesecakes minimum three hours but no longer than 24 hours; cover loosely with plastic wrap to prevent condensation and maintain smooth surface without compromising texture.
- Prep Time: 30 minutes
- Cook Time: 3 hours
- Category: Desserts, Snacks
- Method: Blending
- Cuisine: American
Nutrition
- Serving Size: 13
- Calories: 248
- Sugar: 18 g
- Sodium: 130 mg
- Fat: 17 g
- Saturated Fat: 10 g
- Unsaturated Fat: 5 g
- Trans Fat: 0 g
- Carbohydrates: 24 g
- Fiber: 1 g
- Protein: 3 g
- Cholesterol: 52 mg
John Nicholson
Lead Writer & Recipe Developer
Expertise
Recipe Testing and Development, Kitchen Hacks and Time-Saving Tips, Flavor Pairing and Ingredient Selection, Engaging Food Writing and Storytelling
Education
Johnson & Wales University
John Nicholson honed his skills at Johnson & Wales University, learning how to use fresh, local ingredients and down-to-earth techniques to make cooking simple and satisfying.
His recipes blend Southern comfort flavors with a modern touch, inviting everyone to cook with ease and confidence.
Living in Charleston, John takes cues from the city’s lively food scene, local markets, and seasonal produce. He’s all about making meals stress-free through easy tips, flavor pairings, and fun experiments in the kitchen