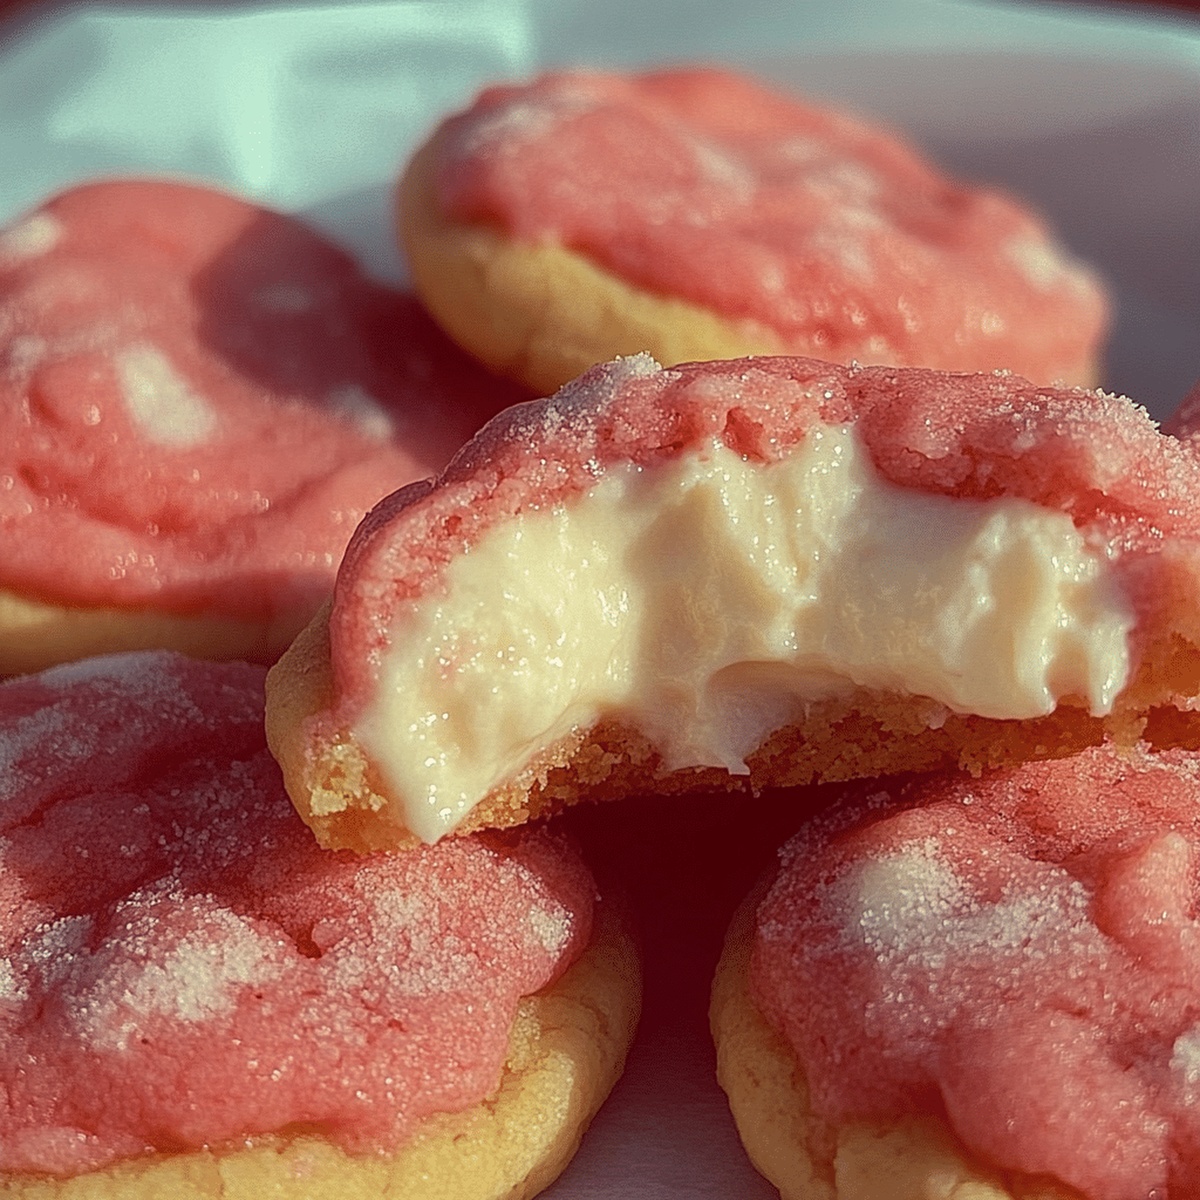
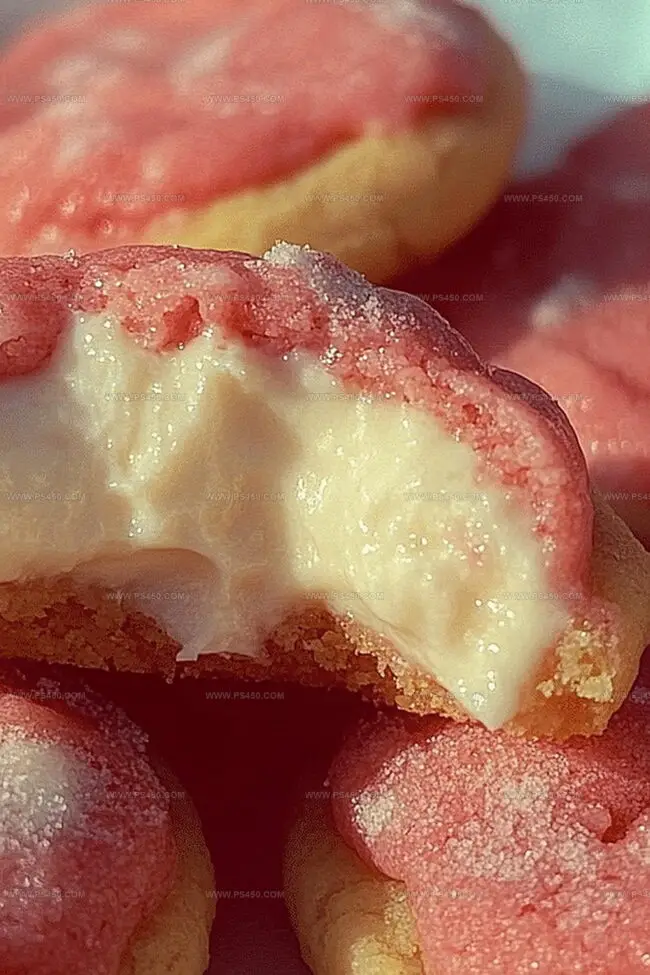
Super Fluffy Strawberry Cheesecake Cookies Recipe Worth Every Bite
Sweet, buttery cookies studded with luscious strawberry cheesecake flavor burst with delightful charm.
These mouthwatering strawberry cheesecake cookies blend classic dessert elements into an irresistible treat.
Soft, tender dough combines creamy cheesecake notes with fresh strawberry essence.
Crumbly edges and rich center create a perfect balance of textures that dance across your palate.
Each bite promises a delectable journey through layers of sweet, tangy, and rich flavors.
Bakers of all skill levels can whip up these delightful cookies in minutes.
Serve them warm and watch smiles bloom around the table.
Quick Recipe Overview
Strawberry Cheesecake Cookies: What You Need
For Creamy Filling:For Cookie Base:For Fruity Topping:Must-Have Tools for Strawberry Cheesecake Cookies
How to Bake Strawberry Cheesecake Cookies

Grab your mixer and blend cream cheese with powdered sugar and vanilla until silky and perfectly smooth. Thisal base will create delectable pockets of creamy goodness inside your cookies.
Use a small spoon to dollop tiny cream cheese clouds onto a parchment-lined tray. Pop the tray into the freezer and let these little morsels chill and set for about half an hour until they’re firm and ready for cookie action.
Mix butter and sugars until fluffy, then fold in flour, salt, and strawberry powder. This will give your cookies a blush-pink hue and fruity whisper of flavor that’ll make taste buds dance.
Take a chunk of cookie dough, flatten it into a disc, and nestle a frozen cream cheese drop right in the center. Gently wrap the dough around the filling, sealing it completely like a delicious surprise package.
Arrange your cookie bundles on a baking sheet, giving them room to spread. Slide into a preheated oven and bake until edges turn golden and tops look slightly crackled, promising crispy exteriors and dreamy, creamy centers.
Let cookies rest on the baking sheet for a few minutes, then transfer to a wire rack. These strawberry cheesecake cookies are best enjoyed warm, when the cream cheese center is soft and tantalizing.
Helpful Tips for Strawberry Cheesecake Cookies
Serve Strawberry Cheesecake Cookies with These Ideas
Storing & Planning for Strawberry Cheesecake Cookies
FAQs
You’ll need softened cream cheese, powdered sugar, and vanilla extract. These three simple ingredients combine to create a smooth, creamy filling that gets frozen before being added to the cookie dough.
Freezing the filling helps it maintain its shape when you add it to the cookie dough. When the cold filling is baked, it creates a delicious, creamy center in each cookie without spreading or melting completely.
Absolutely! You can prepare the filling and freeze the portions several days in advance. Just keep them in an airtight container in the freezer until you’re ready to make the cookies.
Use a small teaspoon or a mini cookie scoop to create uniform portions. Place them on a parchment-lined baking sheet and ensure they’re not touching each other before freezing.
Print
Killer Maple Mustard Croissant Breakfast Sandwiches Recipe
- Total Time: 20 minutes
- Yield: 4 1x
Description
Maple mustard croissant breakfast sandwiches deliver a mouthwatering morning delight that blends sweet and savory flavors. Crisp, flaky croissants embrace creamy eggs and rich maple-mustard glaze, promising a delectable start you won’t forget.
Ingredients
Meats:
- 8 slices bacon (or breakfast sausage)
Eggs and Dairy:
- 4 large eggs
- ¼ cup milk
- 4 slices cheese (cheddar, Swiss, or pepper jack)
- 1 tablespoon butter
Bread and Condiments:
- 4 croissants, sliced in half
- 2 tablespoons maple syrup
- 1 tablespoon Dijon mustard
- 1 tablespoon mayonnaise
- ½ teaspoon hot sauce (optional, for a kick)
- Salt, to taste
- Black pepper, to taste
Instructions
- Craft a zesty maple mustard blend by whisking maple syrup, Dijon mustard, mayonnaise, and hot sauce in a small mixing bowl until the mixture transforms into a silky, unified sauce.
- Render bacon slices in a skillet over medium heat, cooking until they achieve a perfect crisp texture. Transfer the strips to a paper towel-lined plate to drain excess grease.
- Prepare scrambled eggs by combining eggs, milk, salt, and pepper in a bowl. Gently whisk the ingredients until thoroughly integrated.
- Melt butter in a skillet over medium-low heat, then pour the egg mixture into the pan. Softly fold and stir the eggs, creating pillowy, tender curds that are just set but not overcooked.
- Slice croissants horizontally and generously spread the maple mustard sauce on both interior surfaces, ensuring complete coverage.
- Layer sharp cheese slices onto the bottom half of each croissant, followed by a generous portion of fluffy scrambled eggs and crispy bacon strips.
- Carefully close the croissants and briefly toast them in a pan or air fryer at 350F (175C) for 3-5 minutes, allowing the exterior to become golden and crisp while warming the interior.
- Plate the sandwiches immediately, accompanied by a small ramekin of extra maple mustard sauce for additional dipping pleasure.
Notes
- Customize the maple mustard sauce by adjusting hot sauce levels for personal heat preference, creating a perfectly balanced flavor profile.
- Swap traditional bacon with turkey bacon or plant-based bacon alternatives for lighter, dietary-specific versions of this indulgent breakfast sandwich.
- Prepare maple mustard sauce ahead of time and store in refrigerator for up to 5 days, allowing quick morning assembly and saving precious meal prep time.
- Choose high-quality croissants from local bakeries for enhanced texture and richer buttery taste that elevates the entire sandwich experience.
- Prep Time: 5 minutes
- Cook Time: 15 minutes
- Category: Breakfast, Lunch, Snacks
- Method: Frying
- Cuisine: American
Nutrition
- Serving Size: 4
- Calories: 550
- Sugar: 4g
- Sodium: 900mg
- Fat: 35g
- Saturated Fat: 15g
- Unsaturated Fat: 20g
- Trans Fat: 0g
- Carbohydrates: 40g
- Fiber: 1g
- Protein: 24g
- Cholesterol: 200mg
John Nicholson
Lead Writer & Recipe Developer
Expertise
Recipe Testing and Development, Kitchen Hacks and Time-Saving Tips, Flavor Pairing and Ingredient Selection, Engaging Food Writing and Storytelling
Education
Johnson & Wales University
John Nicholson honed his skills at Johnson & Wales University, learning how to use fresh, local ingredients and down-to-earth techniques to make cooking simple and satisfying.
His recipes blend Southern comfort flavors with a modern touch, inviting everyone to cook with ease and confidence.
Living in Charleston, John takes cues from the city’s lively food scene, local markets, and seasonal produce. He’s all about making meals stress-free through easy tips, flavor pairings, and fun experiments in the kitchen