Bacon Cheeseburger Burrito Recipe with Big Comfort Food Flavor
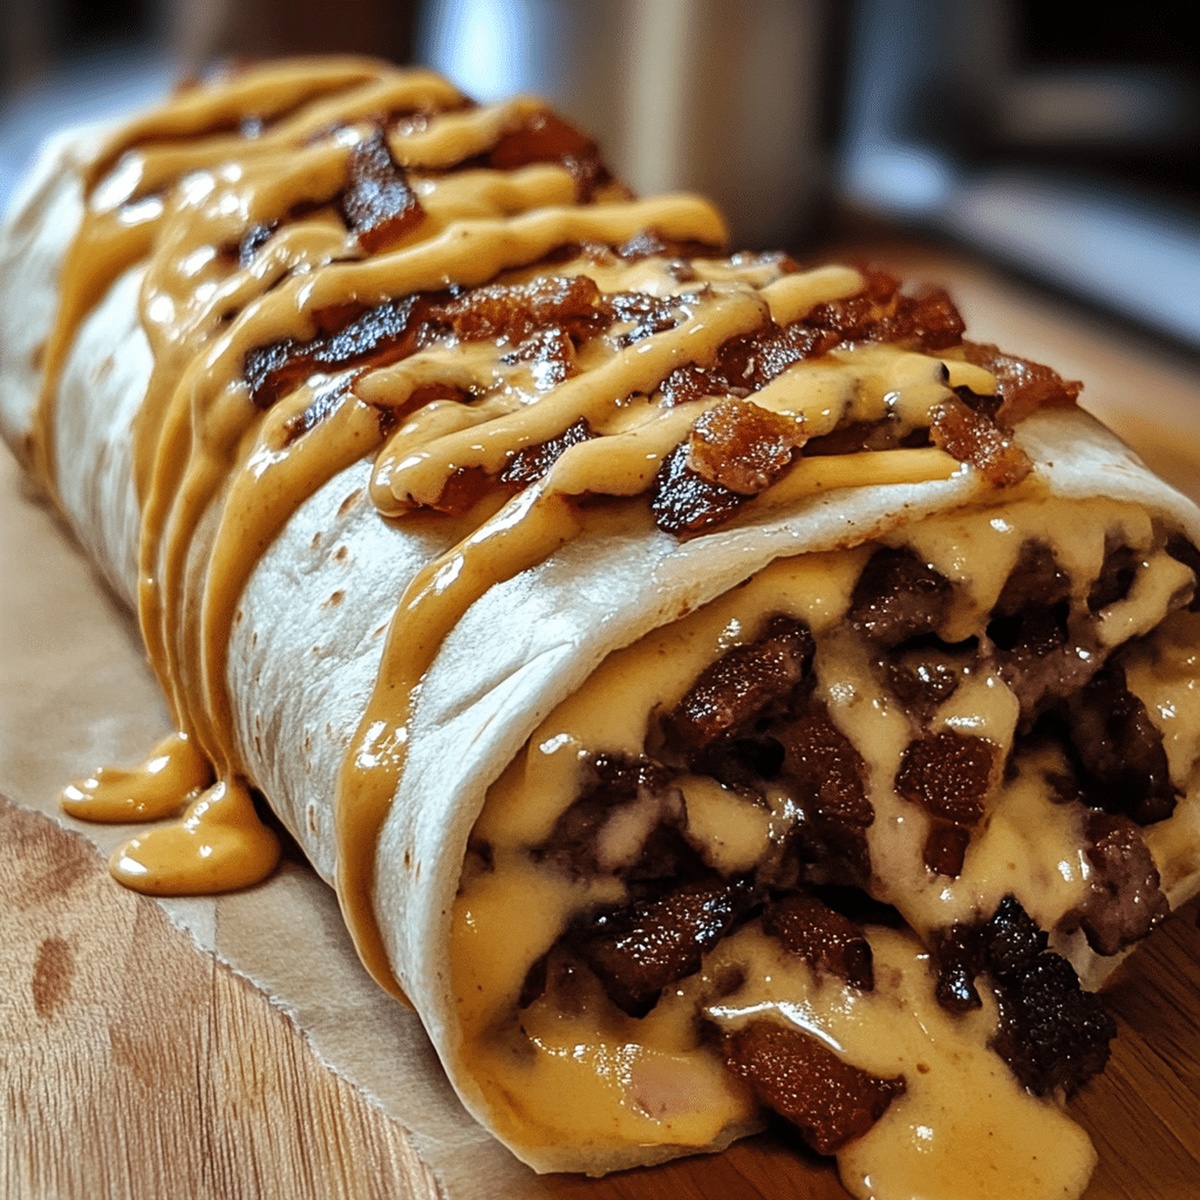
Bursting with savory flavors, this bacon cheeseburger burrito combines classic American comfort food in an unexpected twist.
Ground beef sizzles with aromatic spices, creating a mouthwatering fusion that will make your taste buds dance.
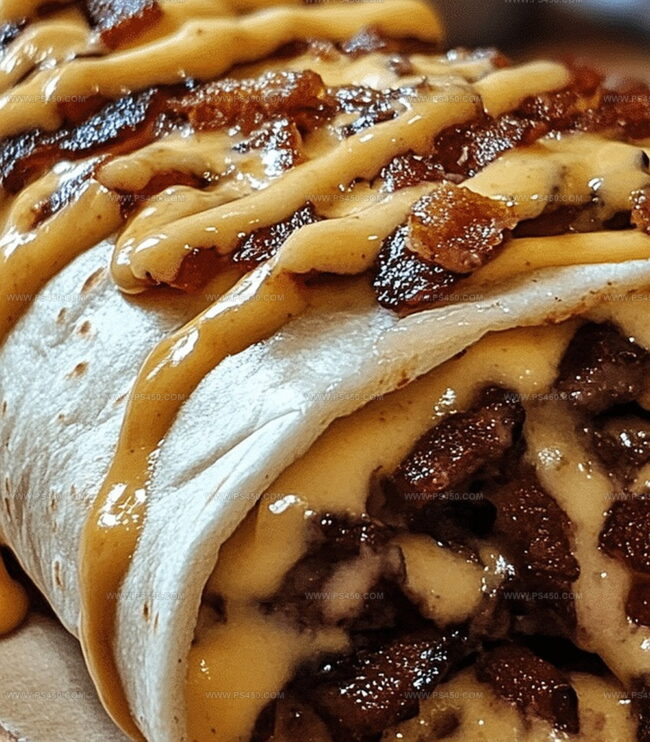
Crispy bacon adds a delightful crunch to each bite, while melted cheese brings rich, creamy goodness.
Soft tortillas wrap around the hearty filling, sealing in all the irresistible flavors.
Cheddar cheese melts perfectly, complementing the juicy beef and smoky bacon.
Simple ingredients come together to create a meal that feels both familiar and exciting.
Prepare to elevate your dinner game with this delicious culinary adventure that promises to satisfy even the most discerning hunger.
Quick Recipe Overview

Cheeseburger Burrito Ingredient Guide
For Protein Base:For Cheese and Dairy:For Wrap and Accompaniments:Tools to Wrap and Bake These Meaty Burritos
How to Make a Bacon Cheeseburger Burrito
Remove the burrito from its packaging, ensuring it’s completely free from any wrapping or foil.
Place the burrito on a microwave-safe plate and heat on high for 1-2 minutes, checking midway to ensure even warming.
If preferring oven heating, wrap the burrito loosely in foil and bake at 350F for 15-20 minutes, which helps maintain its delicious crispy exterior.
For those loving a crispy texture, use a skillet over medium heat, rotating the burrito every couple of minutes to warm thoroughly and create a golden-brown surface, typically taking 5-7 minutes.
Verify the burrito’s internal temperature has reached a hot and consistent warmth throughout before serving.
Let the burrito rest for a minute after heating to allow the internal temperature to stabilize and prevent potential burning.
Add-Ons Like Pickles, Onions, and More
Serve Burritos with Fries or Chips
Storage Tips to Keep Burritos from Getting Soggy
FAQs
This burrito combines classic cheeseburger elements like ground beef, bacon, cheese, and traditional burger toppings, all wrapped in a large tortilla for a handheld meal that’s packed with flavor.
Absolutely! You can prepare these burritos in advance and store them individually wrapped in foil, making them perfect for quick lunches or on-the-go dinners that can be easily reheated.
Yes, you can easily swap out ingredients to match your preferences – try different cheeses, adjust the bacon amount, or add extra condiments like pickles or special sauce to make it your own.
Unlike a traditional burger, this burrito offers all the same delicious flavors but in a more portable, wrapped format that’s easier to eat and can hold more ingredients without falling apart.
Print
Indulgent Bacon Cheeseburger Burrito Recipe
- Total Time: 30 minutes
- Yield: 5 1x
Description
Hearty bacon cheeseburger burrito combines classic American diner flavors in a portable Mexican-inspired wrap. Crispy bacon, melted cheese, and juicy ground beef create a satisfying meal that will excite you.
Ingredients
- 1 lb (450g) ground beef
- 6 slices bacon, cooked and crumbled
- 2 cups (200g) shredded cheddar cheese
- 2 tbsps ketchup
- 2 tbsps yellow mustard
- 4 large flour tortillas (burrito-sized)
- 1 small onion, diced
- 1 large tomato, diced
- ½ cup (120g) dill pickles, sliced
- 1 cup (90g) shredded lettuce
- ¼ cup (60g) mayonnaise
- 2 garlic cloves, minced
- 1 tbsp mustard
- 1 tbsp Worcestershire sauce
- ½ tsp salt
- ½ tsp black pepper
Instructions
- Microwave Preparation: Unwrap burrito from foil and place on microwave-safe plate, ensuring even heat distribution and preventing steam buildup.
- Microwave Heating: Set microwave to high power and heat for 1-2 minutes, pausing midway to rotate and check warming progress, preventing potential hot spots or texture degradation.
- Oven Reheating Method: Preheat oven to 350F (175C), maintaining burrito in original foil wrap to preserve moisture and prevent exterior drying.
- Oven Warming Process: Position foil-wrapped burrito centrally in preheated oven, allowing 15-20 minutes for comprehensive thermal penetration while protecting crisp exterior.
- Skillet Technique: Place burrito directly on medium-heat skillet without additional lubricants, promoting controlled surface warming and potential slight exterior crisping.
- Skillet Rotation Strategy: Carefully turn burrito every 1-2 minutes, ensuring uniform heat absorption and preventing potential scorching or uneven warming.
- Temperature Verification: Continue skillet heating approximately 5-7 minutes, confirming internal temperature reaches safe and enjoyable warmth through gentle, consistent cooking.
- Resting Period: Remove from heat source and allow one-minute stabilization, enabling thermal equilibrium and heat distribution throughout burrito’s interior.
- Serving Recommendation: Verify complete heating, then serve immediately to maximize flavor integrity, textural quality, and overall culinary experience.
Notes
- Microwave Mastery: Unwrap the burrito from foil to prevent steam buildup and ensure even, consistent heating throughout.
- Oven Precision: Maintain the original foil wrapping when baking to lock in moisture and preserve the burrito’s crispy exterior and juicy interior.
- Skillet Technique: Rotate the burrito frequently on medium heat to prevent burning and achieve a perfectly golden, crisp surface.
- Temperature Check: Always verify the internal temperature reaches a safe, hot level before serving to guarantee food safety and optimal taste experience.
- Prep Time: 10 minutes
- Cook Time: 20 minutes
- Category: Lunch, Dinner, Snacks
- Method: Baking
- Cuisine: Mexican
Nutrition
- Serving Size: 5
- Calories: 823
- Sugar: 6g
- Sodium: 1193mg
- Fat: 54g
- Saturated Fat: 21g
- Unsaturated Fat: 28g
- Trans Fat: 0g
- Carbohydrates: 45g
- Fiber: 2g
- Protein: 36g
- Cholesterol: 132mg
John Nicholson
Lead Writer & Recipe Developer
Expertise
Recipe Testing and Development, Kitchen Hacks and Time-Saving Tips, Flavor Pairing and Ingredient Selection, Engaging Food Writing and Storytelling
Education
Johnson & Wales University
John Nicholson honed his skills at Johnson & Wales University, learning how to use fresh, local ingredients and down-to-earth techniques to make cooking simple and satisfying.
His recipes blend Southern comfort flavors with a modern touch, inviting everyone to cook with ease and confidence.
Living in Charleston, John takes cues from the city’s lively food scene, local markets, and seasonal produce. He’s all about making meals stress-free through easy tips, flavor pairings, and fun experiments in the kitchen