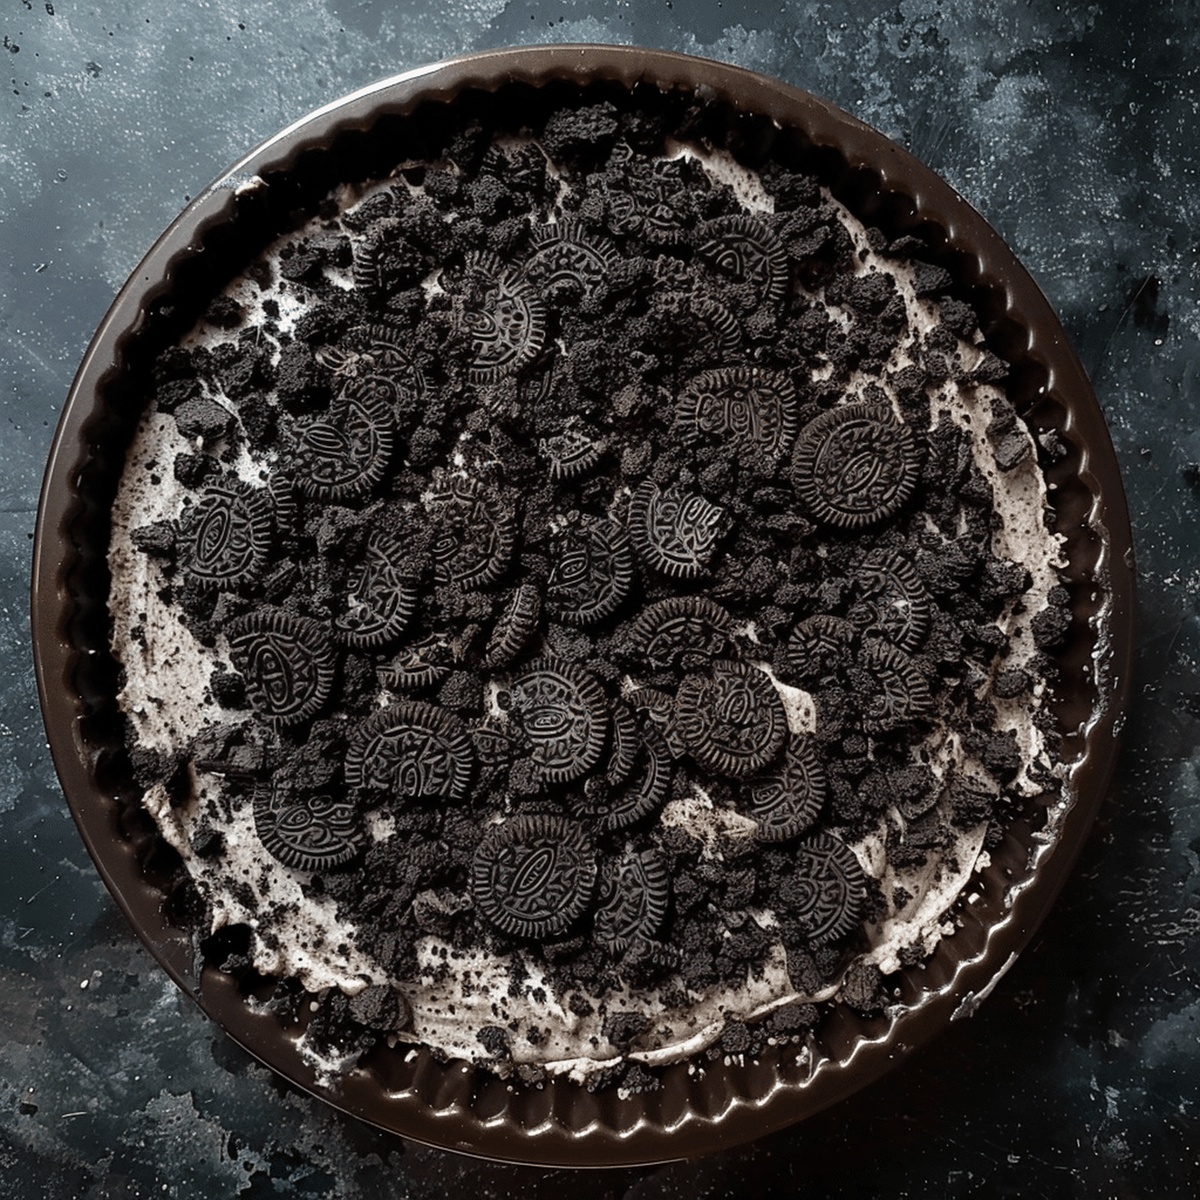
Oreo Mud Pie Recipe That’s Rich, Cool, and Chocolatey
Chocolate lovers can’t resist a delectable Oreo mud pie that combines creamy textures with rich, decadent flavors.
This showstopping dessert blends classic cookies and smooth ice cream into a heavenly treat.
Crumbled Oreo cookies create a stunning base that sets the stage for pure deliciousness.
Each slice promises a symphony of chocolate and creaminess that melts perfectly on your tongue.
The layers of this pie deliver an irresistible combination of crunchy and smooth elements.
Crafted with simple ingredients, this dessert brings restaurant-quality indulgence right to your dining table.
Prepare to dive into a slice of pure chocolate paradise that will have everyone asking for seconds.
Quick Recipe Overview
What You’ll Need for a No-Bake Oreo Mud Pie
For Crust Base:For Creamy Layers:For Finishing Touches:Tools for Building Layers in Your Oreo Mud Pie
How to Make a, Dreamy Oreo Mud Pie
Mix crushed Oreos with melted butter until thoroughly blended. Press the mixture firmly into a pie dish, covering bottom and sides completely. Chill in freezer for 15 minutes to create a solid base.
Spread softened chocolate ice cream across the chilled Oreo crust. Use a spatula to create an even surface. Return to freezer for 30 minutes to solidify.
Whisk chocolate pudding mix with cold milk until it thickens smoothly. Pour pudding over the ice cream layer, ensuring complete coverage. Freeze for additional 15-20 minutes.
Whip heavy cream with powdered sugar and vanilla until peaks form. Carefully spread the whipped cream across the pudding layer, completely covering the surface.
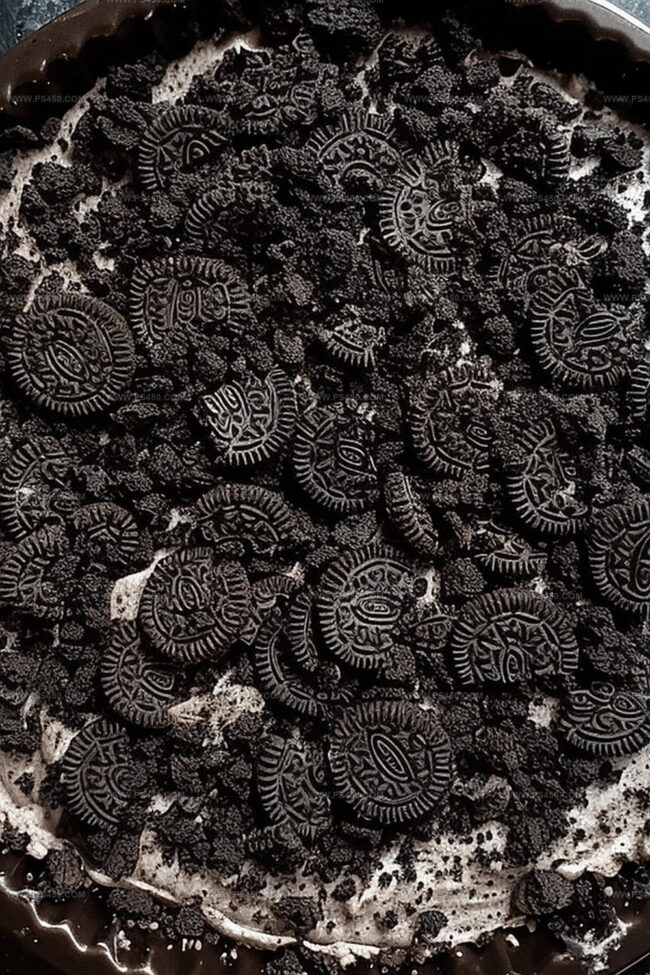
Sprinkle crushed Oreos over the top. Add chocolate shavings or drizzle hot fudge sauce for extra decadence.
Freeze pie for 2 hours until completely set. Allow to soften at room temperature for 10 minutes before cutting. Serve with optional extra fudge sauce.
Creative Twists to Personalize Oreo Mud Pie Flavor
Serving Oreo Mud Pie for Dessert Tables or Gatherings
How to Keep Oreo Mud Pie Firm and Fluffy
FAQs
You can substitute Oreos with other chocolate sandwich cookies like generic brand chocolate cream cookies or chocolate graham crackers. The key is having a dark chocolate cookie that provides a similar texture and flavor profile.
Absolutely! You can prepare this Oreo mud pie up to 3-4 days in advance. Just keep it tightly covered in the freezer and add fresh whipped cream topping right before serving to maintain the best texture and taste.
No special equipment is required. You’ll just need a 9-inch pie dish, mixing bowls, a whisk, and a spatula. A hand mixer helps with whipping cream, but you can also whip it manually with a whisk.
Yes, this is a perfect dessert for kids. Children love the combination of chocolate, cookies, and ice cream. It’s a fun, no-bake dessert that’s visually appealing and delicious.
Print
Indulgent Oreo Mud Pie Recipe
- Total Time: 2 hours 50 minutes
- Yield: 9 1x
Description
Chocolate lovers will adore this Oreo mud pie, a creamy dessert blending rich chocolate and classic cookie flavors. Rich layers of chocolate mousse, crushed Oreos, and silky ganache create a dessert you cannot resist.
Ingredients
- 24 Oreo cookies (for crust)
- 2 cups (480 mL/16.2 fl oz) chocolate ice cream
- 1 box (3.9 oz) instant chocolate pudding mix
- 1 ¾ cups (420 mL/14.2 fl oz) cold milk
- 1 cup (240 mL/8.1 fl oz) heavy cream
- 6 tbsps (85 g) unsalted butter
- ½ cup (125 g) hot fudge sauce
- ¼ cup (30 g) powdered sugar
- 1 tsp vanilla extract
- ½ cup (75 g) crushed Oreos
- Chocolate shavings (optional)
- Hot fudge sauce (optional)
Instructions
- Crust Preparation: Crush Oreo cookies into fine crumbs and merge with melted butter, pressing the mixture firmly into a pie dish to create a robust, even foundation. Quickly chill in the freezer for 15 minutes to set the base.
- Ice Cream Layer: Spread softened chocolate ice cream evenly across the chilled Oreo crust, smoothing the surface with a spatula. Return to the freezer for 30 minutes to re-solidify.
- Pudding Application: Whisk chocolate pudding mix with cold milk until achieving a thick, glossy texture. Carefully spread the pudding over the ice cream layer, ensuring complete coverage. Briefly freeze to allow slight firming.
- Cream Topping: Whip heavy cream with powdered sugar and vanilla extract until forming stable, elegant peaks. Generously cover the pudding layer with the whipped cream, creating a billowy surface.
- Garnish and Finalization: Decorate with crushed Oreo pieces, optional chocolate shavings, or a luxurious hot fudge drizzle. Freeze the entire dessert for a minimum of 2 hours to meld the layers perfectly. Before serving, let the pie rest at room temperature for 10 minutes to slightly soften, then slice and indulge.
Notes
- Crust Compression Technique: Press Oreo crumb mixture tightly and evenly to prevent crumbling and ensure a solid, sturdy base that holds together when sliced.
- Freezing Precision: Use exact freezing times to maintain ideal texture; over-freezing can make layers too hard, while under-freezing leads to messy, unstable layers.
- Temperature Management: Let pie soften slightly at room temperature before serving to achieve the perfect creamy consistency without becoming too melted.
- Dietary Adaptation: Substitute dairy-free ice cream and whipped cream for lactose-intolerant guests, and use gluten-free Oreo alternatives for those with gluten sensitivities.
- Prep Time: 20 minutes
- Cook Time: 2 hours 30 minutes
- Category: Desserts, Snacks
- Method: Freezing
- Cuisine: American
Nutrition
- Serving Size: 9
- Calories: 400
- Sugar: 35 g
- Sodium: 250 mg
- Fat: 24 g
- Saturated Fat: 14 g
- Unsaturated Fat: 8 g
- Trans Fat: 0 g
- Carbohydrates: 42 g
- Fiber: 2 g
- Protein: 4 g
- Cholesterol: 50 mg
John Nicholson
Lead Writer & Recipe Developer
Expertise
Recipe Testing and Development, Kitchen Hacks and Time-Saving Tips, Flavor Pairing and Ingredient Selection, Engaging Food Writing and Storytelling
Education
Johnson & Wales University
John Nicholson honed his skills at Johnson & Wales University, learning how to use fresh, local ingredients and down-to-earth techniques to make cooking simple and satisfying.
His recipes blend Southern comfort flavors with a modern touch, inviting everyone to cook with ease and confidence.
Living in Charleston, John takes cues from the city’s lively food scene, local markets, and seasonal produce. He’s all about making meals stress-free through easy tips, flavor pairings, and fun experiments in the kitchen