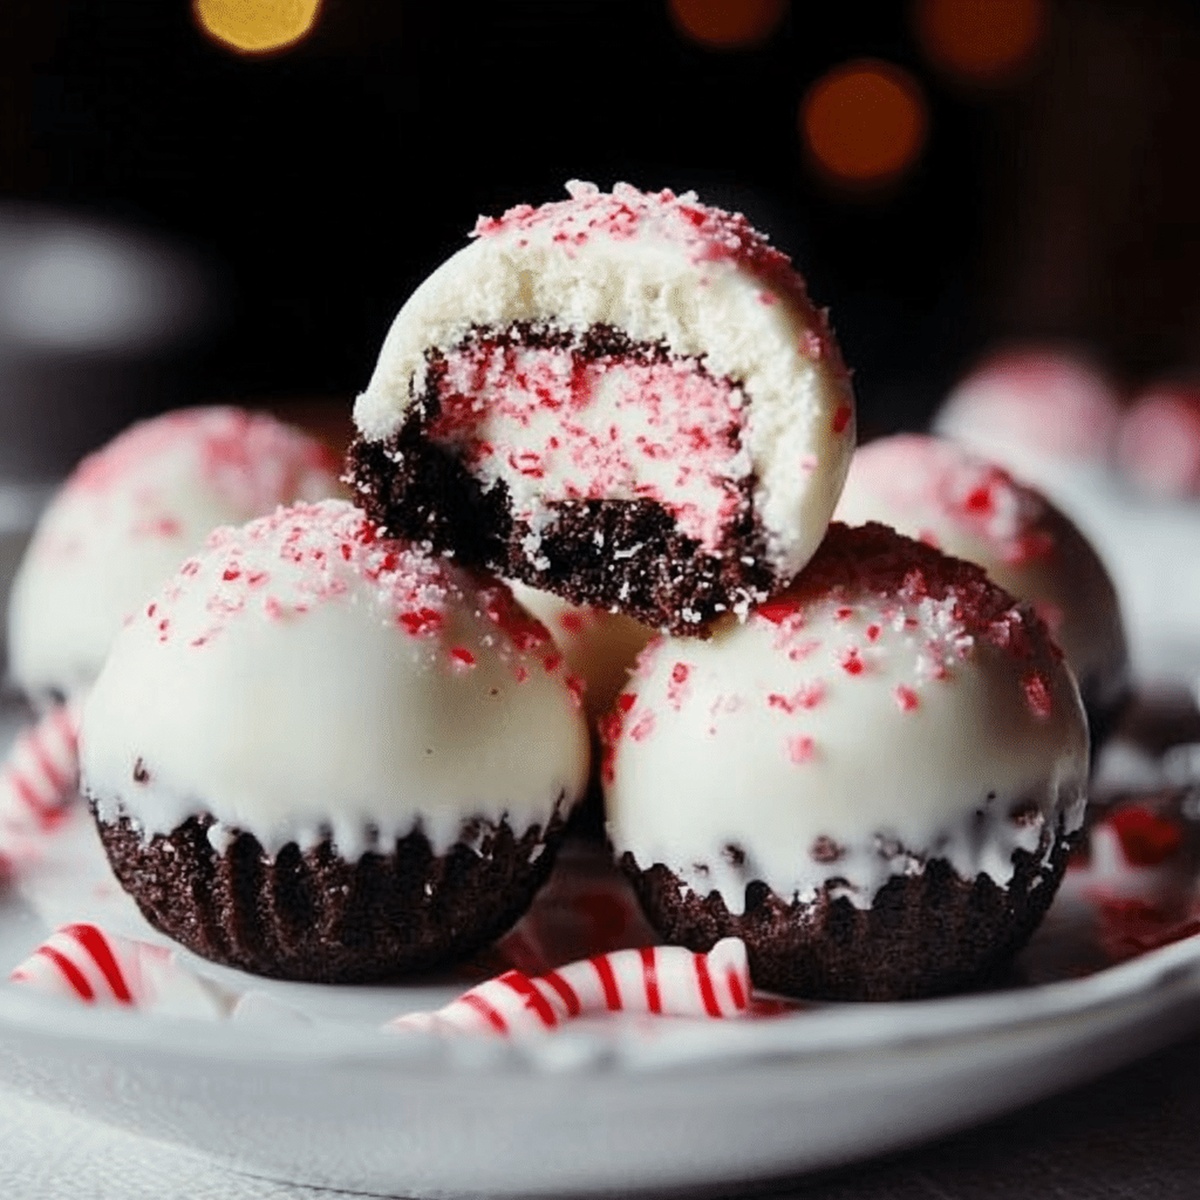
Peppermint Bark Snowballs Recipe with a Crunchy Shell
These festive snowball cookies merge classic holiday peppermint bark with tender, melt-in-your-mouth cookie goodness.
Crisp winter afternoons call for sweet treats that sparkle with seasonal cheer.
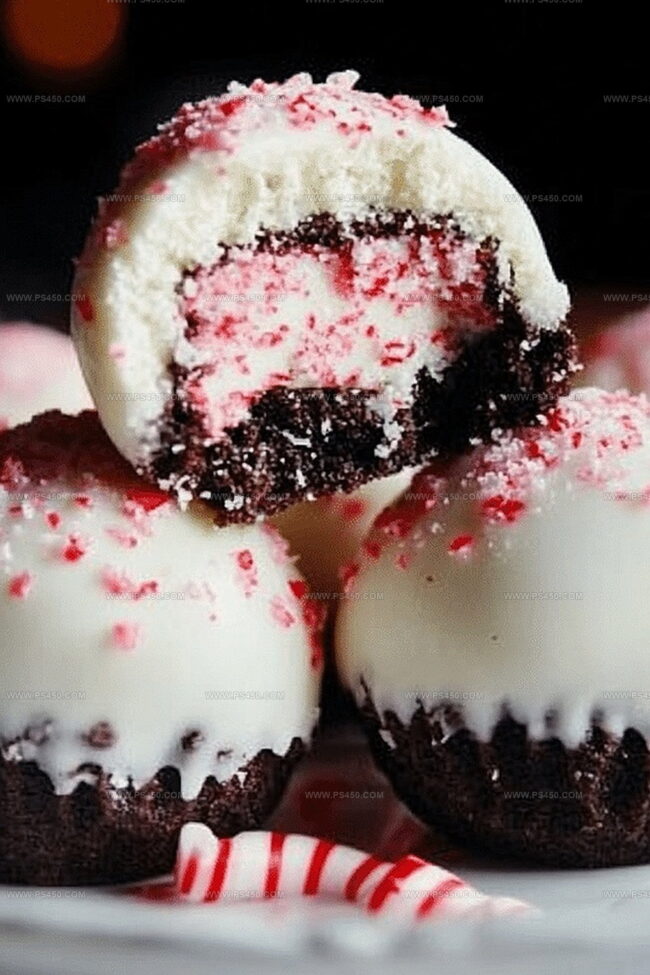
Each delicate snowball carries rich chocolate and cool peppermint notes that dance across your palate.
Buttery shortbread crumbles softly, releasing intense flavor combinations that scream holiday celebration.
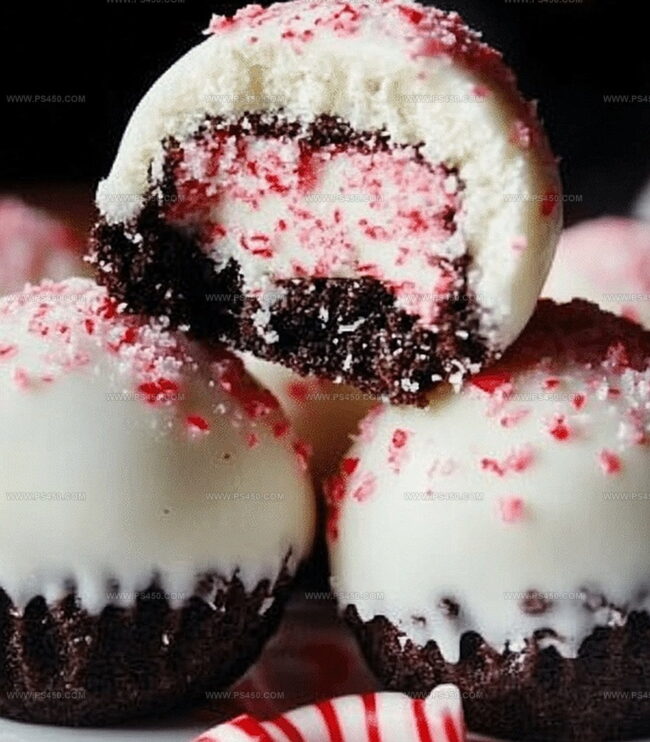
White chocolate drizzles and crushed candy cane pieces create a stunning visual and textural contrast.
Light, delicate, and surprisingly simple to prepare, these snowballs become an instant favorite at every gathering.
You won’t be able to resist their irresistible charm and festive spirit.
Quick Recipe Overview
No-Bake Peppermint Bark Snowballs Ingredient List
For Dry Base:For Binding Agent:For Coating and Finishing:Tools You’ll Use for Peppermint Snowball Success
Make Peppermint Bark Snowballs in a Flash
Smash chocolate sandwich cookies into fine crumbs using a food processor or rolling pin. Mix in crushed peppermint candies for extra holiday zing.
Blend softened cream cheese with cookie crumbs until the mixture becomes smooth and holds together like a delicious dough.
Drizzle melted white chocolate into the cookie mixture, stirring gently to create a swirled, festive texture that’s both creamy and crunchy.
Using clean hands, roll the mixture into small, bite-sized balls. Make them uniform in size for a professional look and consistent taste.
Gently roll each ball in powdered sugar, creating a snowy, elegant coating that makes these treats look like winter wonderland gems.
Place the snowballs on a parchment-lined tray and refrigerate for about an hour. This helps them firm up and enhances their flavor.
Pull out the chilled peppermint bark snowballs and serve them at your holiday gathering. Store any leftovers in the refrigerator for up to a week.
Chill Tips & Flavor Ideas for Peppermint Snowballs
Ways to Serve These Sweet Holiday Bites
How to Store No-Bake Snowballs the Right Way
FAQs
The key ingredients include chocolate sandwich cookies, peppermint candies, cream cheese, white chocolate, and powdered sugar. These combine to create a festive, creamy, and crunchy treat.
No, this is an easy no-bake recipe that requires simple mixing and rolling techniques. Even beginner bakers can successfully make these peppermint bark snowballs with minimal kitchen skills.
Yes, you can prepare these snowballs up to 3 days in advance. Store them in an airtight container in the refrigerator, and they’ll maintain their texture and flavor perfectly.
You can sprinkle additional crushed peppermint candies on top, drizzle extra melted white chocolate, or add a light dusting of colored sprinkles to make them more festive and visually appealing.
Print
Magical Peppermint Bark Snowballs
- Total Time: 1 hour 20 minutes
- Yield: 13 1x
Description
Creamy No-Bake Peppermint Bark Snowballs bring holiday cheer with their delightful blend of chocolate and mint. Festive treats will transport taste buds to winter wonderlands, inviting guests to savor each delectable bite.
Ingredients
- 1 cup (120 g) crushed chocolate sandwich cookies (such as Oreos)
- ¼ cup (60 g) cream cheese, softened
- 1 cup (240 ml) white chocolate chips, melted
- ½ cup (80 g) crushed peppermint candies or candy canes
- 1 cup (120 g) powdered sugar (for rolling)
Instructions
- Crumb Creation: Pulverize chocolate sandwich cookies and peppermint candies into fine, uniform crumbs within a spacious mixing bowl, ensuring a consistent texture for the base mixture.
- Binding Process: Incorporate softened cream cheese into the cookie-peppermint crumb blend, kneading meticulously to develop a cohesive, malleable consistency that will hold the snowballs together.
- Chocolate Integration: Gently fold molten white chocolate throughout the mixture, stirring with precision to guarantee even ingredient distribution and a smooth, glossy appearance.
- Shaping Technique: Mold compact spherical formations using gentle hand pressure or a miniature scoop, aiming to create uniform one-inch diameter orbs with consistent shape and size.
- Sugar Coating: Delicately roll each snowball in a generous layer of powdered sugar, rotating to achieve complete, even coverage that provides a festive, snow-like exterior.
- Chilling and Setting: Arrange the sugar-dusted confections on a parchment-lined tray, then refrigerate for a minimum of 60 minutes to solidify the structure and enhance flavor melding.
Notes
- Crush Cookies Precisely: Use a food processor for ultra-fine, uniform crumbs to ensure smooth, consistent texture in snowballs.
- Balance Cream Cheese Moisture: Ensure cream cheese is softened but not overly wet to maintain proper binding and prevent snowballs from becoming too sticky.
- Control White Chocolate Consistency: Melt chocolate slowly and carefully to prevent seizing, stirring gently to create smooth incorporation without clumping.
- Chill for Perfect Texture: Refrigeration is crucial for solidifying snowballs, allowing them to hold shape and develop enhanced flavor melding.
- Prep Time: 20 minutes
- Cook Time: 1 hour
- Category: Desserts, Snacks
- Method: Blending
- Cuisine: American
Nutrition
- Serving Size: 13
- Calories: 150
- Sugar: 18 g
- Sodium: 50 mg
- Fat: 7 g
- Saturated Fat: 4 g
- Unsaturated Fat: 3 g
- Trans Fat: 0 g
- Carbohydrates: 22 g
- Fiber: 0 g
- Protein: 1 g
- Cholesterol: 10 mg
John Nicholson
Lead Writer & Recipe Developer
Expertise
Recipe Testing and Development, Kitchen Hacks and Time-Saving Tips, Flavor Pairing and Ingredient Selection, Engaging Food Writing and Storytelling
Education
Johnson & Wales University
John Nicholson honed his skills at Johnson & Wales University, learning how to use fresh, local ingredients and down-to-earth techniques to make cooking simple and satisfying.
His recipes blend Southern comfort flavors with a modern touch, inviting everyone to cook with ease and confidence.
Living in Charleston, John takes cues from the city’s lively food scene, local markets, and seasonal produce. He’s all about making meals stress-free through easy tips, flavor pairings, and fun experiments in the kitchen