Decadent Rich Turtle Brownie Cheesecake Recipe That Wows Guests
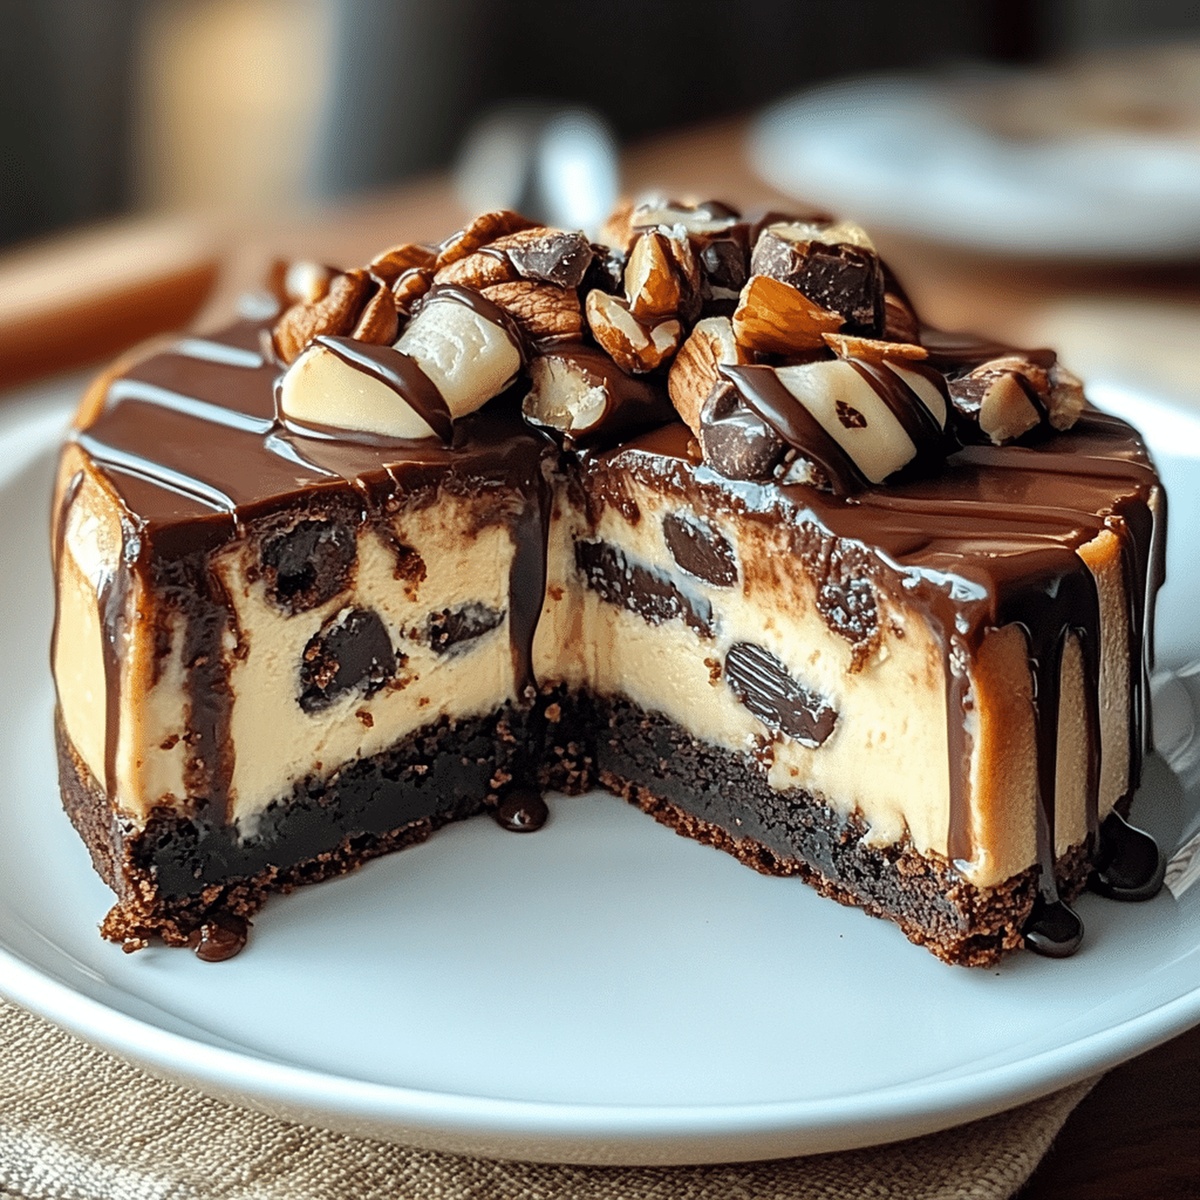
Chocolate lovers swirl with delight over this decadent turtle brownie cheesecake that combines creamy textures with irresistible caramel notes.
Layer upon layer of indulgence reveals a dessert that melts hearts and tantalizes taste buds.
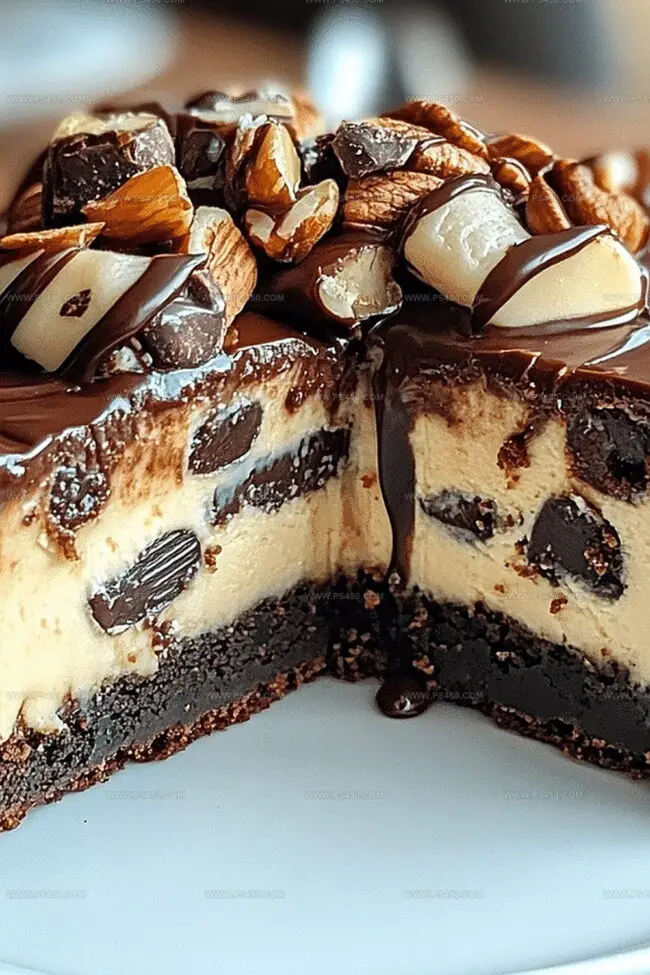
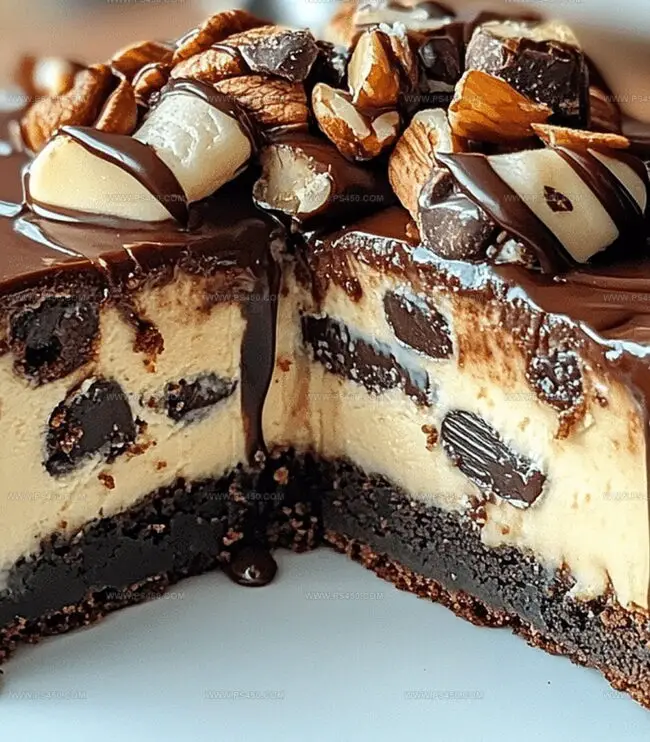
Smooth cream cheese nestles atop a fudgy brownie base, creating a luxurious symphony of flavors.
Drizzles of rich caramel and scattered pecans transform this treat into a showstopping dessert.
Each bite promises a delightful dance of sweetness and crunch that beckons you to savor every moment.
Chocolate, caramel, and cheesecake converge in a dessert that elevates any gathering from ordinary to extraordinary.
You’ll want to save room for this ultimate dessert experience.
Quick Recipe Overview
What You’ll Need for Turtle Brownie Cheesecake
For Brownie Base:For Cheesecake Filling:For Turtle Topping:Tools That Help You Master Turtle Brownie Cheesecake
How to Bake a Rich Turtle Brownie Cheesecake
Crank up the oven to a toasty 350°F. Grab your springform pan and give it a quick protective coating. Whip up your favorite brownie mix and pour it into the pan. Bake just until the edges look solid and slightly crispy, about 20 minutes. Let it cool down and rest.
Grab your mixing bowl and start beating cream cheese until silky smooth. Gently fold in eggs one by one, creating a luxurious mixture. Splash in some vanilla and blend until everything looks dreamy and consistent.
Carefully pour the cheesecake batter over your brownie base, smoothing it with a gentle touch. Slide the pan back into the oven and bake until the center looks slightly wobbling but set, around 40-45 minutes.
After chilling the cheesecake thoroughly, drizzle caramel sauce across the surface. Scatter pecans generously, creating a crunchy landscape. Finish with a chocolate zigzag that looks like delicious artwork.
Carefully release the springform pan’s edges. Slice into tempting wedges. Dive into this incredible dessert that combines rich chocolate, creamy cheesecake, and nutty caramel in every single bite.
Turtle Brownie Cheesecake Flavor Swaps to Try
Serve Turtle Brownie Cheesecake for Any Occasion
Store Turtle Brownie Cheesecake the Right Way
FAQs
While it looks impressive, this recipe is actually moderate in difficulty. You’ll need basic baking skills like mixing, beating cream cheese, and understanding oven temperatures. The steps are straightforward, and each stage is simple to follow.
You’ll need a 9-inch springform pan, electric mixer, mixing bowls, and standard baking tools. A springform pan is crucial for easy removal and clean slicing of the cheesecake.
Absolutely! Homemade brownie batter works perfectly. Just ensure it’s similar in consistency to boxed mix and adjust baking time slightly. The key is having a fudgy, not too thick brownie base.
Cracks can happen due to overmixing or temperature changes. To prevent this, mix ingredients gently, avoid overbeating eggs, and let the cheesecake cool gradually. If it cracks, the caramel and chocolate topping will beautifully hide any imperfections.
Print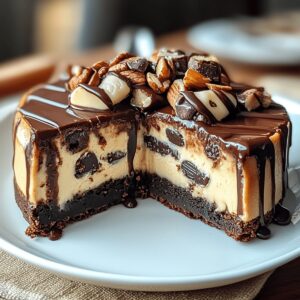
Rich Turtle Brownie Cheesecake Recipe
- Total Time: 1 hour 35 minutes
- Yield: 13 1x
Description
Chocolate lovers discover pure bliss with this Turtle Brownie Cheesecake nestled between rich brownie layers and creamy cheesecake. Caramel drizzles and crunchy pecans complete this indulgent dessert for those seeking ultimate sweet satisfaction.
Ingredients
- 1 box (18 oz / 510 g) brownie mix
- Additional ingredients for brownie mix (as specified on package)
- 2 packages (8 oz / 226 g each) cream cheese, softened
- 2 large eggs
- ½ cup (100 g) granulated sugar
- 1 tsp vanilla extract
- 1 cup (240 ml) caramel sauce
- ¾ cup (85 g) chopped pecans
- ½ cup (85 g) semi-sweet chocolate chips, melted
Instructions
- Prepare Base: Preheat oven to 350°F and line springform pan with parchment paper or lightly grease, ensuring smooth surface for brownie foundation.
- Craft Brownie Layer: Blend brownie batter meticulously, achieving uniform consistency, then pour into prepared pan and bake for 20 minutes until edges set and center remains slightly soft.
- Create Cheesecake Mixture: In large mixing bowl, whip cream cheese and sweetener until silky smooth, then gently incorporate eggs one at a time, preventing curdling and maintaining luxurious texture.
- Enhance Flavor Profile: Infuse mixture with vanilla extract, stirring until completely integrated and aromatic, then delicately pour over partially baked brownie base, smoothing surface with precision.
- Bake and Cool: Return dessert to oven, baking 40-45 minutes until center displays subtle wobble, then remove and allow complete cooling at room temperature before refrigerating for minimum four hours.
- Decorate and Serve: After thorough chilling, cascade caramel sauce across surface, sprinkle chopped pecans for textural complexity, and embellish with elegant chocolate drizzle in zigzag patterns, then release springform pan and slice into sophisticated wedges.
Notes
Prevent Cracking: Ensure gentle mixing and avoid overmixing cheesecake batter to minimize surface cracks. Use room temperature ingredients and gradually incorporate eggs to maintain smooth consistency.
Baking Water Bath Technique: Place springform pan in larger water bath during baking to create consistent, gentle heat distribution. Wrap pan exterior with aluminum foil to prevent water seepage and maintain even temperature.
Caramel Sauce Control: Warm caramel slightly before drizzling to achieve smooth, flowing consistency. Use squeeze bottle or spoon for precise, artistic application across cheesecake surface.
Texture Optimization: Allow cheesecake complete cooling at room temperature before refrigeration to prevent moisture condensation. Chill minimum 4-6 hours for optimal flavor development and structural stability.
- Prep Time: 30 minutes
- Cook Time: 1 hour 5 minutes
- Category: Desserts
- Method: Baking
- Cuisine: American
Nutrition
- Serving Size: 13
- Calories: 394
- Sugar: 30 g
- Sodium: 230 mg
- Fat: 23 g
- Saturated Fat: 8 g
- Unsaturated Fat: 15 g
- Trans Fat: 0 g
- Carbohydrates: 41 g
- Fiber: 2 g
- Protein: 5 g
- Cholesterol: 73 mg
John Nicholson
Lead Writer & Recipe Developer
Expertise
Recipe Testing and Development, Kitchen Hacks and Time-Saving Tips, Flavor Pairing and Ingredient Selection, Engaging Food Writing and Storytelling
Education
Johnson & Wales University
John Nicholson honed his skills at Johnson & Wales University, learning how to use fresh, local ingredients and down-to-earth techniques to make cooking simple and satisfying.
His recipes blend Southern comfort flavors with a modern touch, inviting everyone to cook with ease and confidence.
Living in Charleston, John takes cues from the city’s lively food scene, local markets, and seasonal produce. He’s all about making meals stress-free through easy tips, flavor pairings, and fun experiments in the kitchen