
Cozy Rustic Apple Crisp Recipe: A Heartwarming Sweet Treat
Autumn’s golden hues inspire delectable desserts like this rustic apple crisp that promises pure comfort.
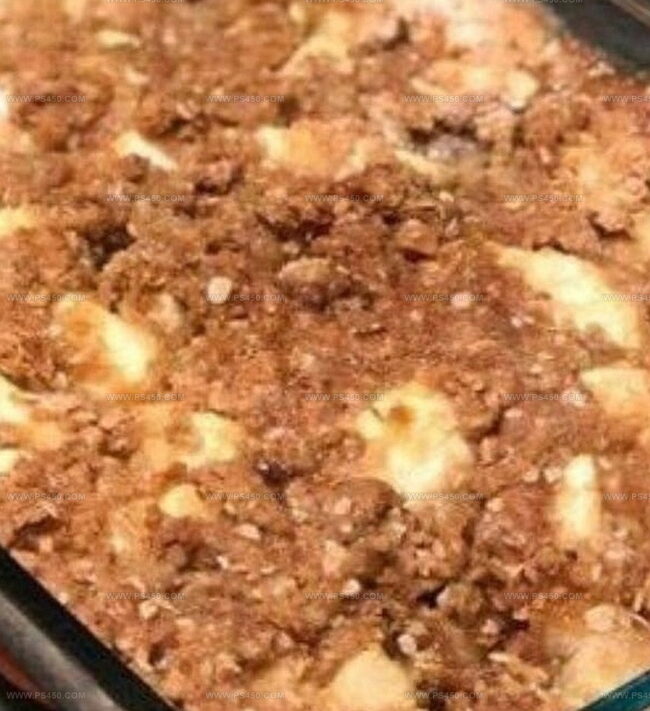
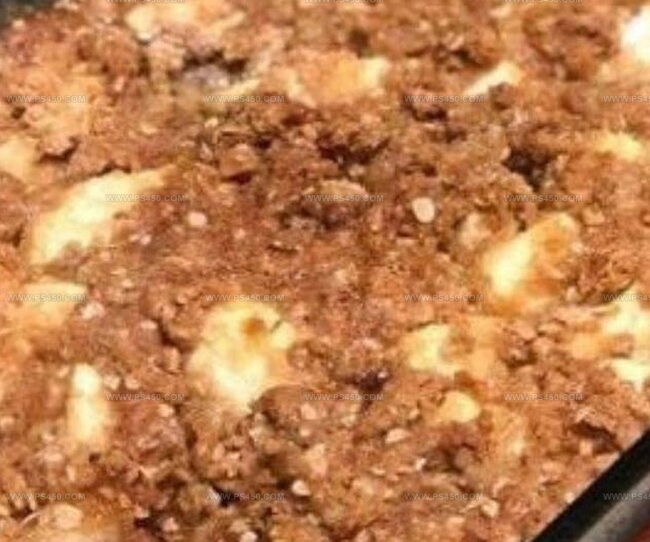
Baked with seasonal apples and a crunchy, buttery topping, the recipe delivers warmth in every spoonful.
Sweet Granny Smith apples mingle with fragrant cinnamon, creating a harmonious blend of flavors.
Each bite offers a perfect balance between tender fruit and crisp, crumbly streusel.
The dessert whispers memories of cozy kitchen gatherings and weekend baking traditions.
Served warm with a scoop of vanilla ice cream, this apple crisp transforms simple ingredients into an irresistible treat.
You’ll want to savor every single crumb of this classic dessert.
Quick Recipe Overview
Ingredients for Old Fashioned Apple Crisp
For Fruit Base:For Crumbly Topping:For Finishing:Tools to Make Old Fashioned Apple Crisp
Prep & Cook: Old Fashioned Apple Crisp
Set your oven to 350F and grab a 9×13-inch baking dish. Give the dish a quick spray or butter rub to prevent sticking.
Slice up your apples and toss them with sweet sugars, warm spices, a splash of lemon, and a touch of flour. Spread this delicious blend across your baking dish, creating a golden foundation.
In another bowl, mix oats, flour, brown sugar, and a sprinkle of cinnamon. Work cold butter into the dry ingredients using your fingers until the mixture looks like rough, crumbly sand.
Shower the oat mixture over your apple base, making sure every inch gets covered. Slide the dish into the heated oven and bake for 40-45 minutes until the top turns a gorgeous golden brown and the apples bubble with sweet juices.
Let the crisp rest for a few minutes after pulling it from the oven. Scoop out a portion while it’s still warm and crown it with a dollop of vanilla ice cream or a cloud of whipped cream for the ultimate comfort dessert.
How to Add Flair to Old Fashioned Apple Crisp
How to Serve Old Fashioned Apple Crisp
Keeping Old Fashioned Apple Crisp Fresh
FAQs
Yes, you can use a mix of apple varieties like Granny Smith, Honeycrisp, or Fuji. Different apples provide varied sweetness and textures, making your crisp more interesting.
While it contains fruit, apple crisp is still a dessert with added sugars and butter. It’s best enjoyed in moderation as a treat. The oats do provide some nutritional benefits like fiber.
Use cold butter and work it into the dry ingredients quickly. Don’t overmix – you want small, uneven butter chunks that create a crumbly, crisp texture when baked.
You can substitute white sugar with a tablespoon of molasses, or use all white sugar. The brown sugar adds deeper flavor and moisture, but the crisp will still be delicious without it.
Print
Rustic Apple Crisp Recipe
- Total Time: 1 hour
- Yield: 13 1x
Description
Homemade Old Fashioned Apple Crisp delights with layers of sweet, spiced apples beneath a crumbly, buttery oat topping. Warm servings paired with vanilla ice cream create a comforting dessert perfect for autumn gatherings and family celebrations.
Ingredients
- 6 medium apples (such as Granny Smith or Honeycrisp), peeled, cored, and sliced
- 1 cup old-fashioned oats
- ¾ cup all-purpose flour
- ¾ cup brown sugar, packed
- ½ cup unsalted butter, cold and cubed
- 2 tbsps granulated sugar
- 2 tbsps brown sugar
- 1 tbsp lemon juice
- 1 tbsp all-purpose flour
- 1 tsp ground cinnamon
- ½ tsp ground cinnamon
- ¼ tsp ground nutmeg
- ¼ tsp salt
Instructions
- Preparation: Preheat oven to 350F (175C) and lightly grease a rectangular baking dish to prevent sticking.
- Apple Mixture: In a large bowl, thoroughly coat apple slices with granulated sugar, brown sugar, cinnamon, nutmeg, lemon juice, and flour, ensuring each slice is evenly seasoned.
- Base Layer: Spread the seasoned apple mixture uniformly in the prepared baking dish, creating a robust fruit foundation.
- Crisp Topping: Combine oats, flour, brown sugar, cinnamon, and salt in a mixing bowl, then integrate cold butter using fingertips or a pastry blender until the mixture resembles coarse crumbs.
- Assembly: Distribute the crumbly topping generously and evenly over the apple layer, covering the entire surface to create a textural contrast.
- Baking Process: Bake in the preheated oven for 40-45 minutes, monitoring until the topping turns golden-brown and the fruit beneath bubbles with caramelized intensity.
- Finishing Touch: Remove from oven and allow the crisp to cool slightly, letting the flavors meld and settle. Serve warm, optionally accompanied by vanilla ice cream or whipped cream for an extra layer of indulgence.
Notes
- Select Apple Varieties Wisely: Choose firm, tart apples like Granny Smith or Honeycrisp that hold shape during baking and provide balanced sweetness.
- Prevent Apple Browning: Toss apple slices with lemon juice immediately after cutting to maintain fresh color and prevent oxidation.
- Control Topping Texture: Ensure butter is ice-cold when mixing with dry ingredients to create perfectly crumbly, structured crisp topping.
- Adjust Baking Time Carefully: Check crisp around 35 minutes to prevent over-browning, allowing golden top and tender fruit underneath.
- Prep Time: 15 minutes
- Cook Time: 45 minutes
- Category: Desserts, Snacks
- Method: Baking
- Cuisine: American
Nutrition
- Serving Size: 13
- Calories: 210
- Sugar: 14 g
- Sodium: 75 mg
- Fat: 9 g
- Saturated Fat: 5 g
- Unsaturated Fat: 4 g
- Trans Fat: 0 g
- Carbohydrates: 32 g
- Fiber: 3 g
- Protein: 2 g
- Cholesterol: 20 mg
John Nicholson
Lead Writer & Recipe Developer
Expertise
Recipe Testing and Development, Kitchen Hacks and Time-Saving Tips, Flavor Pairing and Ingredient Selection, Engaging Food Writing and Storytelling
Education
Johnson & Wales University
John Nicholson honed his skills at Johnson & Wales University, learning how to use fresh, local ingredients and down-to-earth techniques to make cooking simple and satisfying.
His recipes blend Southern comfort flavors with a modern touch, inviting everyone to cook with ease and confidence.
Living in Charleston, John takes cues from the city’s lively food scene, local markets, and seasonal produce. He’s all about making meals stress-free through easy tips, flavor pairings, and fun experiments in the kitchen