Homemade Rustic Cinnamon Apple Crisp Recipe – Cozy Fall Treat!
Sweet autumn evenings demand a homemade cinnamon apple crisp that warms the soul and delights the palate.
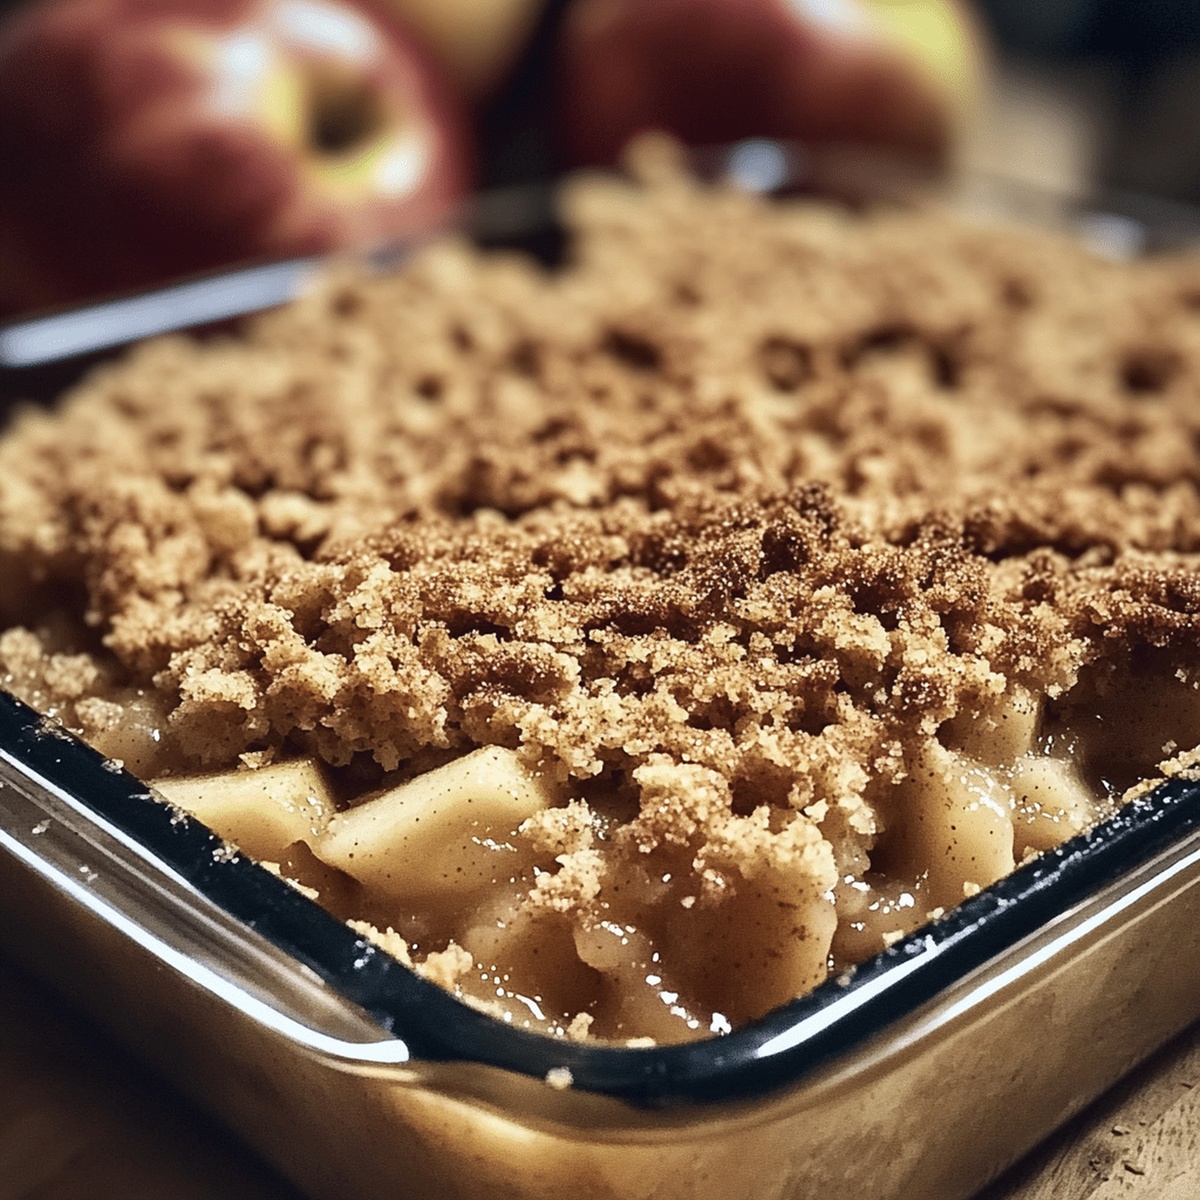
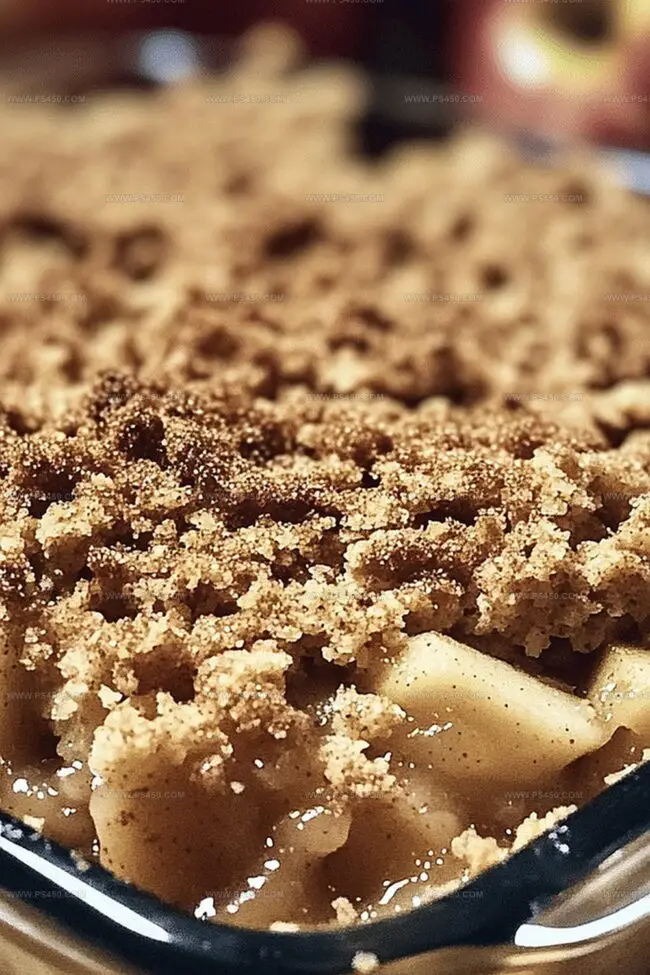
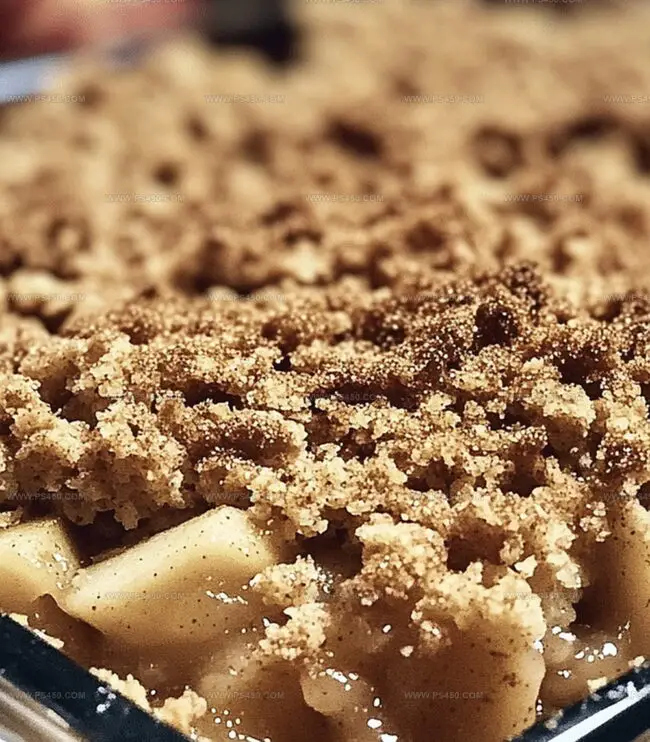
Ripe, juicy apples nestled in a buttery, golden-brown cinnamon crisp create a dessert that speaks directly to comfort.
Seasonal orchards burst with the perfect blend of tart and sweet apples, waiting to be transformed into this classic treat.
Each spoonful promises a delectable combination of soft, caramelized fruit and crisp, crumbly topping.
The aroma of baked cinnamon and brown sugar will drift through your kitchen, beckoning everyone to the table.
Baked to golden perfection, this rustic dessert delivers a nostalgic embrace of traditional flavors.
You won’t be able to resist diving into this irresistible apple crisp that celebrates the pure joy of homemade goodness.
Quick Recipe Overview
Pantry Picks for Cinnamon Apple Crisp
For The Fruity Base:For The Crumbly Topping:For Warming Spices and Enhancers:Equipment You’ll Want for Cinnamon Apple Crisp Night
Make Cinnamon Apple Crisp in Just a Few Moves
Crank your oven to a toasty 350°F, getting ready for a delicious dessert adventure.
Grab a 9×13-inch baking dish and give it a quick spray of cooking oil to prevent any sticky situations.
Toss sliced apples with sugar, cinnamon, and a splash of lemon juice, mixing until every apple piece is beautifully coated and glistening.
Whip together flour, oats, brown sugar, and butter until the mixture resembles delightful crumbly nuggets that will turn golden and crunchy.
Spread the apple mixture evenly across the prepared dish, then shower the crumbly topping over the fruit, ensuring every inch gets some crispy love.
Slide the dish into the preheated oven and let it bake for around 45 minutes, watching for a bubbling filling and a top that turns a gorgeous golden brown.
Remove from the oven and let the crisp rest for 10-15 minutes, allowing the flavors to settle and the temperature to become just right for enjoying.
Ways to Personalize Your Cinnamon Apple Crisp
Cinnamon Apple Crisp: How to Serve It Warm and Golden
Keep Your Cinnamon Apple Crisp Just as Tasty Tomorrow
FAQs
Granny Smith, Honeycrisp, and Braeburn apples are ideal because they maintain their shape and provide a perfect balance of tartness and sweetness when baked.
Yes, simply substitute the all-purpose flour with gluten-free flour blend in both the filling and the crisp topping. Ensure all other ingredients are gluten-free certified.
Cover the crisp with aluminum foil for the first 30 minutes of baking, then remove the foil for the last 15-20 minutes to allow the topping to become golden and crispy without overcooking.
Absolutely! You can assemble the entire crisp up to 24 hours in advance and keep it refrigerated. Just add an extra 5-10 minutes to the baking time when cooking directly from the refrigerator.
Print
Lemon Chicken Orzo Soup Recipe
- Total Time: 50 minutes
- Yield: 6 1x
Description
Comforting Mediterranean Lemon Chicken Orzo Soup warms hearts with its zesty broth and tender chicken. Quick and nourishing, this soul-satisfying soup delivers a perfect balance of tangy citrus and hearty protein you’ll crave again and again.
Ingredients
Main Ingredients:
- 1 pound (454 grams) boneless, skinless chicken breasts
- 1 cup (170 grams) uncooked orzo pasta
- 6 cups (1.4 liters) low-sodium chicken broth
Vegetables and Herbs:
- 1 medium onion, diced
- 2 medium carrots, peeled and diced
- 2 celery stalks, diced
- 3 cloves garlic, minced
- 1 teaspoon dried thyme
- 1 teaspoon dried oregano
- 1 bay leaf
- 2 cups fresh spinach leaves
Seasoning and Finishing Ingredients:
- 1 tablespoon (15 milliliters) olive oil
- 1 lemon, zested and juiced
- Salt, to taste
- Freshly ground black pepper, to taste
- Fresh parsley, chopped (for garnish)
Instructions
- Warm olive oil in a spacious pot over moderate heat, creating a foundation for flavor development.
- Incorporate diced onion, carrots, and celery, sautéing until vegetables soften and release their aromatic essence, approximately 5 minutes.
- Introduce minced garlic, dried thyme, oregano, and bay leaf, allowing the herbs to bloom and intensify their fragrance for one minute.
- Stream chicken broth into the vegetable mixture, elevating the temperature until the liquid reaches a rolling boil.
- Gently nestle whole chicken breasts into the bubbling liquid, reducing heat to a gentle simmer and covering the pot.
- Allow chicken to poach slowly, ensuring thorough cooking and maintaining tenderness for 15-20 minutes.
- Carefully extract chicken from the broth, using two forks to delicately shred the meat into succulent threads.
- Reintroduce shredded chicken to the simmering broth, preserving its moisture and flavor.
- Sprinkle orzo pasta into the liquid, stirring occasionally and monitoring its transformation to al dente perfection.
- Brighten the soup with vibrant lemon zest and freshly squeezed juice, infusing a citrusy complexity.
- Delicately fold spinach leaves into the soup, watching them wilt and integrate seamlessly.
- Calibrate seasoning with salt and freshly ground black pepper, adjusting to personal taste preferences.
- Discard the bay leaf to prevent any potential bitter undertones.
- Ladle the aromatic soup into serving bowls, crowning each portion with a sprinkle of verdant parsley.
Notes
- Control vegetable softness by cutting uniform sizes, ensuring even cooking and perfect texture.
- Prevent orzo from becoming mushy by adding it later in the cooking process and stirring occasionally.
- Enhance flavor depth by using homemade chicken broth instead of store-bought for a richer taste profile.
- Customize the soup for dietary needs by substituting chicken with tofu or using gluten-free orzo for alternative diets.
- Prep Time: 15 minutes
- Cook Time: 35 minutes
- Category: Lunch, Dinner, Snacks
- Method: Simmering
- Cuisine: American
Nutrition
- Serving Size: 6
- Calories: 250
- Sugar: 2 g
- Sodium: 400 mg
- Fat: 6 g
- Saturated Fat: 1 g
- Unsaturated Fat: 5 g
- Trans Fat: 0 g
- Carbohydrates: 30 g
- Fiber: 2 g
- Protein: 20 g
- Cholesterol: 60 mg
John Nicholson
Lead Writer & Recipe Developer
Expertise
Recipe Testing and Development, Kitchen Hacks and Time-Saving Tips, Flavor Pairing and Ingredient Selection, Engaging Food Writing and Storytelling
Education
Johnson & Wales University
John Nicholson honed his skills at Johnson & Wales University, learning how to use fresh, local ingredients and down-to-earth techniques to make cooking simple and satisfying.
His recipes blend Southern comfort flavors with a modern touch, inviting everyone to cook with ease and confidence.
Living in Charleston, John takes cues from the city’s lively food scene, local markets, and seasonal produce. He’s all about making meals stress-free through easy tips, flavor pairings, and fun experiments in the kitchen