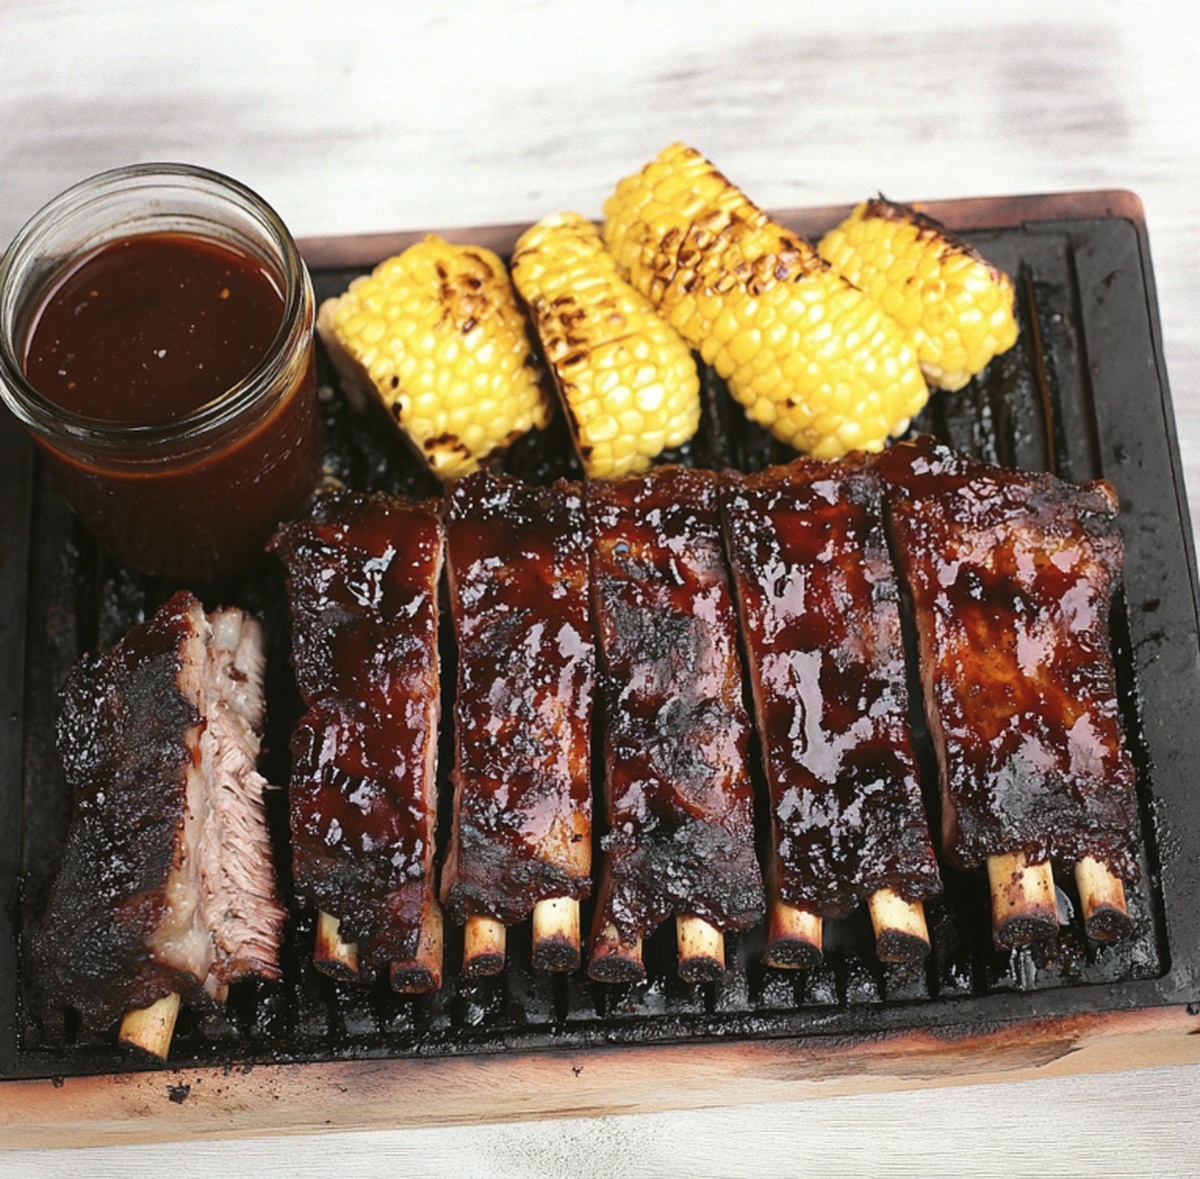
BBQ Ribs Recipe That’s Juicy and Full of Charred Flavor
Fire up the grill for these mouthwatering smoky BBQ ribs that promise to steal the show at any summer cookout.
Tender, juicy, and packed with incredible flavor, these ribs blend perfectly seasoned meat with a rich, tangy sauce that caramelizes beautifully over the flames.
The secret to knockout ribs lies in patient cooking and a killer spice blend that infuses every single bite with deep, smoky goodness.
We’ll walk you through selecting the best cuts and mastering techniques that guarantee fall-off-the-bone deliciousness.
Each rack transforms from simple meat into a culinary masterpiece with just the right mix of spices and careful grilling.
A true BBQ favorite awaits, ready to make your taste buds dance with pure smoky satisfaction.
These ribs are about to become the star of your next outdoor feast.
Quick Recipe Overview
BBQ Ribs On The Grill Ingredients
For Seasoning:For Meat:For Cooking Assistance:For Optional Serving:Tools For BBQ Ribs On The Grill
Instructions To Cook BBQ Ribs On The Grill
Remove the thin membrane from the back of the ribs. Dry the meat thoroughly with paper towels to ensure perfect seasoning absorption.
Mix brown sugar, paprika, garlic powder, onion powder, chili powder, salt, pepper, and cayenne into a tantalizing spice blend. Massage the seasoning generously over every inch of the ribs.
Wrap the seasoned ribs snugly in foil, allowing the flavors to mingle while the grill heats up.
Fire up the grill to a steady 300F using indirect heat. Nestle the foil-wrapped ribs on the cooler side of the grill. Let them slowly transform for 2 to 2.5 hours until they become mouthwateringly tender.
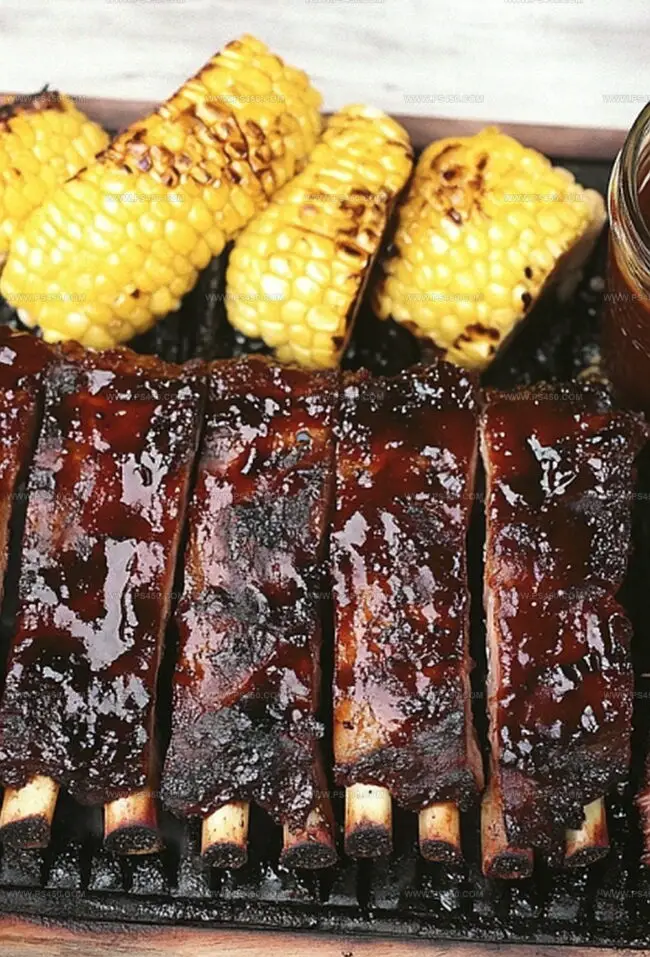
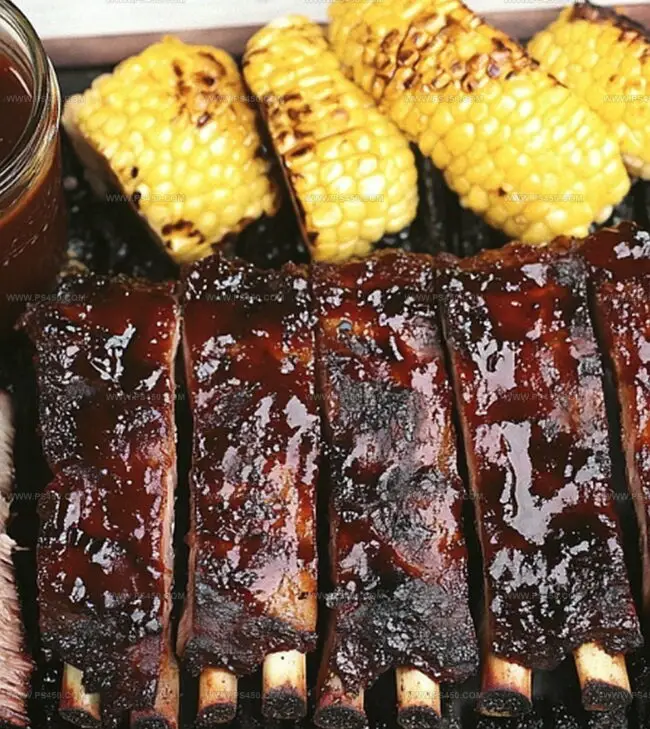
Carefully unwrap the ribs and place them directly over medium heat. Brush with BBQ sauce and grill uncovered for 5-10 minutes. Flip and baste repeatedly, creating a gorgeous caramelized exterior with tempting char marks.
Allow the ribs to rest for 5 minutes, then slice between the bones. Serve with extra sauce nearby for dipping and drizzling.
Tips To Get BBQ Ribs Just Right
Serving Suggestions For BBQ Ribs On The Grill
Storage Advice For BBQ Ribs On The Grill
Print
Smoky BBQ Ribs On The Grill Recipe
- Total Time: 2 hours 50 minutes
- Yield: 5 1x
Description
Succulent BBQ ribs sizzle with irresistible flavor from classic Southern grilling techniques. Smoky, tender meat paired with zesty homemade sauce promises a memorable backyard feast you’ll savor to the last bite.
Ingredients
- 2 racks baby back ribs (4–5 lbs / 1.8–2.3 kg)
- ¼ cup brown sugar
- 1 tbsp smoked paprika
- 1 tbsp garlic powder
- 1 tbsp onion powder
- 1 tsp chili powder
- 1 tsp salt
- ½ tsp black pepper
- ¼ tsp cayenne pepper (optional)
- 2 cups BBQ sauce (favorite brand or homemade)
Instructions
- Preparation: Strip the membrane from ribs’ backside and pat dry with paper towels to ensure optimal seasoning adhesion.
- Seasoning: Blend brown sugar, paprika, garlic powder, onion powder, chili powder, salt, black pepper, and cayenne into a uniform mixture. Massage the spice blend comprehensively across both rib surfaces, ensuring complete coverage.
- Resting and Marinating: Wrap ribs tightly in aluminum foil, allowing the meat to absorb seasonings and reach room temperature while developing rich flavor profiles.
- Slow Cooking: Prepare grill for indirect heat at 300F. Position foil-wrapped ribs on cooler grill section, slow-cooking for 2 to 2.5 hours to tenderize the meat thoroughly.
- Finishing and Glazing: Remove foil and transfer ribs to medium-heat zone. Brush generously with barbecue sauce, rotating periodically to create a glossy, caramelized exterior with subtle charred characteristics.
- Serving: Allow ribs to rest briefly for juice redistribution, then slice between bones with precision. Plate with additional sauce for enhanced enjoyment.
Notes
- Select Premium Rib Cuts: Choose well-marbled, meaty pork ribs with consistent thickness to ensure even cooking and maximum flavor absorption.
- Control Grill Temperature: Maintain steady 300F heat using indirect grilling technique, preventing meat from burning and ensuring tender, juicy results.
- Membrane Removal Technique: Strip back membrane completely using paper towel grip for better seasoning penetration and more tender meat texture.
- Sauce Application Strategy: Apply barbecue sauce during final grilling stage to prevent burning, creating perfect caramelized glaze without charring meat.
- Prep Time: 20 minutes
- Cook Time: 30 minutes
- Category: Dinner, Snacks
- Method: Grilling
- Cuisine: American
Nutrition
- Serving Size: 5
- Calories: 600
- Sugar: 30 g
- Sodium: 1200 mg
- Fat: 35 g
- Saturated Fat: 10 g
- Unsaturated Fat: 20 g
- Trans Fat: 0 g
- Carbohydrates: 50 g
- Fiber: 1 g
- Protein: 25 g
- Cholesterol: 100 mg
John Nicholson
Lead Writer & Recipe Developer
Expertise
Recipe Testing and Development, Kitchen Hacks and Time-Saving Tips, Flavor Pairing and Ingredient Selection, Engaging Food Writing and Storytelling
Education
Johnson & Wales University
John Nicholson honed his skills at Johnson & Wales University, learning how to use fresh, local ingredients and down-to-earth techniques to make cooking simple and satisfying.
His recipes blend Southern comfort flavors with a modern touch, inviting everyone to cook with ease and confidence.
Living in Charleston, John takes cues from the city’s lively food scene, local markets, and seasonal produce. He’s all about making meals stress-free through easy tips, flavor pairings, and fun experiments in the kitchen