Fire up the grill and prepare for a culinary adventure with this smoky grilled pizza that promises to redefine your outdoor cooking experience.
The sizzling heat of charcoal infuses each slice with unparalleled depth and complexity.
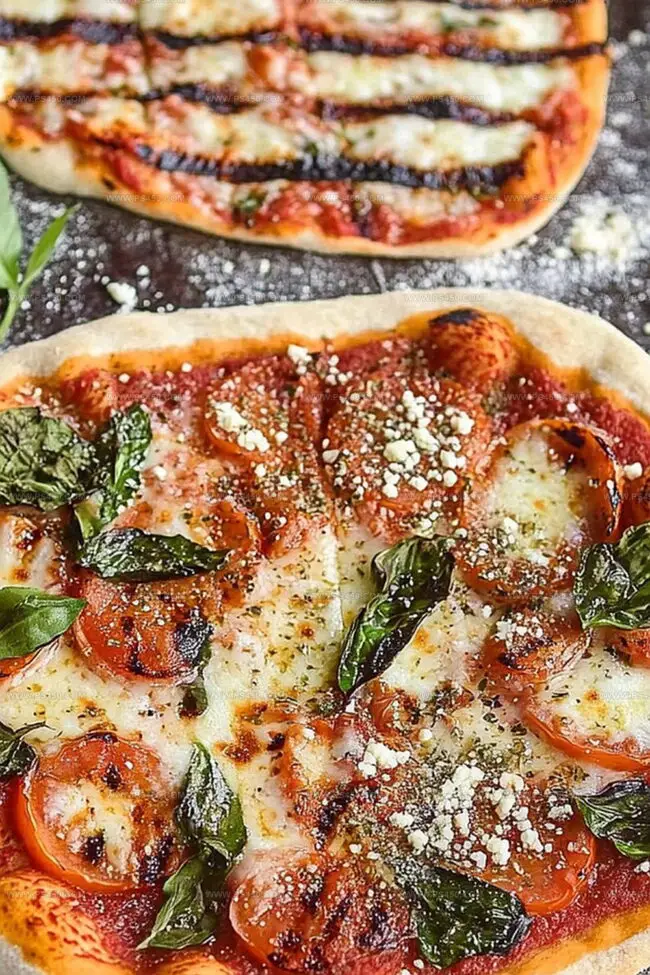
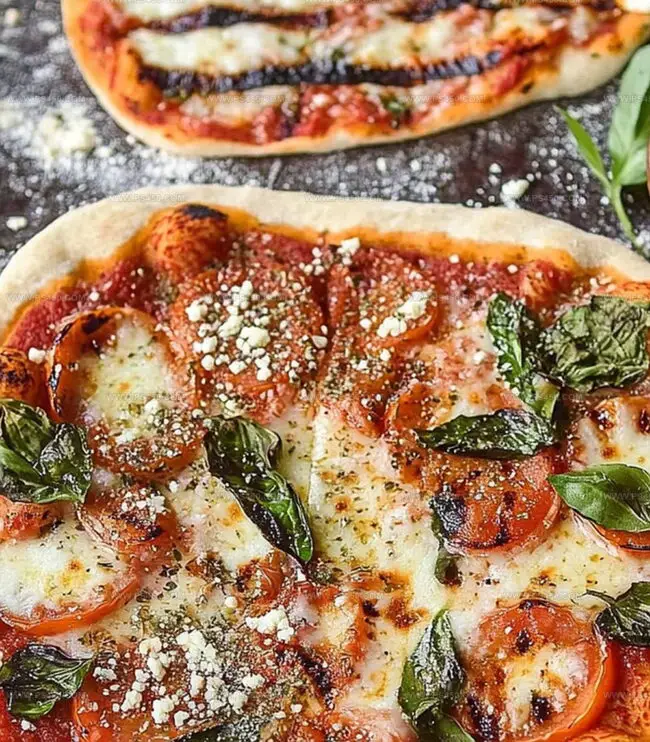
Crisp edges and melted cheese create a symphony of textures that dance across your palate.
Bold toppings mingle with a perfectly charred crust, turning an ordinary meal into an extraordinary feast.
Fresh ingredients elevate this pizza from simple fare to a restaurant-worthy creation.
The smoky char brings an irresistible outdoor flavor that store-bought pizzas can never match.
Gather your favorite toppings and embrace the art of grilling pizza like a true backyard chef.
Quick Recipe Overview
Prep Time: 15 minutes
Cook Time: 8 minutes
Total Time: 23 minutes
Calories: 380 kcal
Servings: 5
What Goes Into Grilled Pizza
For Dough Base:
Pizza Dough: Homemade or store-bought, providing the foundation for a crispy grilled crust with authentic flavor.
Flour: Used for dusting and preventing sticking during dough preparation.
For Flavor Enhancers:
Olive Oil: Helps create a golden, crispy exterior and prevents dough from sticking to grill grates.
Tomato Sauce: Adds moisture and classic pizza flavor to the base.
Mozzarella Cheese: Melts beautifully, creating a creamy, stretchy topping.
For Fresh Finishing Touches:
Fresh Basil or Arugula: Adds vibrant color, peppery freshness, and a burst of herbal aroma to complete the pizza.
Pizza-Making Tools For The Grill
Grill: Essential for creating smoky, crispy pizza crust.
Tongs: Perfect for flipping and maneuvering dough safely.
Spatula: Helpful for transferring and moving pizza on grates.
Rolling pin: Useful for stretching and shaping pizza dough evenly.
Brush: Needed for applying olive oil to dough surface.
Cutting board: Great for preparing and rolling out dough.
Sharp knife: Ideal for slicing pizza after grilling.
How To Cook Grilled Pizza To Perfection
Fire Up the Grill Crank your grill to a sizzling medium-high temperature and make sure those grates are squeaky clean and slicked with oil for perfect non-stick action.
Shape Your Dough Stretch out your pizza base on a lightly floured surface, creating a beautiful round or oval canvas that’s ready for grilling magic.
Prep for Grilling Give one side of your dough a quick olive oil massage to help it get those gorgeous grill marks.
First Grill Dance Carefully lay the oiled side down on the hot grates, then close the lid and let the transformation begin – watch for those telltale bubbles forming.
Top and Finish After flipping the dough, quickly spread your favorite sauce, sprinkle cheese, and add toppings while the first side looks golden and crispy.
Final Sizzle Close the lid and let everything melt and crisp up, giving your pizza that perfect smoky grilled finish.
Serve and Enjoy Slide your masterpiece off the grill, add some fresh herbs if you like, slice it up, and dig in while it’s hot and delicious.
Top Tips For Grilled Pizza Success
Pizza Perfection Techniques: Grill like a pro with these insider tips.
No-Stick Surface Trick: Generously oil grill grates and pizza dough to prevent sticking and ensure smooth flipping.
Crust Crispiness Secret: Keep grill temperature consistent around 450F and avoid opening lid too frequently to maintain even heat distribution.
Topping Speed Strategy: Have all ingredients prepped and ready before placing dough on grill, as you’ll need to work quickly during grilling process.
Vegetarian and Gluten-Free Adaptation: Swap traditional pizza dough with cauliflower crust or gluten-free alternatives, and load up with plant-based cheese and colorful vegetable toppings for a nutritious twist.
Topping Ideas For Grilled Pizza
Summer Backyard Party Pairing: Host a casual outdoor gathering with friends, serving this grilled pizza alongside crisp salads, cold beer, and chilled white wine for a perfect social dining experience.
Rustic Presentation Style: Slice the pizza on a wooden cutting board, garnish with fresh herbs, and add colorful napkins to create an inviting, rustic Mediterranean-inspired serving atmosphere.
Flavor Customization Station: Set up a toppings bar with fresh ingredients like torn basil, chili flakes, extra olive oil, and grated parmesan, allowing guests to personalize their pizza slices with additional flavors.
Quick Appetizer Transformation: Cut the grilled pizza into smaller bite-sized pieces, perfect for appetizers during game nights, cocktail parties, or as a shareable starter that encourages social interaction.
Store Grilled Pizza Without Losing That Crunch
Refrigerator Revival: Store leftover grilled pizza slices in an airtight container for up to 3-4 days. Wrap individual pieces in aluminum foil to maintain crispness and prevent drying out.
Freezer-Friendly Fix: Freeze whole or sliced pizzas by wrapping tightly in plastic wrap, then placing in a freezer-safe bag. These will stay delicious for 1-2 months. Thaw in the refrigerator overnight and reheat in a hot oven for best texture.
Reheating Magic: Revive cold pizza by using a skillet with a lid, which helps restore crispy bottom and melty cheese. Alternatively, use an oven at 375°F for 5-7 minutes to bring back that fresh-off-the-grill taste.
Prep-Ahead Strategy: Prepare pizza dough and topping ingredients earlier in the day. Keep dough covered and chilled, and chop vegetables in advance to streamline your grilling process and reduce day-of cooking stress.
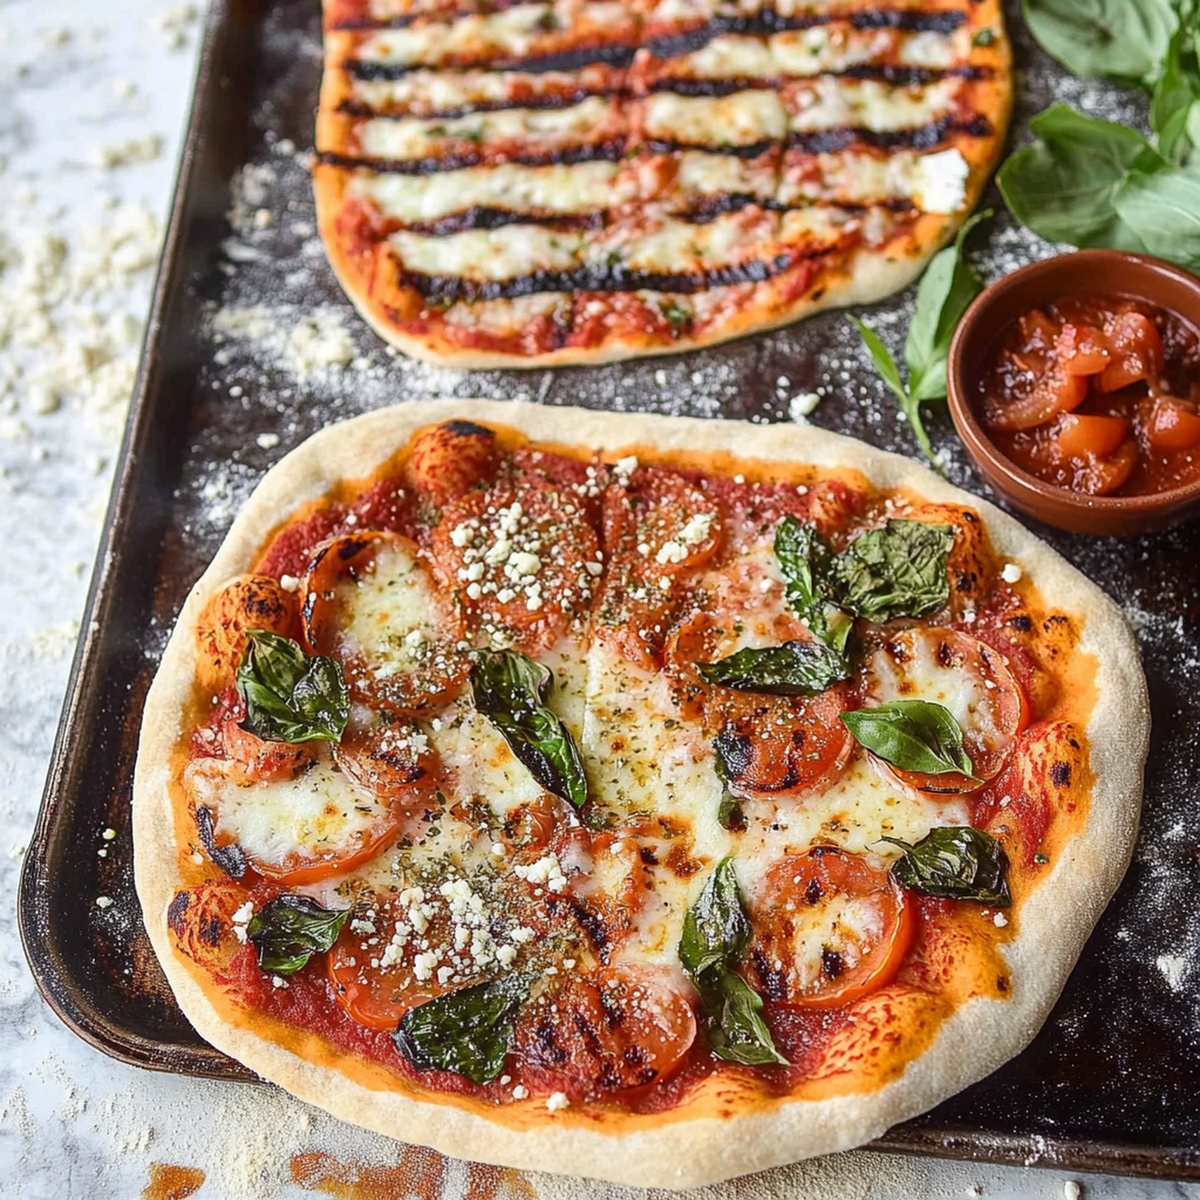
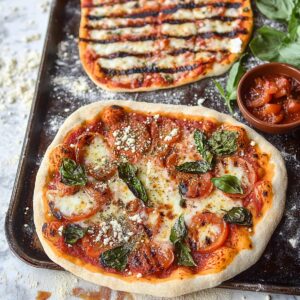
Homemade grilled pizza delivers restaurant-quality flavor right in your backyard kitchen. Crispy crust, smoky char, and fresh toppings create a delightful summer meal perfect for outdoor dining.
Ingredients
Scale
1 lb (454 g) pizza dough (store-bought or homemade)
1 ½ cups (340 g) shredded mozzarella cheese
½ cup (120 ml) pizza sauce
½ cup (75 g) sliced cherry tomatoes
¼ cup (40 g) sliced red onion
¼ cup (40 g) sliced olives or mushrooms
1 tbsp (15 ml) olive oil (for brushing)
Salt, to taste
Pepper, to taste
Fresh basil or arugula, for topping after grilling
Instructions
Grill Preparation: Heat grill to 450°F with pristine, oil-slicked grates to prevent dough adherence and ensure optimal cooking surface.
Dough Shaping: Stretch pizza dough on flour-dusted workspace into a free-form circular or oblong configuration, maintaining an even thickness.
Initial Grilling: Brush dough surface with olive oil, then carefully place oiled side directly onto heated grill grates. Close lid and allow dough to develop crisp char marks for 2-3 minutes.
Topping Application: Flip dough using tongs, immediately spread tomato sauce, sprinkle cheese, and distribute prosciutto, mushrooms, olives, bell peppers, and selected herbs across the grilled surface.
Final Cooking: Replace grill lid, permitting pizza to continue cooking 3-5 minutes until cheese melts into a creamy blanket and crust achieves a golden, crackling texture.
Serving: Remove pizza from grill, garnish with fresh basil leaves, slice into wedges, and present immediately to capture the essence of wood-fired, grilled culinary artistry.
Notes
Prevent Dough Sticking: Use a well-oiled surface and clean, preheated grill grates to ensure the pizza glides smoothly without tearing or breaking.
Control Grill Temperature: Maintain a consistent medium-high heat around 450°F to achieve perfect crispy crust without burning, using a grill thermometer for precision.
Prepare Toppings in Advance: Chop and organize all ingredients before grilling to create a seamless cooking process and prevent overcrowding or uneven cooking.
Experiment with Dough Thickness: Roll the dough thin for a crispy, cracker-like texture or slightly thicker for a chewier base, adjusting cooking time accordingly to prevent burning.
Recipe Testing and Development, Kitchen Hacks and Time-Saving Tips, Flavor Pairing and Ingredient Selection, Engaging Food Writing and Storytelling
Education
Johnson & Wales University
Program: Bachelor of Science in Culinary Arts
Focus: A hands-on curriculum emphasizing farm-to-table cooking, local ingredient sourcing, and creative menu development. Students gained real-world restaurant experience, learning both classic techniques and modern approaches to sustainable cooking.
John Nicholson honed his skills at Johnson & Wales University, learning how to use fresh, local ingredients and down-to-earth techniques to make cooking simple and satisfying.
His recipes blend Southern comfort flavors with a modern touch, inviting everyone to cook with ease and confidence.
Living in Charleston, John takes cues from the city’s lively food scene, local markets, and seasonal produce. He’s all about making meals stress-free through easy tips, flavor pairings, and fun experiments in the kitchen
John Nicholson
Lead Writer & Recipe Developer
Expertise
Recipe Testing and Development, Kitchen Hacks and Time-Saving Tips, Flavor Pairing and Ingredient Selection, Engaging Food Writing and Storytelling
Education
Johnson & Wales University
John Nicholson honed his skills at Johnson & Wales University, learning how to use fresh, local ingredients and down-to-earth techniques to make cooking simple and satisfying.
His recipes blend Southern comfort flavors with a modern touch, inviting everyone to cook with ease and confidence.
Living in Charleston, John takes cues from the city’s lively food scene, local markets, and seasonal produce. He’s all about making meals stress-free through easy tips, flavor pairings, and fun experiments in the kitchen