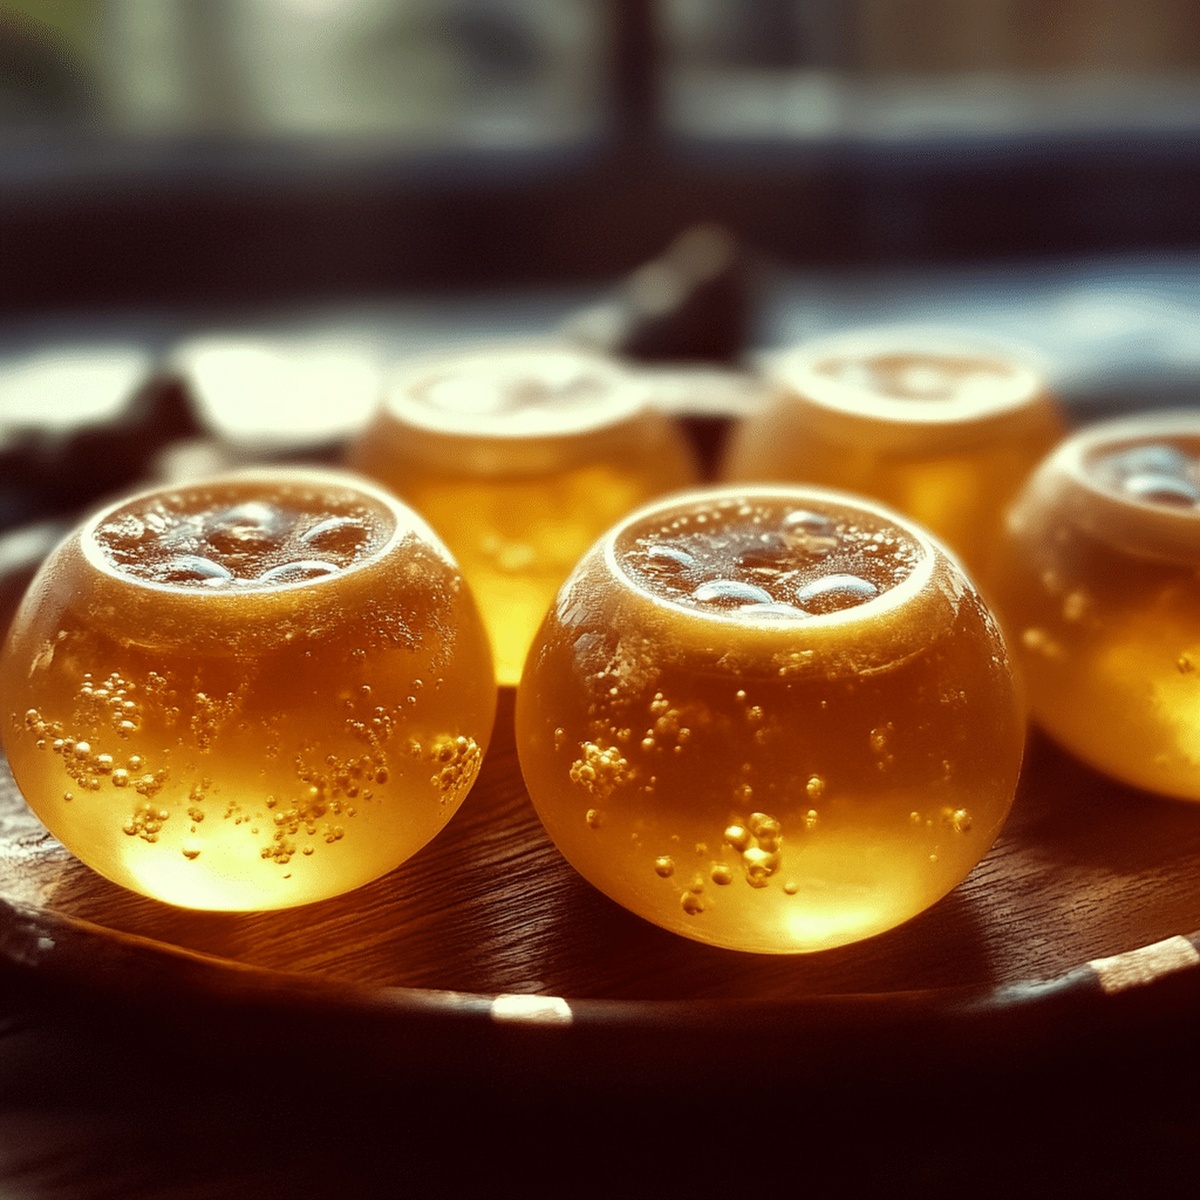
Comforting Flu/Cold Tea Bombs Recipe for Healing Sips
Battling winter’s chilly embrace becomes a delightful experience with these soothing flu/cold tea bombs that pack a powerful healing punch.
Cold and flu season can drain your energy and dampen your spirits.
These carefully crafted tea bombs offer a warm, comforting solution to seasonal discomfort.
Packed with natural ingredients known for their immune-boosting properties, each tea bomb delivers a concentrated burst of wellness.
Simple to make and incredibly effective, these tea bombs transform a mundane sick day into a moment of nourishing self-care.
Brew, sip, and let the healing begin.
You’ll find relief is just a steep away.
Quick Recipe Overview
Flu and Cold Tea Bomb Ingredient Breakdown
For Herbal Healing Foundations:For Essential Oil Boosters:For Binding and Texture:Equipment for Making Soothing Tea Bombs
How to Form Herbal Tea Bombs at Home
Boosts for Cold-Relief Tea Bombs
Serving Tea Bombs with a Cozy Touch
Storing Tea Bombs for Winter Use
FAQs
Most ingredients are child-friendly, but essential oils should be used sparingly. Consult a pediatrician before giving to young children, and use minimal drops.
Yes, you can replace chamomile with lavender, use raw honey instead of regular honey, and swap essential oils with similar therapeutic properties. Always maintain the same proportions.
When stored in an airtight container in a cool, dry place, these tea bombs can remain effective for up to 2-3 months. Keep them away from direct sunlight and humidity.
Hot water works best. Pour boiling water over the tea bomb in a mug, stir until completely dissolved, and let it steep for 3-5 minutes before drinking.
Print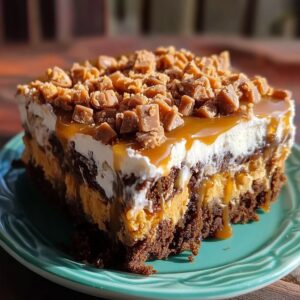
Butterfinger Candy Bar Poke Cake Recipe
- Total Time: 1 hour 45 minutes
- Yield: 12 1x
Description
Indulgent Butterfinger candy bar poke cake delivers a symphony of chocolatey richness with crushed candy bar layers. Sweet caramel and creamy frosting create an irresistible dessert that will delight chocolate enthusiasts seeking pure comfort.
Ingredients
Primary Ingredients:
- 1 box chocolate or yellow cake mix
- 1 (14 ounces / 397 grams) can sweetened condensed milk
- 1 (8 ounces / 226 grams) tub Cool Whip (or 2 cups whipped cream)
- 4 Butterfinger candy bars
Sauce and Drizzle Ingredients:
- ½ cup caramel sauce
- ½ cup hot fudge sauce (optional for extra chocolate flavor)
- ¼ cup caramel sauce (for drizzling)
- ¼ cup chocolate sauce (for drizzling, optional)
Additional Ingredients:
- Ingredients listed on the cake mix box
Instructions
- Craft a moist chocolate cake according to package directions in a rectangular baking vessel, ensuring even baking and golden edges.
- While the cake is still warm, methodically puncture deep holes across the entire surface using a wooden spoon handle, creating pathways for rich, sweet infusion.
- Gently cascade sweetened condensed milk throughout the perforated landscape, allowing the liquid to penetrate and saturate each crevice and channel.
- Artfully drizzle caramel and chocolate sauces across the cake’s surface, ensuring the sauces seep into the carefully created holes, enhancing the dessert’s moisture and depth of flavor.
- Allow the cake to cool completely, permitting the liquid ingredients to fully integrate and stabilize within the cake’s tender crumb.
- Delicately spread a smooth, billowy layer of whipped topping across the entire cake surface, creating an elegant, cloud-like canvas.
- Crush Butterfinger candy bars into rustic, uneven fragments and generously sprinkle the golden, crispy pieces across the whipped topping.
- Create an additional decorative flourish by drizzling extra caramel and chocolate sauces in elegant, crisscrossing patterns.
- Refrigerate the cake for 1-2 hours to allow flavors to meld and the dessert to set, ensuring a perfectly chilled and decadent treat.
Notes
- Select a high-quality cake mix for a more robust base flavor that complements the Butterfinger’s sweet crunch.
- Ensure holes are evenly distributed across the cake to maximize sauce absorption and create consistent moisture throughout.
- Crush Butterfinger bars while slightly frozen to achieve a more uniform and controlled texture without creating powdery crumbs.
- Consider using reduced-fat whipped topping or Greek yogurt as a lighter alternative to traditional Cool Whip for a slightly healthier version of the dessert.
- Prep Time: 15 minutes
- Cook Time: 30 minutes
- Category: Desserts
- Method: Baking
- Cuisine: American
Nutrition
- Serving Size: 12
- Calories: 320
- Sugar: 30 g
- Sodium: 210 mg
- Fat: 14 g
- Saturated Fat: 8 g
- Unsaturated Fat: 4 g
- Trans Fat: 0 g
- Carbohydrates: 45 g
- Fiber: 1 g
- Protein: 3 g
- Cholesterol: 35 mg
John Nicholson
Lead Writer & Recipe Developer
Expertise
Recipe Testing and Development, Kitchen Hacks and Time-Saving Tips, Flavor Pairing and Ingredient Selection, Engaging Food Writing and Storytelling
Education
Johnson & Wales University
John Nicholson honed his skills at Johnson & Wales University, learning how to use fresh, local ingredients and down-to-earth techniques to make cooking simple and satisfying.
His recipes blend Southern comfort flavors with a modern touch, inviting everyone to cook with ease and confidence.
Living in Charleston, John takes cues from the city’s lively food scene, local markets, and seasonal produce. He’s all about making meals stress-free through easy tips, flavor pairings, and fun experiments in the kitchen