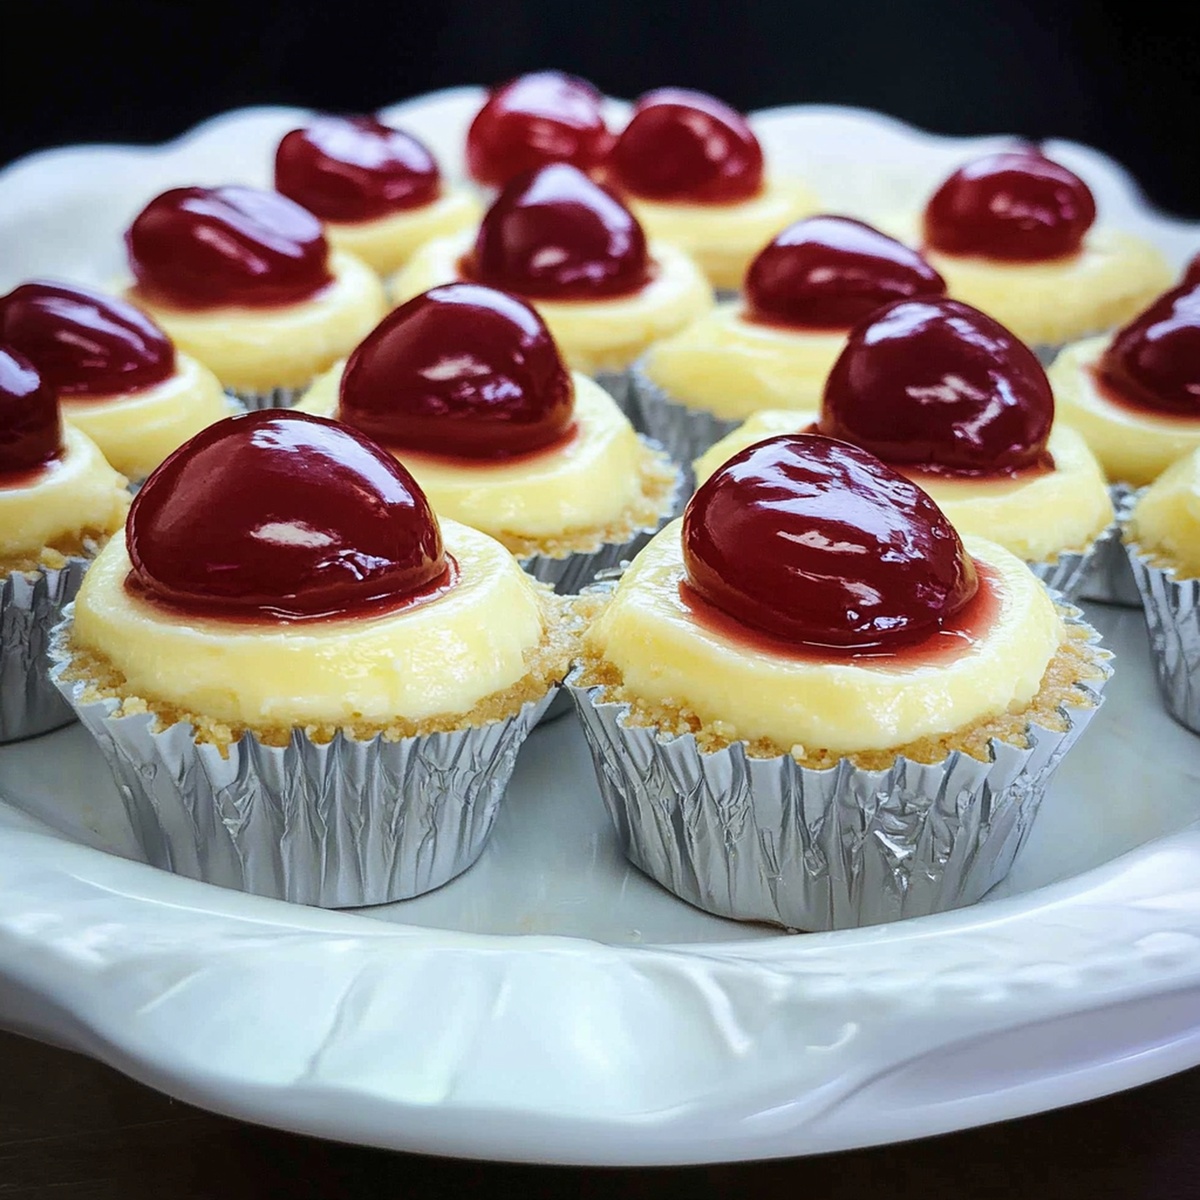
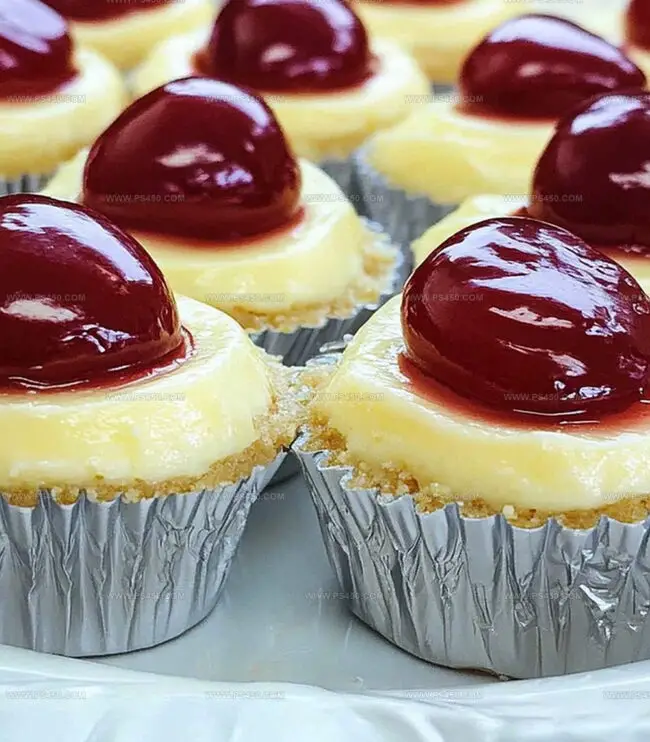
Mini Cheesecakes Recipe with Vanilla Wafer Crust
These delightful super easy mini cheesecakes with vanilla wafer crust bring creamy magic right to your plate.
Everyone loves a bite-sized dessert that feels luxurious yet simple to prepare.
Compact and adorable, these little treats pack massive flavor into one perfect mouthful.
Graham cracker crusts are old news – vanilla wafers create a surprisingly crisp, buttery base that elevates the entire experience.
Smooth cream cheese filling nestles into each miniature crust, promising pure indulgence with every forkful.
Rich yet light, these cheesecakes offer the ultimate dessert experience without complicated techniques.
Grab your mixing bowl and let’s turn an ordinary afternoon into something memorably delicious.
Why Super Easy Mini Cheesecakes With Vanilla Wafer Crust Are A Bite-Sized Dream

What You Need For Mini Cheesecakes With Vanilla Wafer Crust
Base Ingredients:Sweetening and Binding Ingredients:Topping and Serving Ingredients:How To Bake Mini Cheesecakes With Vanilla Wafer Crust
Step 1: Prepare the Baking Setup
Grab your muffin tin and line it with cupcake liners. Preheat the oven to a cozy 350°F (175°C). This warm temperature will help create perfectly creamy mini cheesecakes.
Step 2: Create the Crispy Crust
Place a vanilla wafer at the bottom of each cupcake liner, making sure the flat side is facing down. This will give your cheesecakes a delightful crunchy base that adds texture and flavor.
Step 3: Whip Up the Creamy Filling
Grab a mixing bowl and get ready to create magic!
Ingredients:Beat the cream cheese and sugar until they become silky smooth. Add the vanilla extract and egg, mixing gently until everything is just combined. Don’t overmix – you want a light and airy texture.
Step 4: Fill the Cheesecake Cups
Carefully spoon the cheesecake mixture into the prepared liners. Fill each cup about three-quarters full, giving them room to rise and settle during baking.
Step 5: Bake to Perfection
Slide the muffin tin into the preheated oven. Bake for 12-15 minutes. You’ll know they’re done when the edges look set but the centers still have a slight jiggle – like a gentle dance.
Step 6: Cool and Chill
Let the mini cheesecakes cool at room temperature for 10 minutes. Then pop them into the refrigerator for at least 2 hours. Overnight chilling works best for maximum flavor and texture.
Step 7: Dress and Serve
Get creative with toppings! Swirl on some whipped cream, scatter fresh berries, or drizzle with caramel or chocolate. These mini treats are perfect for any occasion and sure to impress.
Tips To Perfect Mini Cheesecakes With Vanilla Wafer Crust
How To Store Mini Cheesecakes With Vanilla Wafer Crust
Great Toppings For Mini Cheesecakes With Vanilla Wafer Crust
Fun Variations On Mini Cheesecakes With Vanilla Wafer Crust
Questions About Mini Cheesecakes With Vanilla Wafer Crust
Yes! Graham crackers, digestive biscuits, or chocolate cookies work perfectly as alternatives to vanilla wafers.
Avoid overmixing the batter, don’t overbake, and let them cool gradually at room temperature before refrigerating.
Absolutely! These are lighter and less dense compared to traditional cheesecakes, making them perfect for those who prefer a subtle, delicate dessert.
These mini cheesecakes are great for preparing in advance. You can make them up to 3 days before serving and store them in the refrigerator.
Print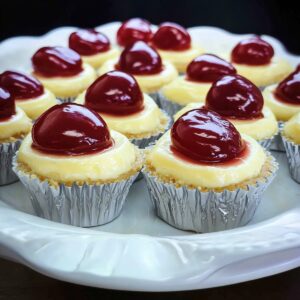
Super Easy Mini Cheesecakes With Vanilla Wafer Crust Recipe
- Total Time: 2 hours 25 minutes
- Yield: 12 1x
Description
Creamy mini cheesecakes nestled on crisp vanilla wafer crusts deliver pure dessert bliss. Rich Philadelphia cream cheese and sweet simplicity make these bite-sized treats irresistible for quick indulgence.
Ingredients
Main Ingredients:
- 8 ounces (226 grams) cream cheese, softened
- 1 large egg
- ¼ cup (50 grams) granulated sugar
- 1 teaspoon vanilla extract
Crust Ingredient:
- 12 vanilla wafer cookies (like Nilla Wafers)
Topping Ingredients:
- Whipped cream
- Fresh berries (strawberries, raspberries, or blueberries)
- Caramel or chocolate drizzle
Instructions
- Prepare the muffin tin by lining it with cupcake liners and positioning a single vanilla wafer at the base of each liner, ensuring the flat side is facing down.
- In a mixing bowl, thoroughly blend cream cheese and sugar until achieving a silky, uniform consistency.
- Incorporate vanilla extract and egg into the cream cheese mixture, gently mixing until just combined to maintain a smooth texture.
- Carefully distribute the cheesecake filling across the 12 muffin cups, filling each approximately three-quarters full to allow room for slight rising during baking.
- Place the muffin tin in a preheated oven set to 350F (175C), allowing the mini cheesecakes to bake for 12-15 minutes until the edges appear firmly set while the centers retain a subtle wobble.
- Remove the tin from the oven and let the cheesecakes rest at room temperature for 10 minutes to begin cooling gradually.
- Transfer the muffin tin to the refrigerator and chill for a minimum of 2 hours, or ideally overnight, to enable complete setting and enhance flavor development.
- Before serving, personalize each mini cheesecake with optional toppings such as fluffy whipped cream, vibrant fresh berries, or a decadent drizzle of caramel or chocolate sauce.
Notes
- Swap vanilla wafers with gluten-free alternatives like almond or graham crackers to create a celiac-friendly version.
- Reduce sugar content by using monk fruit sweetener or stevia for a low-carb, diabetic-friendly cheesecake option.
- Incorporate flavor variations by adding lemon zest, melted chocolate, or crushed nuts directly into the cheesecake mixture for custom taste profiles.
- Prevent cracking by avoiding overmixing the batter and using room temperature ingredients, which help create a smooth, creamy texture.
- Prep Time: 10 minutes
- Cook Time: 15 minutes
- Category: Desserts, Snacks
- Method: Baking
- Cuisine: American
Nutrition
- Serving Size: 12
- Calories: 150
- Sugar: 6 g
- Sodium: 120 mg
- Fat: 9 g
- Saturated Fat: 5 g
- Unsaturated Fat: 4 g
- Trans Fat: 0 g
- Carbohydrates: 15 g
- Fiber: 0 g
- Protein: 2 g
- Cholesterol: 30 mg
Emily Morgan
Food Critic & Kitchen Tips Specialist
Expertise
Global Food Exploration & Critique, Simple Kitchen Hacks & Time-Saving Tips, Presentation & Plating Techniques, Culinary Research & Storytelling.
Education
New York University
Emily Morgan has journeyed across the globe, collecting culinary secrets that turn everyday ingredients into impressive meals.
Based in Seattle and armed with a Journalism degree from NYU, she blends thorough research with a flair for presentation, ensuring every dish looks just as good as it tastes.
Focusing on fresh flavors, simple methods, and a bit of fun, Emily shows home cooks how to elevate their daily cooking without fancy gadgets or complex steps.