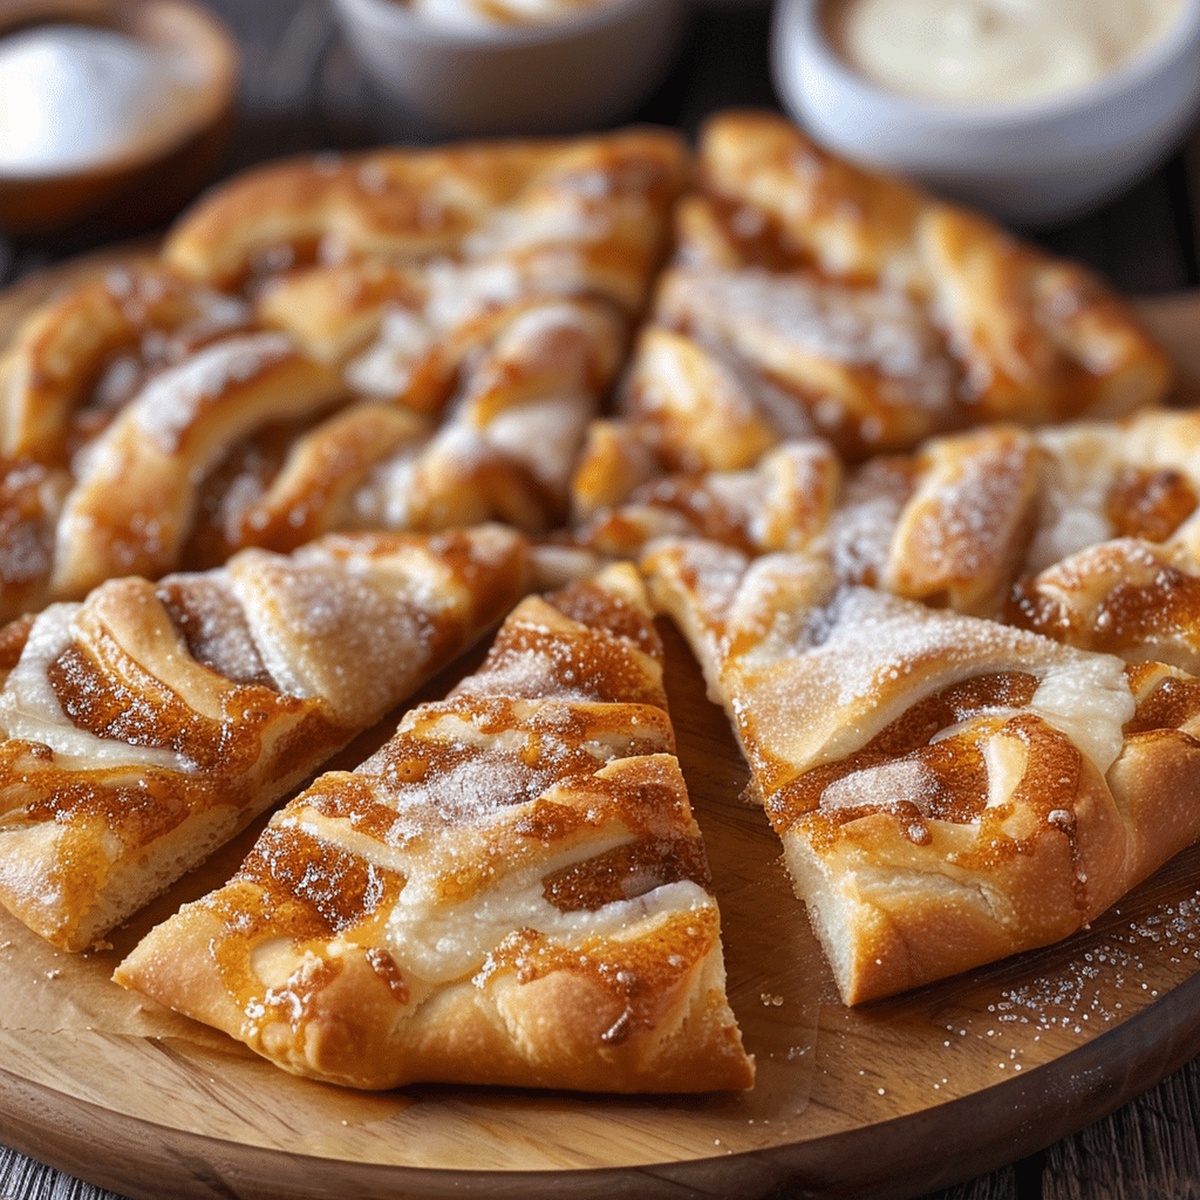
Gooey Sweet Cinnamon-Sugar Pizza Made With Crescent Rolls Recipe
Weeknight desserts just got a delightful twist with this cinnamon-sugar pizza made with crescent rolls that combines simplicity and pure indulgence.
Buttery crescent roll dough serves as the perfect canvas for a sweet transformation.
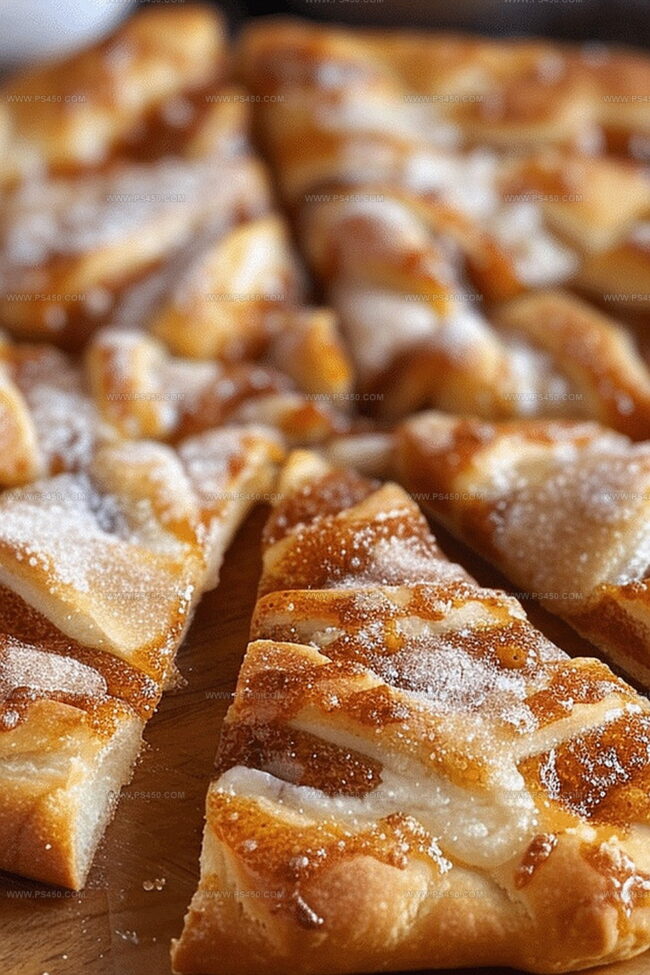
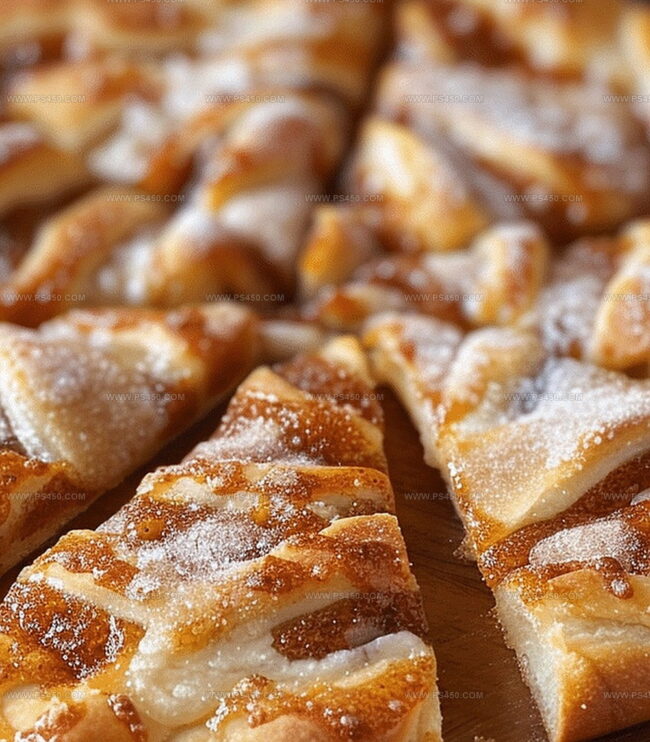
The golden, flaky base gets sprinkled with a generous coating of warm cinnamon and sugar, creating an irresistible treat.
Each bite promises a crisp exterior and a soft, melt-in-your-mouth center that will have everyone asking for seconds.
Quick to prepare and even faster to disappear, this dessert brings comfort and joy to any table.
Serve it warm and watch as smiles spread faster than the cinnamon-sugar magic across this delectable creation.
Quick Recipe Overview
Cinnamon-Sugar Pizza Ingredient Essentials
For Crust:For Topping:For Cream Cheese Icing (Optional):Tools That Make Crescent Roll Pizza
How to Bake Crescent Roll Cinnamon Sugar Pizza
Set your oven to a toasty 375°F and grab a baking sheet covered with parchment paper.
Carefully unroll the crescent roll dough and smooth out the seams into a nice flat surface.
Brush melted butter across the entire dough surface. Then shower the buttery base with a delightful mix of sugar and cinnamon.
Slide the pan into the oven and let it transform into a gorgeous golden treat in about 10-12 minutes.
Blend cream cheese with powdered sugar, a splash of milk, and vanilla until you’ve got a silky smooth icing.
Drape the creamy icing over your warm cinnamon creation and slice into delectable pieces. Serve immediately and watch everyone’s eyes light up with excitement.
Sweet Toppings That Add Extra Crunch
Serving Pizza Warm and Sweet from the Oven
Store This Dessert Pizza Without Losing Texture
FAQs
Yes, you can substitute crescent roll dough with pizza dough, sugar cookie dough, or puff pastry for similar results.
Absolutely! Kids love the sweet cinnamon flavor and the pizza-style presentation. It’s an easy, fun dessert they can help prepare.
Always use parchment paper or lightly grease the baking sheet to ensure easy removal and prevent sticking.
You can prepare the base and topping in advance, but it’s best baked and served warm for the optimal texture and flavor.
Print
Crispy Chocolate Tacos Recipe
- Total Time: 30 minutes
- Yield: 13 1x
Description
Mexican chocolate tacos merge sweet and savory with crisp cinnamon shells filled with creamy chocolate mousse. Chocolate lovers will discover a delightful dessert that balances rich flavors and textural contrasts.
Ingredients
- ½ cup (120 ml) all-purpose flour
- ⅓ cup (67 g) granulated sugar
- 2 tablespoons unsweetened cocoa powder
- 2 egg whites
- ¼ cup (57 g) butter, melted
- 1 teaspoon vanilla extract
- ½ tablespoon (7.5 ml) milk (as needed to thin batter)
- 1 pinch salt
- Ice cream or whipped cream
- Melted chocolate (for drizzling or dipping edges)
- Crushed nuts (peanuts or almonds)
- Sprinkles
- Mini chocolate chips
- Crushed cookies
- Caramel sauce
- Fresh berries (optional)
- Sliced bananas (optional)
Instructions
- Batter Preparation: Whisk dry ingredients (flour, sugar, cocoa powder, salt) in a mixing bowl. Incorporate egg whites, melted butter, and vanilla extract until achieving a silky, smooth texture. Adjust consistency with milk to resemble thin pancake batter.
- Cooking Technique: Heat a nonstick skillet over medium-low temperature. Pour a thin batter layer, spreading into a precise circular shape. Cook until golden edges form and the disc slightly lifts from the pan. Flip carefully, ensuring both sides are perfectly set.
- Shell Formation: While warm, drape each chocolate disc over a rolling pin to create an elegant taco shell. Allow shells to cool and solidify, developing a crisp structure. Repeat the process until all batter is transformed.
- Filling and Garnishing: Once cooled, fill chocolate shells with creamy ice cream or whipped cream. Elevate the dessert by drizzling melted chocolate and sprinkling with chopped nuts, colorful sprinkles, or crushed candy for added texture and visual appeal.
- Serving Recommendation: Serve immediately for optimal taste and texture. For a firmer consistency, briefly chill in the freezer for 15 minutes before presenting these decadent chocolate taco treats.
Notes
- Batter Consistency Check: Aim for a thin pancake batter-like texture by gradually adding milk, ensuring smoothness without lumps for perfect chocolate taco shells.
- Temperature Control: Use medium-low heat to prevent burning, allowing delicate shells to develop golden edges without becoming crisp or brittle too quickly.
- Shell Shaping Technique: Drape warm chocolate discs immediately over a rolling pin or curved surface while still pliable to create smooth, uniform taco shapes.
- Freezing Optimization: Briefly freeze assembled chocolate tacos for 15 minutes to enhance structural stability and create a firmer dessert experience.
- Prep Time: 15 minutes
- Cook Time: 15 minutes
- Category: Desserts, Snacks
- Method: Frying
- Cuisine: Mexican
Nutrition
- Serving Size: 13
- Calories: 150
- Sugar: 10 g
- Sodium: 50 mg
- Fat: 8 g
- Saturated Fat: 5 g
- Unsaturated Fat: 3 g
- Trans Fat: 0 g
- Carbohydrates: 18 g
- Fiber: 1 g
- Protein: 2 g
- Cholesterol: 15 mg
John Nicholson
Lead Writer & Recipe Developer
Expertise
Recipe Testing and Development, Kitchen Hacks and Time-Saving Tips, Flavor Pairing and Ingredient Selection, Engaging Food Writing and Storytelling
Education
Johnson & Wales University
John Nicholson honed his skills at Johnson & Wales University, learning how to use fresh, local ingredients and down-to-earth techniques to make cooking simple and satisfying.
His recipes blend Southern comfort flavors with a modern touch, inviting everyone to cook with ease and confidence.
Living in Charleston, John takes cues from the city’s lively food scene, local markets, and seasonal produce. He’s all about making meals stress-free through easy tips, flavor pairings, and fun experiments in the kitchen