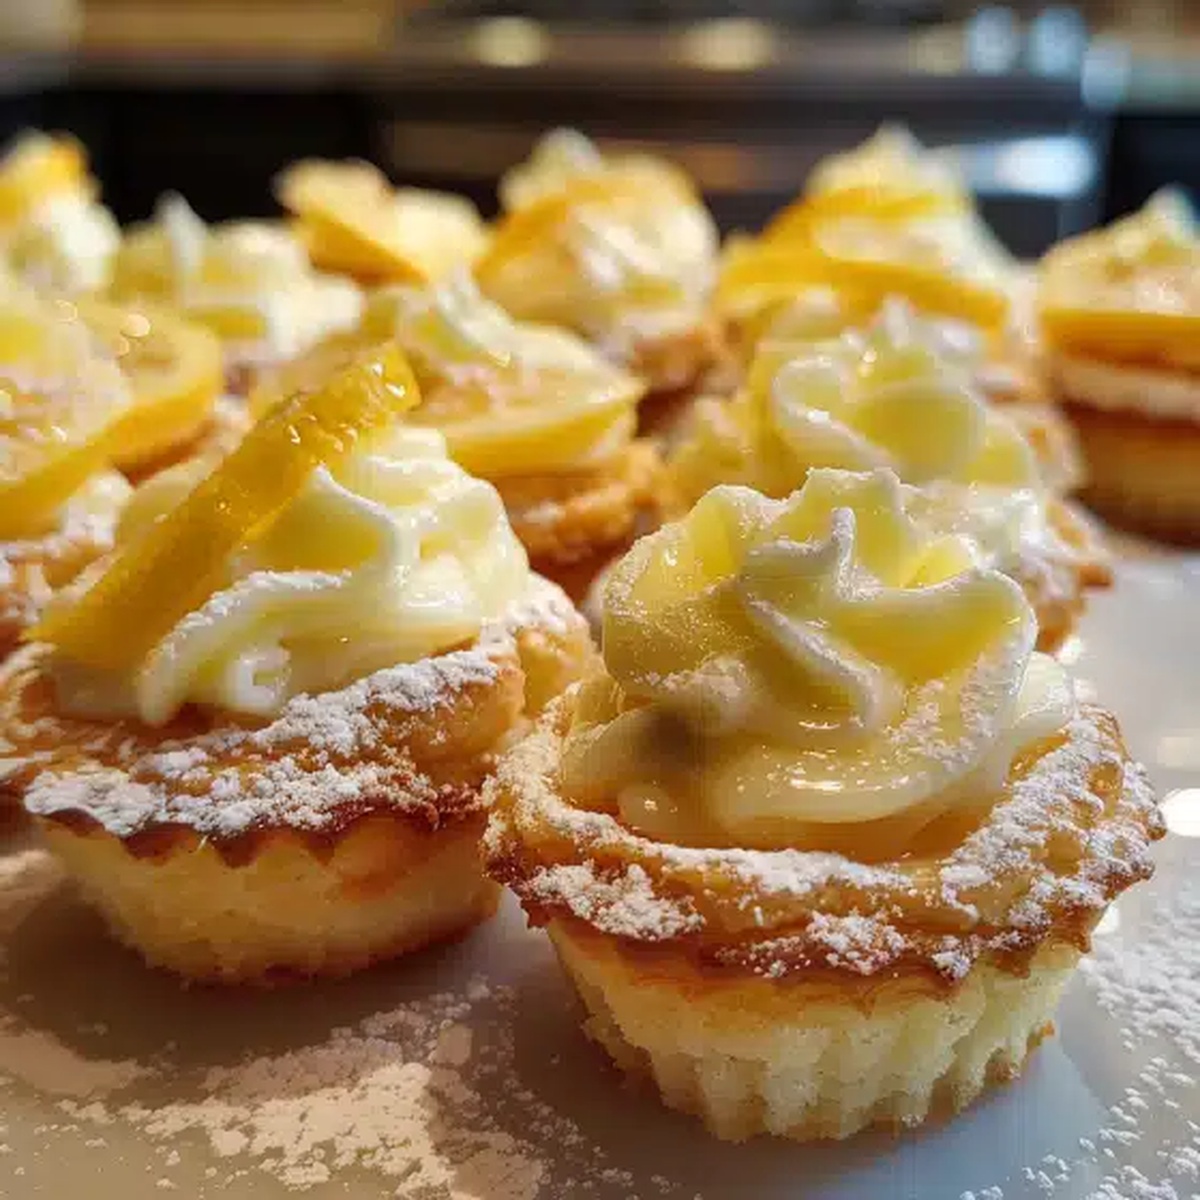
Lemon Bar Cookie Cups Recipe to Brighten Dessert Time
Soft, buttery cookies cradle a vibrant lemon bar filling that dances with zesty tropical magic.
These delectable treats blend the richness of shortbread with bright citrus notes.
Each bite promises a delightful burst of sunshine in your mouth.
The lemon bar cookie cups offer a perfect balance of sweet and tart flavors.
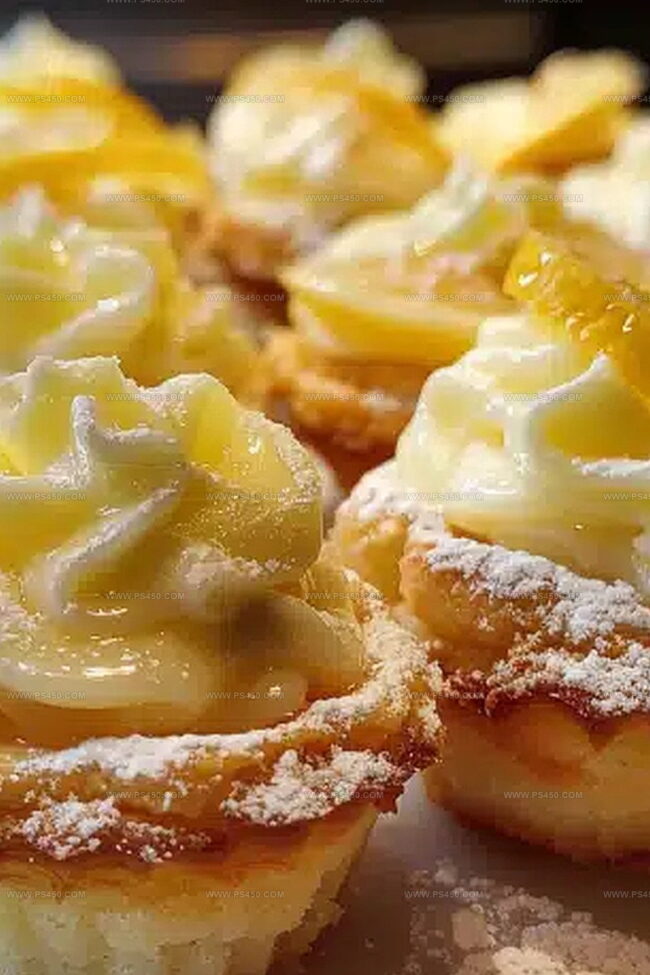
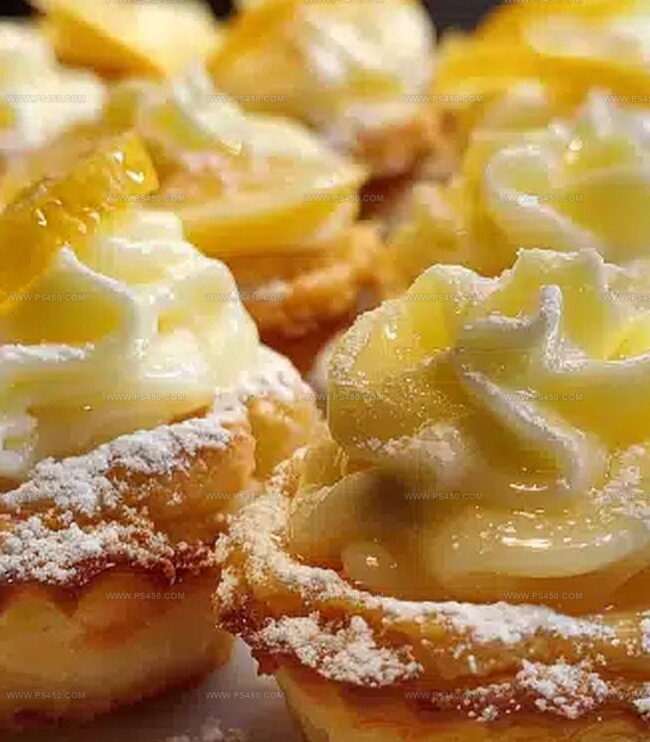
Crumbly cookie bases create a delicious platform for the silky smooth lemon curd.
You’ll love how these mini desserts look stunning on any dessert table.
Their elegant simplicity makes them ideal for casual gatherings or sophisticated parties.
Prepare to be surprised by how quickly these irresistible treats vanish from the plate.
Quick Recipe Overview
Ingredients for Lemon Bar Cookie Cups
For Cookie Base:For Lemon Filling:For Finishing Touch:Tools That Make Baking Cookie Cups Easier
How to Bake Lemon Bar Cookie Cups Step-by-Step
Get your oven toasty at 350F and grab a muffin tin, giving it a light greasing to prevent sticking.
Blend butter and sugar until they’re fluffy and dreamy. Add egg and vanilla, mixing until everything looks harmonious. In another bowl, combine flour, baking powder, and salt, then slowly merge with the buttery mixture.
Roll dough into small balls and press them into muffin cups, creating cute little wells. Bake until edges turn golden, about 10-12 minutes. If centers puff up, gently tap them down with a spoon.
Whisk lemon juice, zest, sugar, eggs, and flour until silky smooth.
Pour lemon mixture into each cookie cup, leaving a tiny bit of space at the top. Bake again for 10-12 minutes until filling sets perfectly.
Let cookie cups cool completely in the tin. Sprinkle powdered sugar on top for a gorgeous, mouth-watering finish.
Lemon Bar Additions for a Personal Touch
Serving Cookie Cups with Style and Simplicity
Tips for Keeping Cookie Cups Firm and Flavorful
FAQs
These cookie cups are surprisingly simple! Even beginner bakers can successfully create them with basic baking skills and following the step-by-step instructions carefully.
Fresh lemon juice works best for the most vibrant flavor, but bottled lemon juice can be used as a substitute if needed. Just ensure it’s 100% pure lemon juice without added preservatives.
Press the dough gently but firmly into the muffin tin, creating an even thickness on the bottom and sides. Use the back of a spoon to reshape the wells if they puff up during initial baking.
Whisking the filling ingredients thoroughly and baking until the filling is just set will help achieve the right consistency. Don’t overbake, as this can make the filling tough or dry.
Print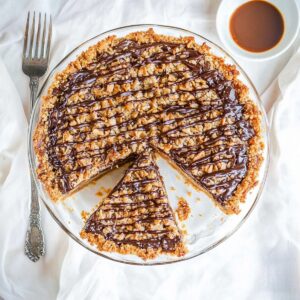
Crunchy Samoas Cookie Pie Recipe
- Total Time: 1 hour
- Yield: 9 1x
Description
Samoas cookie pie blends Girl Scout cookie magic with classic dessert charm. Caramel, coconut, and chocolate layers create a nostalgic treat you’ll crave again and again.
Ingredients
- 1 large egg
- ½ cup (113 g / 4 oz) unsalted butter, softened
- ½ cup (100 g) brown sugar
- ¼ cup (50 g) granulated sugar
- 1 cup (125 g) all-purpose flour
- ½ tsp baking soda
- ¼ tsp salt
- ½ cup (85 g) semi-sweet chocolate chips
- ½ cup (85 g) semi-sweet or dark chocolate chips (for drizzle)
- 1 ½ cups (120 g) shredded sweetened coconut
- 1 bag (11 oz / 312 g) soft caramels (about 35 caramels), unwrapped
- 3 tbsps (45 ml) heavy cream
- 1 tsp vanilla extract
Instructions
- Toasting Coconut: Warm the oven to 350F (175C) and distribute coconut across a baking sheet, rotating midway through toasting for 5-7 minutes until achieving a rich golden color. Set aside.
- Preparing Cookie Base: Cream butter with brown and granulated sugars using an electric mixer until light and fluffy. Add egg and vanilla, blending thoroughly. Incorporate flour, baking soda, and salt, then fold in chocolate chips until evenly distributed.
- Baking Cookie Crust: Press cookie dough into a greased 9-inch pie pan, creating an uniform layer. Bake for 18-20 minutes, monitoring for golden-brown edges. Cool completely at room temperature.
- Creating Caramel Coconut Layer: Melt caramels and heavy cream in a microwave-safe bowl, heating in short 30-second intervals and stirring between cycles until smooth. Integrate toasted coconut into the caramel mixture.
- Finishing Touches: Spread caramel-coconut mixture evenly across the cooled cookie base. Drizzle melted chocolate chips over the top using a spoon or piping bag for an elegant presentation.
Notes
- Toast Coconut Carefully: Watch coconut closely during toasting to prevent burning, stirring midway for even golden color and rich flavor.
- Create Smooth Cookie Base: Press dough evenly into pie pan, using gentle pressure to ensure uniform thickness and consistent baking.
- Melt Caramel Strategically: Use short microwave intervals and stir frequently to prevent scorching, achieving a silky smooth caramel consistency.
- Chocolate Drizzle Technique: Use spoon or piping bag for precise, artistic chocolate lines, ensuring elegant and professional-looking final presentation.
- Prep Time: 20 minutes
- Cook Time: 20 minutes
- Category: Desserts, Snacks
- Method: Baking
- Cuisine: American
Nutrition
- Serving Size: 9
- Calories: 320
- Sugar: 24 g
- Sodium: 150 mg
- Fat: 15 g
- Saturated Fat: 9 g
- Unsaturated Fat: 5 g
- Trans Fat: 0 g
- Carbohydrates: 43 g
- Fiber: 1 g
- Protein: 3 g
- Cholesterol: 30 mg
John Nicholson
Lead Writer & Recipe Developer
Expertise
Recipe Testing and Development, Kitchen Hacks and Time-Saving Tips, Flavor Pairing and Ingredient Selection, Engaging Food Writing and Storytelling
Education
Johnson & Wales University
John Nicholson honed his skills at Johnson & Wales University, learning how to use fresh, local ingredients and down-to-earth techniques to make cooking simple and satisfying.
His recipes blend Southern comfort flavors with a modern touch, inviting everyone to cook with ease and confidence.
Living in Charleston, John takes cues from the city’s lively food scene, local markets, and seasonal produce. He’s all about making meals stress-free through easy tips, flavor pairings, and fun experiments in the kitchen