Orange Chicken Slow Cooker Recipe with Bold Sweet Glaze
Weeknight dinners become a breeze with this mouthwatering slow cooker orange chicken that brings restaurant-quality flavors right to your table.
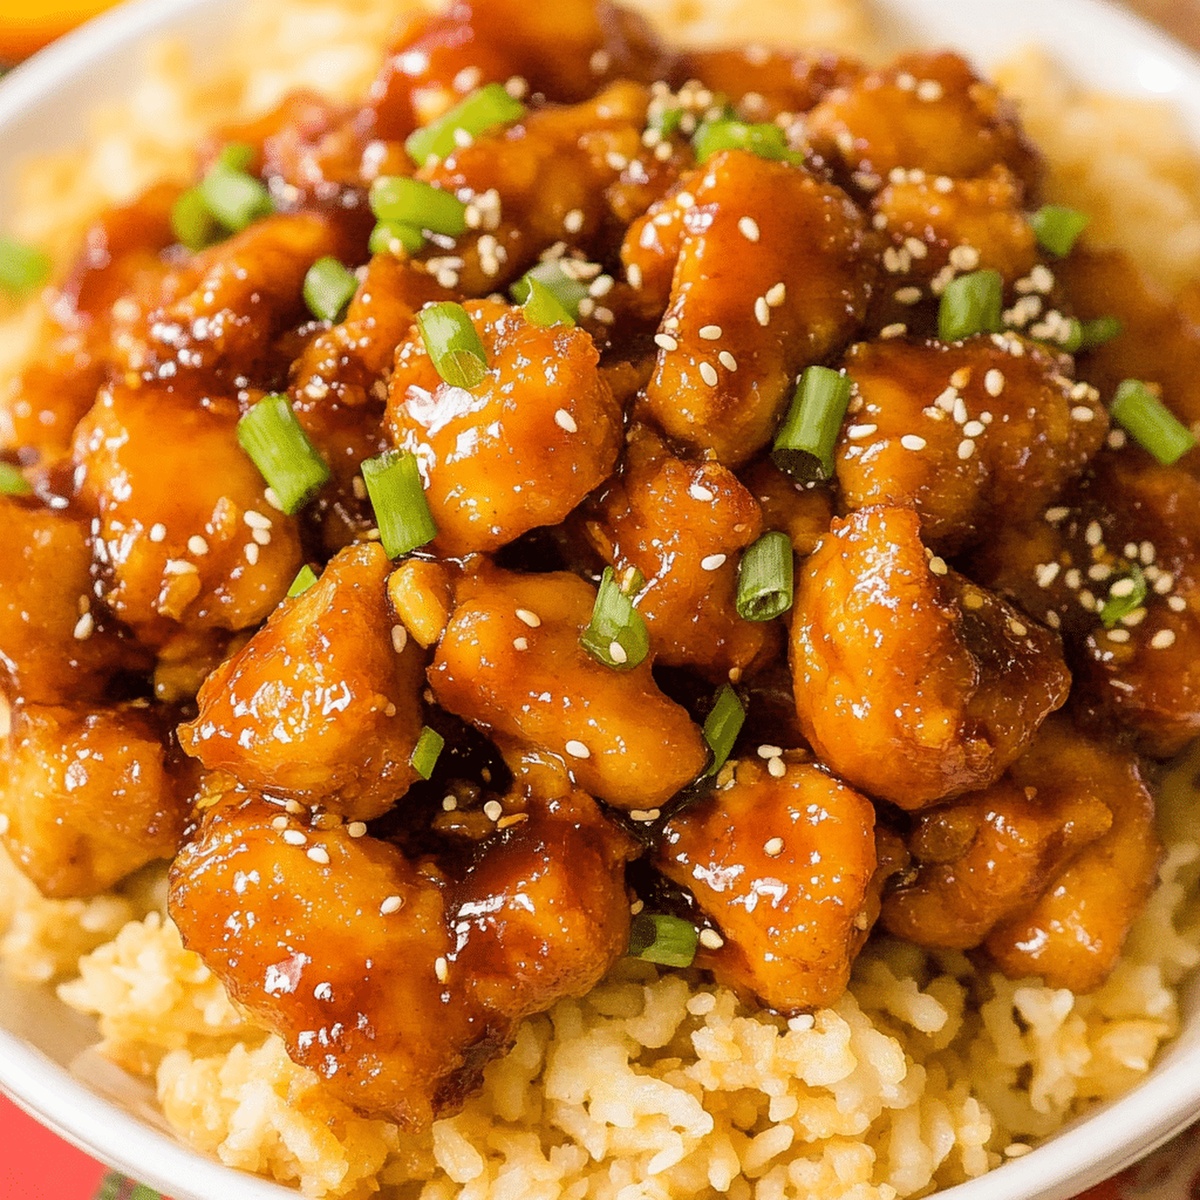
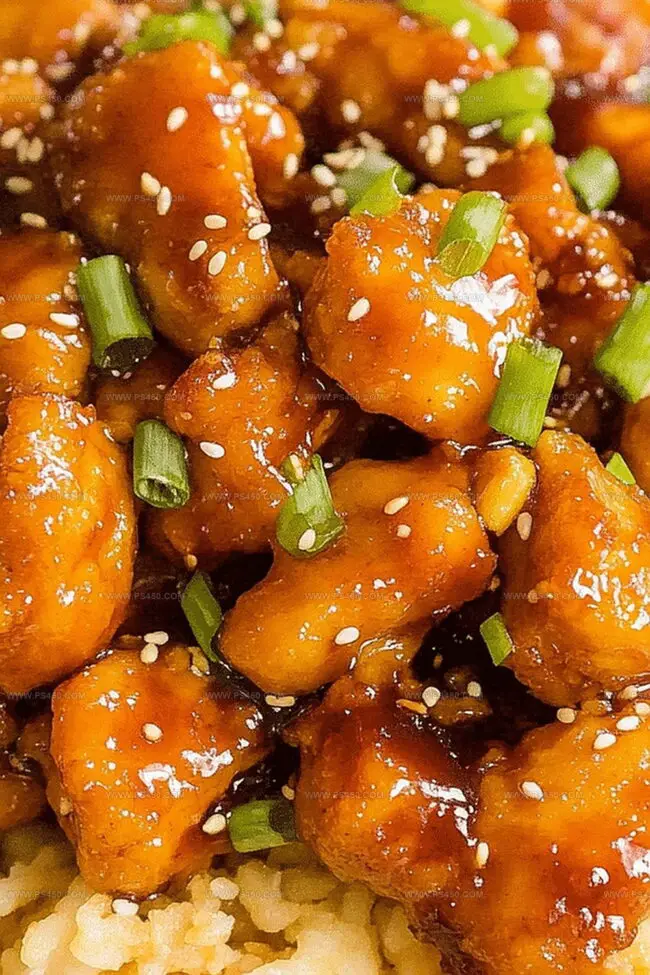
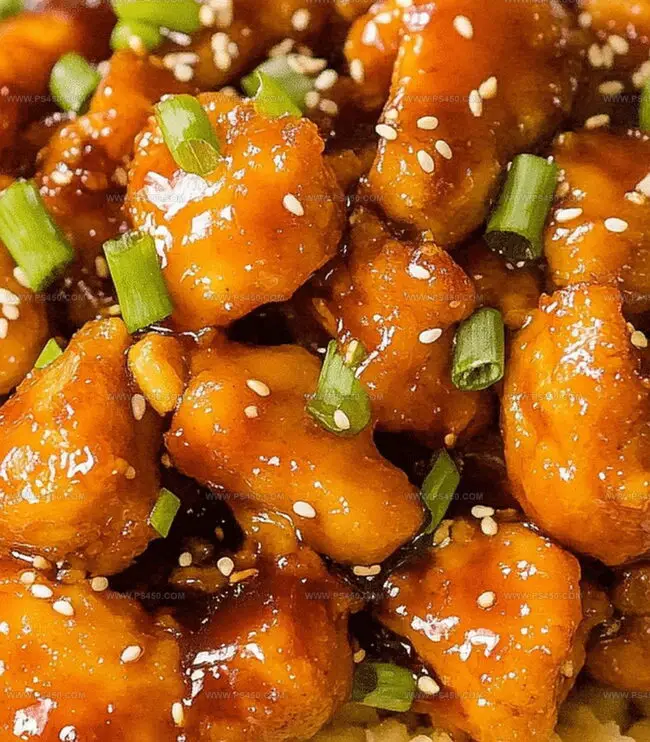
Tender chicken pieces swim in a vibrant, zesty orange sauce that dances with sweet and tangy notes.
Every bite promises a delightful explosion of citrusy goodness that will make taste buds sing.
The slow cooker works its magic, infusing each morsel with rich, deep flavors that seem to simmer and develop over hours.
No complicated techniques or hard-to-find ingredients stand between you and this incredibly satisfying meal.
Simple, fresh components come together effortlessly to create a dish that feels both comforting and exciting.
Serve this delectable orange chicken over steamed rice for a complete meal that will have everyone asking for seconds.
Quick Recipe Overview
Ingredients Behind Slow Cooker Orange Chicken
For Protein Base:For Sauce Components:For Thickening and Finishing:Must-Have Tools for Orange Chicken
Cooking Slow Cooker Orange Chicken with Confidence
Prepare chicken pieces by lightly coating them in cornstarch. For extra flavor, quickly sear chicken in a hot skillet to lock in those delicious juices.
Grab a mixing bowl and combine tangy orange juice, bright zest, sweet honey, rich soy sauce, punchy vinegar, minced garlic, zingy ginger, aromatic sesame oil, and a sprinkle of red pepper flakes. Whisk everything together until smooth and well-blended.
Transfer chicken into the slow cooker, then pour the vibrant sauce over the top. Gently mix to ensure each piece gets coated. Cover and let it simmer on low for 4 hours or high for 2-3 hours until chicken becomes fork-tender.
During the final 30 minutes, mix cornstarch with water to create a quick thickening slurry. Stir this into the slow cooker to transform the sauce into a luxurious, glossy coating.
Serve the succulent orange chicken over fluffy rice or steamed vegetables. Sprinkle with fresh green onions and toasted sesame seeds for a restaurant-worthy finish.
Tips to Give Orange Chicken Extra Flavor
Serving Slow Cooker Orange Chicken Just Right
Saving and Reheating Orange Chicken Later
FAQs
Yes, you can use frozen chicken, but increase cooking time by 1-2 hours and ensure it reaches an internal temperature of 165°F for food safety.
You can use tangerine juice, mandarin juice, or even pineapple juice as alternatives that will provide similar citrusy sweetness to the dish.
The red pepper flakes add mild heat. If you want less spice, reduce or omit them. For more heat, increase the amount of red pepper flakes.
Use gluten-free soy sauce or tamari, and ensure all other ingredients are certified gluten-free to adapt this recipe for gluten-sensitive diets.
Print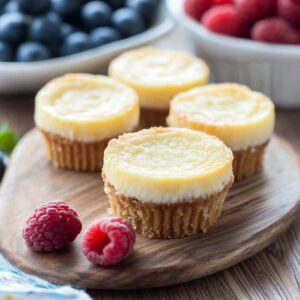
Easy Mini Cheesecakes Recipe
- Total Time: 2 hours 35 minutes
- Yield: 12 1x
Description
Creamy New York-style mini cheesecakes bring irresistible dessert magic to your table with minimal effort. Silky smooth texture and graham cracker crust create a perfect bite-sized indulgence you’ll absolutely crave.
Ingredients
Primary Ingredients:
- 16 ounces (454 grams) cream cheese, softened
- 2 large eggs
- 1 cup (240 milliliters) graham cracker crumbs (about 8 crackers)
- 4 tablespoons (60 milliliters) unsalted butter, melted
Sweeteners and Flavorings:
- 2 tablespoons (30 grams) granulated sugar (for crust)
- ½ cup (100 grams) granulated sugar (for filling)
- 1 teaspoon vanilla extract
- ½ cup (120 milliliters) sour cream
Toppings:
- Fresh berries
- Chocolate drizzle
- Caramel sauce
- Whipped cream
Instructions
- Prepare the oven environment by heating to 325F (160C) and positioning a standard muffin tin with delicate paper liners.
- Construct the foundational crust by blending graham cracker crumbs with sugar and melted butter until achieving a uniform consistency. Distribute the mixture evenly across muffin cavities, pressing firmly to create a compact base. Briefly toast the crust for 5 minutes, then allow to cool and stabilize.
- Create the creamy filling by whisking cream cheese and sugar until achieving a silky, lump-free texture. Incorporate eggs individually, gently mixing after each addition to maintain a smooth composition. Fold in vanilla extract and sour cream, ensuring complete integration of ingredients.
- Carefully ladle the cheesecake mixture over prepared crusts, filling each compartment approximately three-quarters full. Transfer the tin to the preheated oven and bake for 18-20 minutes, watching for a slightly trembling center indicating perfect doneness. Remove and allow initial cooling within the pan for 10 minutes before transferring to refrigeration for minimum 2-hour chilling.
- After complete refrigeration, embellish mini cheesecakes with optional garnishes like fresh berries, chocolate shavings, caramel drizzle, or pillowy whipped cream. Serve chilled and savor the delicate, creamy dessert.
Notes
- Achieve a smooth, crack-free surface by avoiding overmixing the cheesecake batter, which introduces excess air and can cause splitting during baking.
- Prevent crust crumbling by pressing graham cracker mixture firmly and evenly into the muffin cups, creating a compact base that holds together perfectly.
- Customize these mini cheesecakes for dietary needs by substituting gluten-free graham crackers, using low-fat cream cheese, or creating vegan versions with cashew-based alternatives.
- Control portion sizes and prevent overbaking by using an instant-read thermometer, checking that the internal temperature reaches 150F for a creamy, not dry, texture.
- Prep Time: 15 minutes
- Cook Time: 20 minutes
- Category: Desserts, Snacks
- Method: Baking
- Cuisine: American
Nutrition
- Serving Size: 12
- Calories: 200
- Sugar: 10 g
- Sodium: 150 mg
- Fat: 12 g
- Saturated Fat: 7 g
- Unsaturated Fat: 3 g
- Trans Fat: 0 g
- Carbohydrates: 22 g
- Fiber: 1 g
- Protein: 4 g
- Cholesterol: 50 mg
Emily Morgan
Food Critic & Kitchen Tips Specialist
Expertise
Global Food Exploration & Critique, Simple Kitchen Hacks & Time-Saving Tips, Presentation & Plating Techniques, Culinary Research & Storytelling.
Education
New York University
Emily Morgan has journeyed across the globe, collecting culinary secrets that turn everyday ingredients into impressive meals.
Based in Seattle and armed with a Journalism degree from NYU, she blends thorough research with a flair for presentation, ensuring every dish looks just as good as it tastes.
Focusing on fresh flavors, simple methods, and a bit of fun, Emily shows home cooks how to elevate their daily cooking without fancy gadgets or complex steps.