
Cozy Homemade Soft Pretzels Recipe: Bake Joy Today!
Twisting and turning through the art of baking, these irresistible homemade soft pretzels promise a delightful culinary adventure.
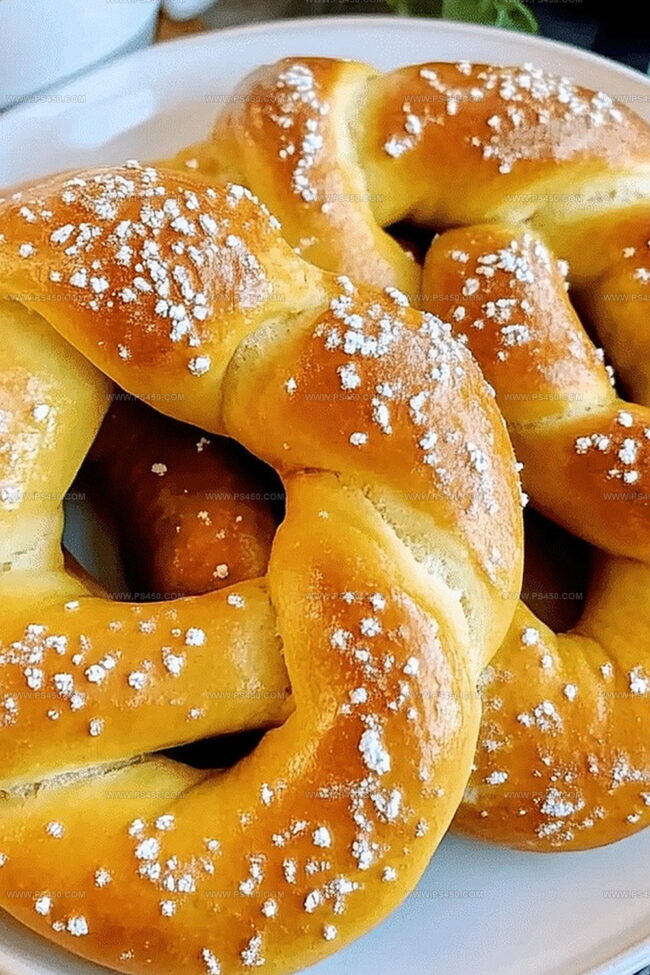
Golden-brown and salt-sprinkled soft pretzels emerge as a classic comfort food that beckons with warm, doughy goodness.
The soft pretzel recipe elevates a simple dough into a spectacular treat that captivates taste buds.
Crafted with basic ingredients and a touch of love, these pretzels offer a satisfying crunch on the outside and a pillowy interior.
Each pretzel tells a story of tradition, blending German baking techniques with modern kitchen magic.
The aroma of freshly baked pretzels will draw everyone to the kitchen, creating moments of shared joy.
Brace yourself for a mouthwatering experience that transforms an ordinary afternoon into a delectable celebration.
Quick Recipe Overview
Ingredients That Make These Soft Pretzels a Hit
For Yeast Activation:For Dough Base:For Pretzel Finishing:What You’ll Need to Shape the Perfect Homemade Pretzels
How to Twist, Boil, and Bake Soft Pretzels at Home

Wake up those tiny yeast creatures by mixing warm water with a touch of sugar. Let them bubble and dance for 5-10 minutes until the mixture looks frothy and alive.
Blend flour and salt in a big mixing bowl. Create a cozy center well and pour in the yeast mixture with melted butter. Stir and mix until a soft, sticky dough emerges.
Transfer the dough to a floured surface and knead with love. Work it for 5-7 minutes until smooth and springy. If it feels too clingy, sprinkle a bit more flour.
Tuck the dough into an oiled bowl, cover with a clean cloth. Place in a warm spot and let it expand and relax for about an hour.
Fire up the oven to 450F. Deflate the dough and divide into 8 pieces. Roll each into a long rope, then twist into classic pretzel shapes.
Boil water and add baking soda. Gently dip each pretzel in the bubbling water for 30 seconds. Lift out with a slotted spoon and place on a parchment-lined baking sheet.
Brush pretzels with melted butter and sprinkle sea salt. Bake 12-15 minutes until they turn a beautiful golden brown and crisp.
Let pretzels cool briefly. Serve warm with mustard, cheese dip, or your favorite companions.
Pretzel Pro Tips: From Dough to Golden Crust
Best Ways to Serve Homemade Soft Pretzels
Storage Tips for Pretzels That Stay Chewy
FAQs
Activating the yeast helps ensure it’s alive and will make your dough rise properly. Warm water and sugar create the perfect environment for yeast to become foamy and active, which is crucial for soft, fluffy pretzels.
The dough should roughly double in size and look puffy. When you gently press the dough with your finger, it should slowly spring back. If the indentation remains, it needs more time to rise.
Boiling pretzels in baking soda water creates that signature pretzel flavor and gives them their classic dark, shiny brown exterior. The alkaline solution helps develop the pretzel’s distinctive color and crispy crust.
Yes! You can prepare the dough and let it rise, then refrigerate it overnight. Just bring it to room temperature and continue with shaping and baking when you’re ready to make pretzels.
Print
Warm Homemade Soft Pretzels Recipe
- Total Time: 30 minutes
- Yield: 9 1x
Description
Salty homemade soft pretzels will delight taste buds with their warm, golden-brown exterior and chewy interior. German-inspired treats provide comfort and satisfaction for snack enthusiasts seeking authentic bakery-style goodness.
Ingredients
- 4 cups (960 ml) all-purpose flour
- 1 ½ cups (360 ml) warm water (110°F/45°C)
- 1 packet (2 ¼ tsp) active dry yeast
- 1 tbsp sugar
- 1 tsp salt
- ⅔ cup (160 ml) baking soda
- 10 cups (2.4 l) water
- 3 tbsps melted butter
- Coarse salt (for sprinkling)
Instructions
- Yeast Activation: Dissolve yeast in warm water with sugar, waiting until the surface becomes frothy and bubbly, signaling the yeast’s awakening.
- Dough Formation: Craft a flour and salt base in a large mixing bowl, creating a central well for the yeast mixture and melted butter. Blend ingredients thoroughly until a unified, smooth dough develops.
- Kneading and Resting: Transfer the dough to a flour-dusted surface, massaging and stretching with rhythmic motions for 5-7 minutes to develop gluten structure. Place in a lightly oiled bowl, cover with a clean cloth, and allow to rise in a warm spot for about an hour, anticipating a volume doubling.
- Pretzel Shaping: Preheat the oven to 450F (230C). Deflate the risen dough and divide into eight equal portions. Stretch each piece into an 18-inch rope, then shape into the classic pretzel form by creating a U-shape, crossing the ends, and twisting into a distinctive knot.
- Boiling and Preparation: Bring a large pot of water to a rolling boil, adding baking soda. Submerge each pretzel for 30 seconds, then remove with a slotted utensil and arrange on a parchment-lined baking sheet.
- Finishing Touches: Brush pretzels with melted butter and generously sprinkle coarse sea salt across the surface. Bake until achieving a rich golden-brown color and crisp exterior, approximately 12-15 minutes.
- Serving: Allow pretzels a brief cooling period before serving. Pair with tangy mustard or creamy cheese dip for an indulgent culinary experience.
Notes
Activate Yeast Precisely: Ensure water temperature is between 100-110°F to activate yeast without killing it, creating the perfect frothy base for soft, fluffy pretzels.
Knead with Confidence: Develop gluten structure by kneading consistently for 5-7 minutes, creating elasticity that gives pretzels their signature chewy texture and prevents dense, heavy results.
Master the Baking Soda Bath: Submerge pretzels exactly 30 seconds in boiling baking soda water, which creates the iconic pretzel shine, deep brown color, and distinctive slightly tangy crust that sets them apart from regular bread.
Customize Flavor Creatively: Experiment with toppings like everything bagel seasoning, cinnamon sugar, or herbs to transform the classic recipe and match personal taste preferences while maintaining the pretzels’ fundamental delicious structure.
- Prep Time: 20 minutes
- Cook Time: 10 minutes
- Category: Snacks, Breakfast
- Method: Baking
- Cuisine: German
Nutrition
- Serving Size: 9
- Calories: 210
- Sugar: 1 g
- Sodium: 410 mg
- Fat: 3 g
- Saturated Fat: 2 g
- Unsaturated Fat: 1 g
- Trans Fat: 0 g
- Carbohydrates: 41 g
- Fiber: 1 g
- Protein: 6 g
- Cholesterol: 7 mg
John Nicholson
Lead Writer & Recipe Developer
Expertise
Recipe Testing and Development, Kitchen Hacks and Time-Saving Tips, Flavor Pairing and Ingredient Selection, Engaging Food Writing and Storytelling
Education
Johnson & Wales University
John Nicholson honed his skills at Johnson & Wales University, learning how to use fresh, local ingredients and down-to-earth techniques to make cooking simple and satisfying.
His recipes blend Southern comfort flavors with a modern touch, inviting everyone to cook with ease and confidence.
Living in Charleston, John takes cues from the city’s lively food scene, local markets, and seasonal produce. He’s all about making meals stress-free through easy tips, flavor pairings, and fun experiments in the kitchen